
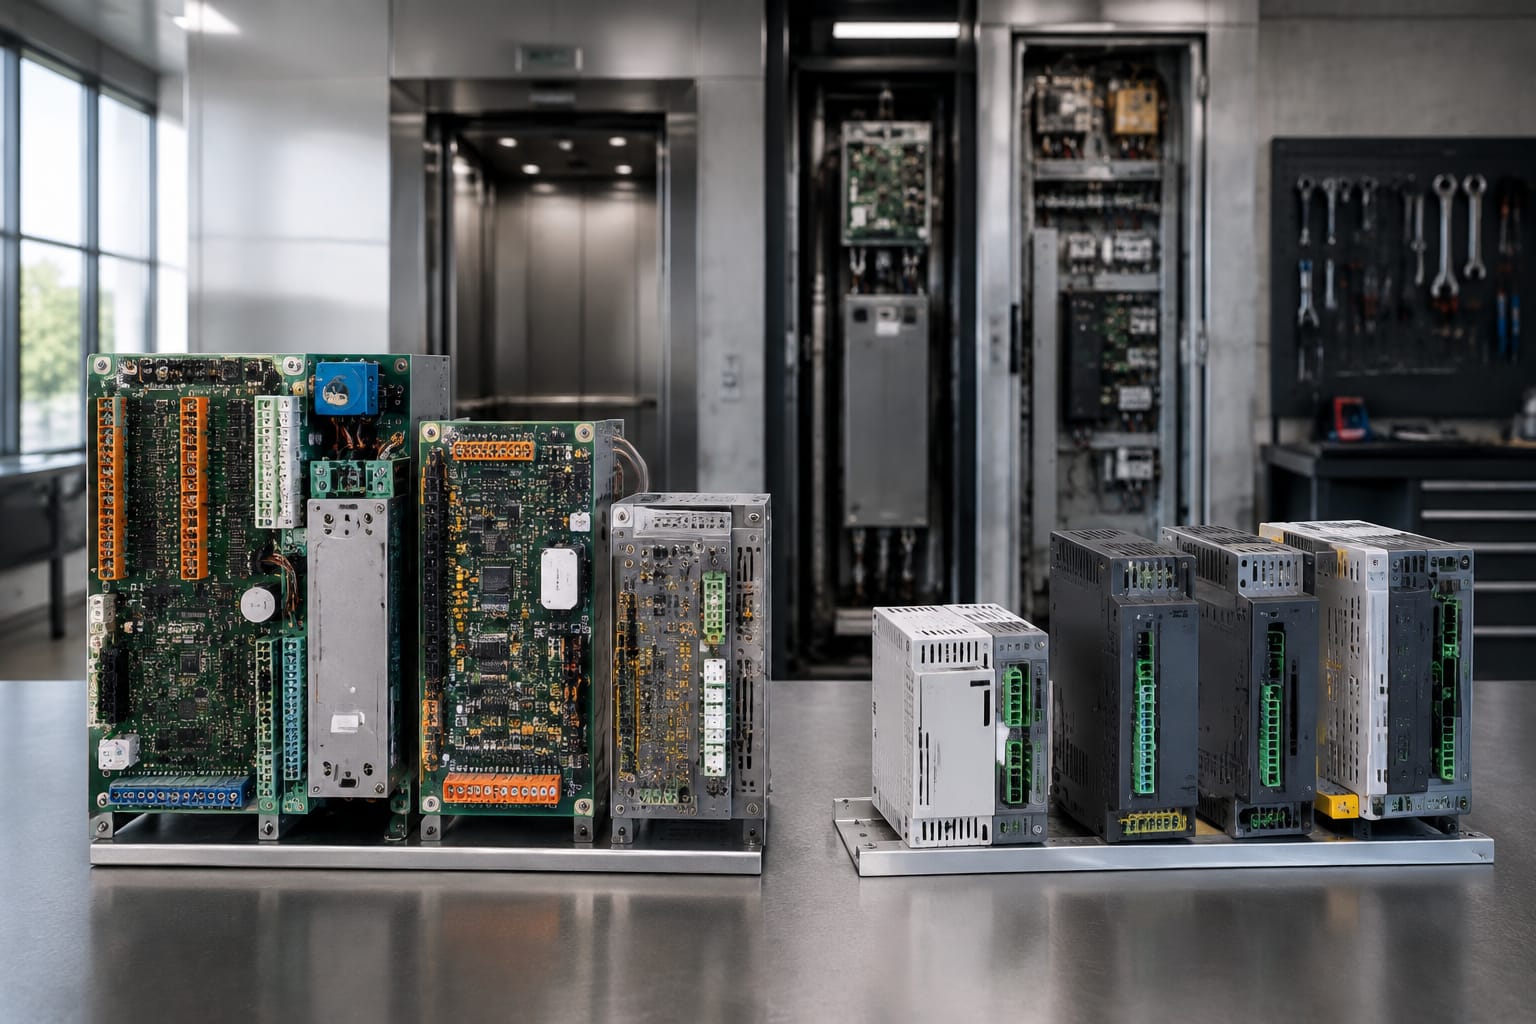
Selecting compatible ThyssenKrupp elevator parts requires more than matching the equipment brand or a board’s general function. The replacement must be verified against the elevator’s controller family, the exact part and revision number, connector layout, electrical ratings, software or configuration requirements, and the application in the car, landing, or machine room.
This is especially important on equipment carrying older ThyssenKrupp markings and newer TKE naming. A display board or communication board may look similar to another version but use a different connector pinout, firmware, supply voltage, or controller protocol. Start with the installed component’s label and the elevator controller identification, then compare physical and electrical details before placing an order.
ThyssenKrupp Elevator and TKE Naming
ThyssenKrupp Elevator equipment may be identified under several names in maintenance records, labels, and supplier catalogs. In the United States, technicians and buyers may still search for “ThyssenKrupp elevator parts” even when a current document, replacement listing, or equipment label uses TKE.
For sourcing purposes, treat the naming difference as a search and documentation issue, not proof of interchangeability. A TKE-marked item can relate to legacy ThyssenKrupp equipment, but it still needs to match the installed system at the part-number and revision level.
When preparing a request, include every relevant name found on site:
- ThyssenKrupp Elevator, ThyssenKrupp, TK Elevator, or TKE branding
- The elevator controller and operator family
- The original manufacturer part number
- The board code, drawing number, or assembly number
- The revision, issue, version, or date code
- Any labels showing a prior replacement or refurbishment
Do not rely on the building’s elevator service provider name, modernization contractor, or maintenance log description alone. Those records may identify the equipment broadly while omitting the specific board revision needed for a replacement.
Identify the Elevator and Controller Family
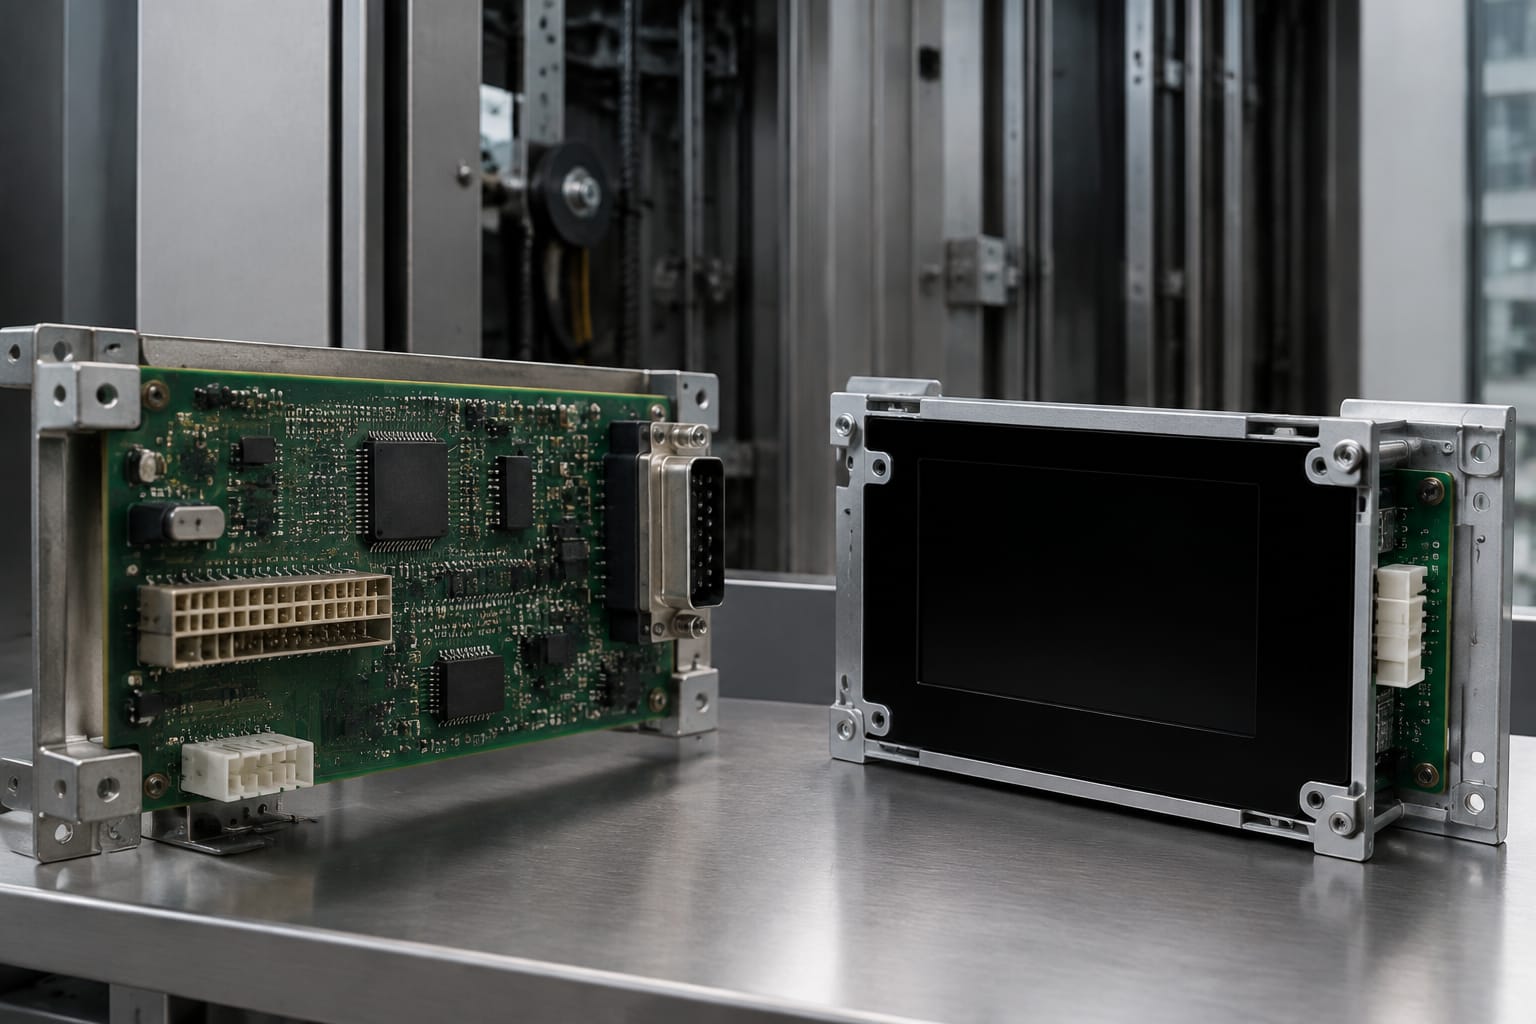
The controller family is the starting point for choosing ThyssenKrupp elevator replacement parts. A board that belongs to one controller architecture can be incompatible with another, even where the car operating panel, display format, or board shape appears alike.
Record controller details directly from the machine-room controller, control cabinet documentation, or labeled wiring diagrams. Useful information includes:
- Controller model and family name
- Controller serial number or job number
- Building address or unit identifier, where it helps locate service records
- Number of cars served by the group
- Whether the elevator is hydraulic or traction
- Whether the system has been partially modernized
- The location and function of the failed component
The last point matters. A board mounted behind a car operating panel may serve a car display, car communication bus, emergency interface, door function, or input/output function. “Display board” is not always specific enough to identify a compatible replacement.
Confirm whether the system was modernized
Modernization creates one of the most common sourcing errors. A car fixture may retain ThyssenKrupp-branded faceplates while its original controller, communication system, or display hardware has been replaced. Conversely, an original controller may be connected to newer displays through interface hardware.
Before ordering, determine whether the failed board is:
- Original equipment for the controller family.
- A later manufacturer replacement.
- A third-party modernization component.
- An interface between legacy and newer equipment.
Photographs of the installed board, its connectors, the surrounding harness, and the controller identification label make this distinction easier to evaluate.
Identify the failed part by function and location
A concise failure description helps prevent a wrong substitution. State both the symptoms and the component’s location. For example:
- Car position display is blank, while buttons and indicators operate normally.
- One car is not communicating with the group controller.
- Landing display is intermittent on a specific floor.
- A car communication board has visible component damage.
- A replacement board powers up but does not establish communication.
Avoid diagnosing a board as failed solely because an indicator is blank or communication is lost. Wiring faults, power-supply problems, loose connectors, configuration errors, controller faults, and damaged fixtures can produce similar symptoms. Follow the equipment documentation and qualified troubleshooting procedures before replacing a board.
Common Display and Communication Parts
Display and communication components are frequent replacement requests because they are installed in high-use locations and depend on specific controller communication systems. Their names can vary between field terminology, catalog descriptions, and wiring diagrams.
| Component type | Typical role | Details that determine compatibility |
|---|---|---|
| Car position display board | Drives floor position, direction, status, or message indications in the car | Display type, communication protocol, supply voltage, mounting, connector arrangement, software version |
| Landing or hall display board | Shows position, direction, or arrival information outside the car | Hall fixture family, floor application, wiring topology, address settings, display orientation |
| Car communication board | Connects car fixtures or devices to the controller network | Controller family, bus type, connectors, harness position, termination, revision |
| Car operating panel interface board | Interfaces buttons, indicators, key switches, and panel devices | Fixture layout, I/O count, connector pinout, voltage, programmed configuration |
| Outbound display or indicator board | Supports an external display or signal path, depending on system design | Application location, signaling method, connector type, compatible display assembly |
When an installed label identifies the board as an outbound display board, compare it to a Thyssen elevator outbound display board by part number, revision, photographs, and connector details rather than by the functional name alone.
Likewise, a rectangular-chip car communication board for Thyssen elevator systems may be relevant only after its installed board code and interface details have been checked. Board shape, chip arrangement, and mounting holes are helpful visual clues, but they do not establish electrical or protocol compatibility.
For equipment identified as a 3600-related car communication or display application, review the documented controller and fixture relationship before considering a 3600 car communication elevator display board. The controller family, assembly number, and revision remain the deciding information.
Read Board Codes and Revision Labels
The most valuable sourcing information is usually printed directly on the board. Inspect both sides before removing the component, when safe to do so. Labels can be on the PCB surface, a barcode sticker, connector side, component side, or a label attached to the board assembly.
Capture all identifiable markings, including:
- Manufacturer part number
- PCB number or board code
- Assembly number
- Revision identifier, such as Rev., Issue, Version, or an alphabetic suffix
- Serial number
- Barcode number
- Firmware or software label
- Manufacturing date or lot code
- Voltage, current, and polarity markings
- Connector labels, such as J1, CN1, P1, or X1
A part number and a PCB number may not be the same thing. The assembly number can identify the orderable component, while a PCB number identifies the bare circuit board. A supplier may need both, along with the revision, to determine whether the item is exact, superseded, repairable, or unsuitable.
Why revisions matter
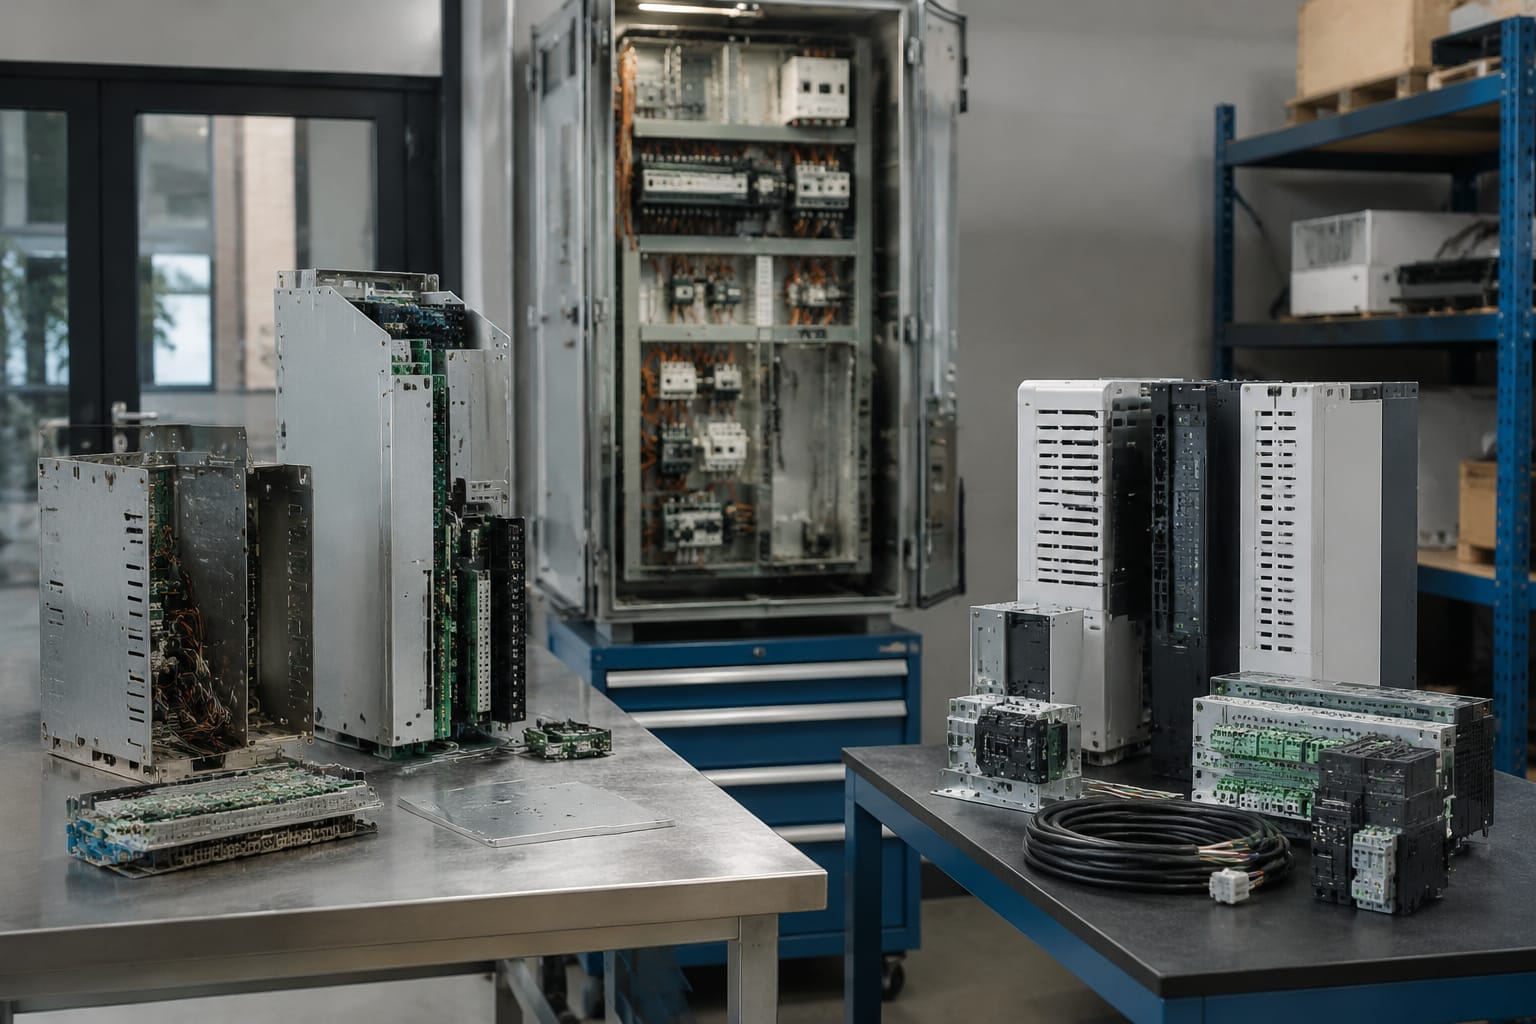
A later revision can correct an earlier hardware issue, support another display type, change an integrated circuit, or use a different connector arrangement. It may be a valid supersession, but it should not be assumed to be a drop-in replacement.
When revision labels differ, ask for confirmation of:
- Whether the proposed item supersedes the installed revision
- Whether it is plug-compatible with the existing harness
- Whether software, parameter changes, or address programming are required
- Whether related components must be changed together
- Whether the replacement is intended for the same controller family and application
Never remove, obscure, or discard the original label before its information has been photographed and recorded.
Compare Connectors and Electrical Ratings
An accurate board-code match should be supported by a physical and electrical comparison. This is essential when the original part is obsolete, the label is incomplete, or a later revision is being considered.
Connector comparison
Photograph every connector while it remains plugged in, then photograph the board after removal. Include a clear view of connector labels and the wire colors or harness markings where available.
Compare:
- Number of connectors
- Connector position and orientation
- Pin count and keying
- Male or female connector style
- Locking tabs, latches, and mounting supports
- Harness routing and cable length
- Marked connector designations
- Jumper positions, DIP switches, or address selectors
Do not force a connector that “almost fits.” Similar housings can use different keying or pin assignments. An adapter cable should also not be assumed to solve a mismatch, because it can introduce wiring, grounding, or communication problems unless specifically documented for that application.
Electrical comparison
Verify electrical information against the installed label, wiring diagram, and controller documentation. At minimum, compare:
- Input supply voltage
- AC or DC supply type
- Polarity for DC connections
- Rated current or power requirements, where marked
- Signal or communication interface
- Grounding and shielding requirements
- Fuse rating and protective components
- Output voltage to connected displays or fixtures, where applicable
A replacement should not be selected only because it accepts a similar voltage range. The board’s signal interfaces, connector pinout, firmware, and intended function must also align with the installed system.
Mechanical fit still matters
Confirm dimensions, mounting-hole locations, standoff height, enclosure clearance, heat-sensitive components, and display alignment. In a car operating panel, a slightly different board profile can interfere with buttons, wiring, a cover plate, or a display window.
Handle Obsolete or Renamed Components
Older ThyssenKrupp elevator parts may be discontinued, renamed, superseded, available only as repaired stock, or replaced as part of a larger assembly. The correct response is to document the installed unit thoroughly before accepting an alternative.
A component should be treated as a candidate replacement, not a confirmed substitute, when any of the following applies:
- The original part number is unavailable.
- The proposed item has a different revision.
- The seller describes it only by function or appearance.
- The connector count or placement differs.
- The board requires programming or configuration.
- The controller or fixtures were modernized.
- The original label is missing or unreadable.
Ask for the basis of substitution
When a supplier offers a renamed or substitute part, request a clear explanation of the match. Useful supporting information includes a manufacturer supersession reference, a cross-reference tied to the original number, confirmed application details, or comparison photographs that show labels and connectors.
“Compatible with ThyssenKrupp” is too broad to establish that a board will work in a particular elevator. The compatibility statement should connect the proposed item to the installed controller family, part number, revision, and application.
Consider repair versus replacement carefully
Board repair may be considered where an exact new replacement is unavailable, but repair suitability depends on the fault, board condition, component availability, and the needs of the elevator system. A repaired board should be evaluated for the same revision and functional application as the original.
For critical safety-related functions, follow applicable code requirements, manufacturer documentation, building procedures, and the judgment of qualified elevator personnel. This guide is intended for parts identification and sourcing preparation; it does not replace diagnostic, installation, inspection, or commissioning requirements.
Supplier Documentation to Request
A well-prepared request reduces back-and-forth and makes it easier to evaluate whether a supplier’s proposed part is exact, superseded, or only similar. Send documentation that allows the supplier to identify the installed equipment without guessing.
Include the following in a ThyssenKrupp or TKE replacement request:
- Clear photos of the front and back of the removed board
- Close-up photos of every label, part number, and revision mark
- Photos of installed connectors and harnesses before disconnection
- Controller cabinet identification and controller family details
- The board’s location and function
- Elevator type and whether the system was modernized
- Quantity required
- Description of the observed fault
- Any wiring diagram page, parts list, or manual excerpt that identifies the component
- Whether an exact revision is required or a documented supersession can be evaluated
For multiple elevators, identify the car number, controller number, and part quantity for each unit. Similar buildings or cars can have different revisions after past repairs, upgrades, or fixture replacements.
A supplier should be able to explain what information supports the proposed match. Kelevator supplies multi-brand elevator spare parts to B2B importers, distributors, maintenance contractors, modernization companies, and OEM buyers; supplying the equipment details above helps make a multi-brand sourcing request more specific and easier to assess.
Replacement Verification Checklist
Use this checklist before ordering and again before installation.
Before ordering
- Record the exact installed part number and all board codes.
- Record the revision, version, issue, or date code.
- Identify the controller family from the control cabinet.
- Confirm the failed board’s location and intended function.
- Photograph both sides of the board and all connected harnesses.
- Compare connector count, pin count, orientation, keying, and labels.
- Verify supply voltage, polarity, and relevant electrical markings.
- Determine whether the elevator or fixtures have been modernized.
- Request confirmation for any superseded, renamed, repaired, or substitute part.
- Confirm whether programming, addressing, or additional components are required.
Before installation
- Verify the received part number and revision against the approved request.
- Inspect for connector, mounting, or visible label differences.
- Confirm that shipping damage has not affected connectors or components.
- Follow lockout/tagout and qualified elevator work procedures.
- Preserve the original board until the replacement has been tested and accepted.
- Use the applicable manufacturer documentation for configuration and testing.
- Verify the intended display, communication, and associated fixture functions after installation.
Frequently Asked Questions
Are ThyssenKrupp and TKE elevator parts interchangeable?
Not automatically. TKE naming may appear on equipment or documentation related to legacy ThyssenKrupp systems, but interchangeability depends on the exact controller family, part number, revision, connectors, electrical ratings, and required configuration.
Can I identify a replacement board from a photo alone?
A photo can be useful, particularly when it clearly shows both sides, labels, connectors, and mounting details. It is usually not enough by itself. Pair it with the controller identification, board code, revision, electrical markings, and application description.
Is the PCB number enough to order a replacement?
Often no. A PCB number may describe the bare circuit board rather than the complete assembled and orderable part. Provide the assembly number, revision, and all other labels available.
What if the original board has no readable label?
Use several sources: controller documentation, wiring diagrams, the parts list, connector labels, board photographs, mechanical dimensions, and any part number in service records. A supplier may be able to evaluate these details, but the absence of a label increases the need for careful verification.
Should a later board revision be accepted?
Only after its relationship to the installed part is confirmed. Determine whether it is a documented supersession and whether it needs harness changes, firmware, parameter settings, or associated component replacement.
For a practical next step, create a replacement packet with the board photos, controller details, connector views, labels, and fault description. That packet provides the information needed to evaluate ThyssenKrupp elevator parts accurately before an order or installation decision.