
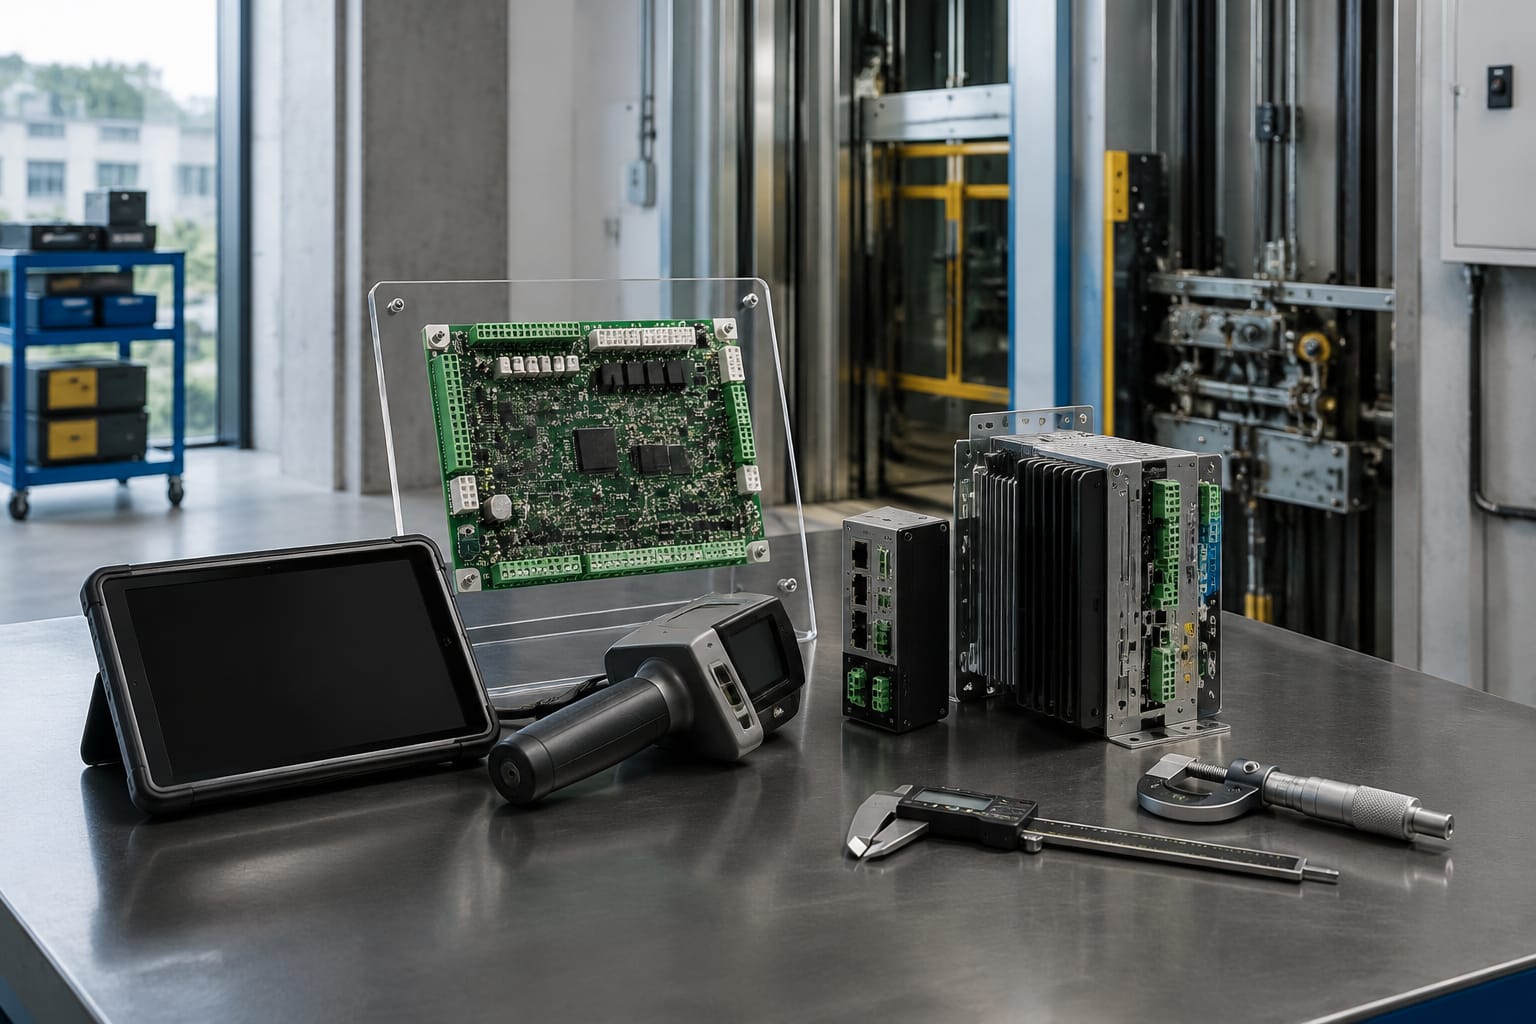
A KONE parts view is most useful when it means a disciplined way to identify a replacement part, not simply a product image search. A photo can help narrow the field, but the correct match depends on the equipment model, the component’s job, the manufacturer and board codes, revision level, connector layout, and the system where it operates.
For a reliable match, start with the installed part and build a comparison record before looking for a replacement. Record the elevator model or controller family, every label number, the board revision, connector markings, and clear photos of both sides. This approach reduces the risk of ordering a visually similar board, display, or service device that cannot communicate with the existing equipment.
What buyers mean by KONE parts view
Buyers use the phrase “KONE parts view” in several ways. It may refer to a visual catalog search, an exploded equipment view, a photo of a removed component, or a request to identify an unknown KONE elevator part. In sourcing work, it should mean a structured visual and technical comparison process.
Appearance is a starting point, not proof of compatibility. Two boards may share a housing size, color, mounting pattern, or connector count while having different firmware support, pin assignments, communication roles, or electrical requirements. Conversely, a later revision may look different but be a valid replacement when it is explicitly approved for the same application.
A useful parts-view record has five layers:
- Equipment context: Elevator model, controller family, installation type, and the part’s location.
- Functional identity: What the part does, such as car-position display, door control interface, communication interface, or inspection accessory.
- Label identity: Manufacturer part number, material code, serial number, date code, barcode information, and board identifier.
- Physical identity: Dimensions, mounting points, connector types, terminal labels, display cutout, and cable arrangement.
- Revision identity: Hardware revision, software or firmware reference where available, and any supersession information.
This record gives a distributor or procurement team enough evidence to compare alternatives. It is also more useful than a request such as “need this KONE board” accompanied by one distant photo.
Search by model and component function
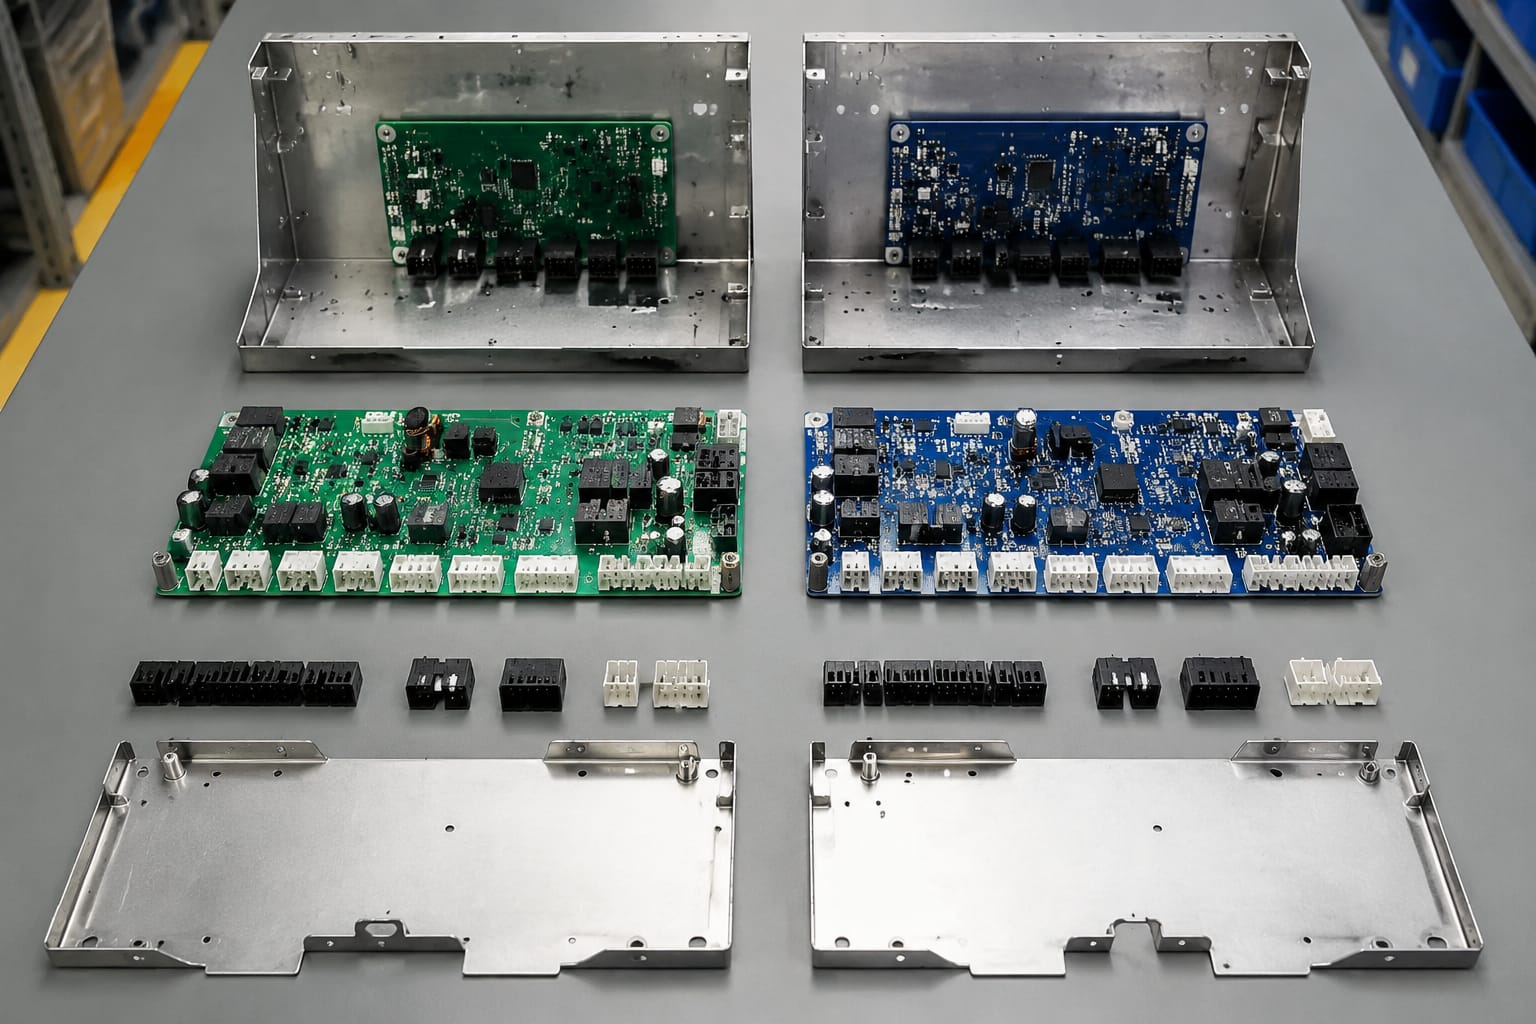
Begin with the elevator system and the failed component’s function. The equipment model or controller family helps define the possible part population; the function prevents the search from becoming too broad.
For example, a display-related request can involve very different items:
- A hall call display that shows floor or direction information
- A car operating panel display
- A car-position indicator
- An outgoing call display board
- A controller-side interface board that supplies data to a display
- A cable, power supply, or communication module supporting the display
A dark or blank display does not establish that the display itself has failed. The fault may be upstream in its power feed, harness, communication bus, controller board, or configuration. Before sourcing a display, confirm the observed symptom and identify the part actually being replaced.
Build a system-first search string
When searching internal records, supplier catalogs, or stock lists, combine terms in this order:
manufacturer + equipment family/model + function + exact code
For example, use the controller or elevator family name with terms such as “door board,” “car display,” “LON interface,” “inspection box,” or “decoder.” Add the exact label code as soon as it is known. Avoid searching only by a generic label such as “KONE display board,” which can return unrelated products across multiple generations of equipment.
Confirm the installed location
Where a part is mounted often resolves ambiguity quickly. Record whether it is located in the controller, car operating panel, car-top station, machine room, landing fixture, pit, shaft, door operator, or traveling cable path.
Location also helps identify adjacent components that may be confused with the target part. A board in a car operating panel may be a display controller, button interface, illumination driver, or a combined panel board. A board installed near a door operator may be a door controller, interface module, sensor board, or power component.
For associated pit equipment, verify the purpose and physical configuration rather than relying on a broad accessory description. A KONE pit inspection box and well lighting switch is relevant only when the installed assembly, controls, mounting, and electrical connections match the application.
Read labels and board codes
Labels and board markings are usually the strongest starting point for a replacement match. Capture all identifiers, even when one appears to be the obvious order number. Different markings can identify the saleable assembly, the bare circuit board, a manufacturing batch, a serial number, or a software build.
Look for these fields on labels and printed circuit boards:
| Identifier | Why it matters | What to verify |
|---|---|---|
| Manufacturer material or part number | Often the primary ordering reference | Match it exactly before considering substitutions |
| Board code or PCB number | Identifies the circuit board design | Determine whether it refers to the board only or complete assembly |
| Revision marking | Separates engineering versions | Check compatible revisions and supersession status |
| Serial number | Tracks an individual unit | Useful for traceability, usually not a replacement code |
| Barcode and numeric string | May contain an orderable material code | Photograph it clearly; retain leading zeros |
| Firmware or software label | Can affect system communication | Confirm requirements for programmed or configurable components |
| Connector and terminal labels | Identifies the interface | Compare names, positions, and pin arrangement |
Take photos before cleaning or removing labels. A label may contain faint characters, a suffix, or a leading zero that materially changes the result. Use a close, well-lit image at a readable angle. A second photo that shows the label in context helps establish which board or assembly it belongs to.
Do not treat every number as an order number
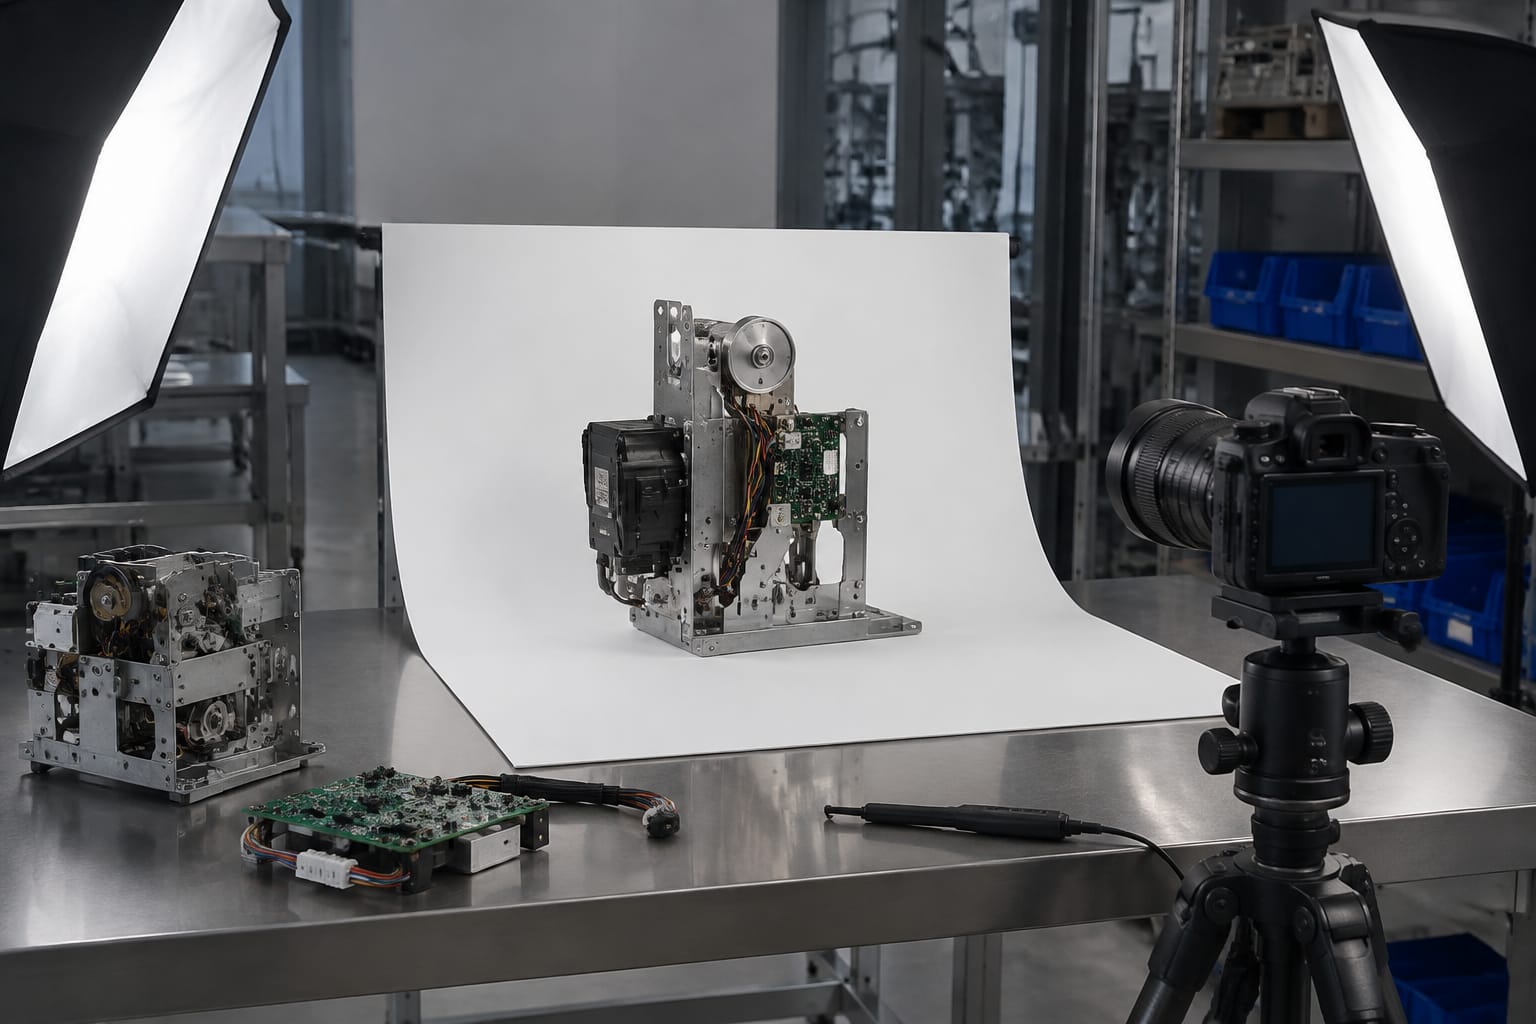
A common error is using a PCB silk-screen number as the required replacement number. That code can identify a circuit board used in several finished assemblies. The complete replacement may include a programmed memory device, display lens, mounting frame, wiring harness, protective cover, or a different board revision.
Likewise, a number on a packaging label may identify a prior shipment rather than the installed part. Compare every number against the label directly attached to the component and against the board markings.
Compare revision numbers and connectors
Once you have found a candidate, compare it to the installed item feature by feature. An exact part number is preferred. When the exact number is unavailable or a later version is presented, revision and interface checks become essential.
A later revision is not automatically interchangeable. Changes can be limited to manufacturing details, but they can also affect connector pinouts, power requirements, firmware, diagnostics, display protocol, or supported controller versions. Only use a replacement relationship when the manufacturer documentation, a reliable cross-reference, or qualified technical confirmation identifies the substitute for that precise application.
Connector comparison checklist
Use clear photos and, where appropriate, a physical inspection to compare:
- Number of connectors and their locations
- Connector keying, gender, latch style, and housing shape
- Pin count and pin numbering
- Printed connector designations, such as X1, X2, or CN1
- Terminal block layout and wire entry direction
- Harness part numbers and cable lengths
- Grounding points and mounting-hole positions
- Voltage labels, fuse ratings, and warning markings
Do not force a connector that almost fits. Similar multi-pin connectors can have different keyways or wiring assignments. An adapter, rewiring change, or connector swap should never be assumed to create compatibility, particularly on safety-related or controller communication circuits.
Treat revision suffixes as meaningful
Record suffixes exactly, including letters, hyphens, spaces, and trailing digits. A label such as ABC123-02 is not necessarily equivalent to ABC123-03, and ABC123A may be a separate configuration rather than a revision. When a supplier offers an alternative, ask what the stated basis for compatibility is: an official supersession, a known functional cross-reference, or a physical similarity assessment.
For electronic assemblies, confirm whether a replacement must arrive programmed, configured on site, or transferred from the removed unit. Avoid moving memory devices or changing board settings unless the equipment documentation and a qualified technician support that procedure.
Match displays and communication boards
Displays and communication boards require a tighter comparison because their visible face may reveal very little about their interface. The same display size can be offered with different messages, mounting arrangements, bus protocols, voltage levels, and car or landing applications.
For a display, record:
- Visible screen dimensions and overall assembly dimensions
- Number of digits, characters, segments, or pixels
- Color and icon arrangement, if applicable
- Front-panel style, cutout dimensions, and mounting method
- Connector type, pin count, and cable orientation
- Voltage marking and any interface-board number
- Whether it is for a car, hall station, or controller use
- The exact messages, floor range, or directional indications supported
For communication boards, identify the system role before comparing board faces. A board may connect the controller to fixtures, car equipment, doors, group systems, or a specific field bus. Connector count alone is weak evidence because different protocols can use similar physical interfaces.
An outgoing call display board for KONE elevator applications should be evaluated against the installed display function, board code, revision, connector layout, and equipment context. It should not be selected solely because the display image appears similar.
Separate a display failure from a communication failure
Before ordering, establish whether the display receives the expected power and communication signal. A failed display can be caused by a damaged traveling cable, loose plug, corroded terminal, failed controller output, or a separate interface board. This diagnosis falls within the maintenance team’s normal troubleshooting process and should follow applicable equipment documentation and safety procedures.
When the failure source is uncertain, document the symptom precisely: blank screen, intermittent operation, incorrect characters, no directional arrow, missing floor position, or a display that functions only at certain landings. That information helps distinguish a likely display problem from an upstream communication issue.
Identify service tools correctly
Service tools are frequently misidentified because many handheld devices, programming tools, adapters, and test leads have similar form factors. A tool’s connector is only one part of the compatibility question.
Identify service tools using:
- Exact tool name and manufacturer code
- Supported controller or equipment generation
- Connector and adapter requirements
- Required cables, leads, and power accessories
- Software version or service application requirements
- Intended operation, such as diagnostics, commissioning, parameter access, or display testing
- Whether authorized access, credentials, or manufacturer documentation are required
Do not purchase a service device based on an image of the handheld unit alone. The unit may require a model-specific adapter or may support only a particular generation of controls. It may also be sold as a set with essential cables that are absent from an individual listing.
Service access and parameter changes can affect elevator operation. Buyers should ensure that any tool is used by personnel qualified for the equipment and authorized to perform the intended work. A replacement tool does not remove the need for proper procedures, documentation, or safe access controls.
Request useful supplier photos
Supplier photos can answer important questions when they show the actual item clearly. They are most valuable as evidence that supports code and revision matching, rather than as the sole basis for identification.
Request these images for a candidate replacement:
- A straight-on photo of the front, including labels and indicators
- A photo of the back, including all connectors and terminal blocks
- Close-ups of every part-number, revision, and firmware label
- A full photo showing mounting points, enclosure, and included accessories
- Photos of cable ends, plugs, and adapters when they are part of the offer
- A close-up of any damaged, altered, repaired, or missing area when condition matters
Ask whether the images show the exact unit offered or a representative reference photo. This distinction matters for used, surplus, refurbished, or mixed-stock electronic parts. For any candidate, compare the photos against your record of the removed part line by line.
Kelevator supplies multi-brand elevator spare parts for B2B importers, distributors, maintenance contractors, modernization companies, and OEM buyers. For a sourcing inquiry, providing the structured record described above allows the supplier to assess the request with substantially more precision than a general visual description.
Avoid common matching mistakes
Most incorrect orders trace back to incomplete identification rather than a lack of available images. The following mistakes are especially common.
Ordering from a front-face photo only
The front of a display or board often omits the connector arrangement, label, revision, and rear mounting structure. Always obtain the back view and label close-ups.
Ignoring the system function
A board that looks right may perform a different job in the elevator. Identify whether it is a power, interface, display, I/O, door, communication, or safety-related component before comparing candidates.
Omitting suffixes and revisions
Do not shorten codes in a purchase request. A suffix can identify a different hardware revision, configuration, or finished assembly.
Assuming physical fit means electrical compatibility
Matching dimensions and mounting holes do not validate voltage, pinout, protocol, firmware, or controller support. Confirm both physical and functional compatibility.
Using a generic part name as the only identifier
Terms such as “KONE display,” “door board,” or “decoder” describe a category, not a specific replacement. Pair the category with the full label code and equipment context. For example, a KONE elevator parts decoder should be matched by its exact identifiers and intended controller application.
Replacing the visible component before diagnosing the circuit
A blank display may be a wiring, power, communication, or controller issue. Verify the fault path before committing to a replacement component.
Failing to record installed configuration
Settings, firmware, jumpers, memory devices, cable arrangements, and panel configuration can matter. Document the removed component before replacement work begins, consistent with the manufacturer’s procedures and site requirements.
A practical KONE parts view workflow
Use this workflow whenever you need to identify a KONE replacement part:
- Record the elevator model, controller family, and installed location.
- Define the component’s exact function and observed fault.
- Photograph the component front, back, labels, connectors, cables, and mounting points.
- Transcribe all numbers exactly, including revision suffixes and firmware labels.
- Search with model, function, and exact code together.
- Compare each candidate’s label, revision, connectors, dimensions, and role.
- Confirm any proposed supersession or substitute through reliable technical evidence.
- Verify programming, configuration, cables, accessories, and installation requirements before ordering.
- Preserve the removed part and identification record until the replacement has been verified in the proper maintenance process.
The best next step is to create a one-page identification record for the installed part, then use it to compare candidates or submit a complete sourcing request. That keeps the KONE parts view process focused on evidence and compatibility rather than appearance alone.
Related product references
For practical catalog examples related to this topic, review KONE Elevator Parts Decoder Unlimited Times Operator lift parts, Pit inspection box well lighting switch KONE elevator parts lift accessories, and KONE elevator parts outgoing call display board lift accessories. Confirm the exact model, dimensions, ratings, and connectors before ordering.