
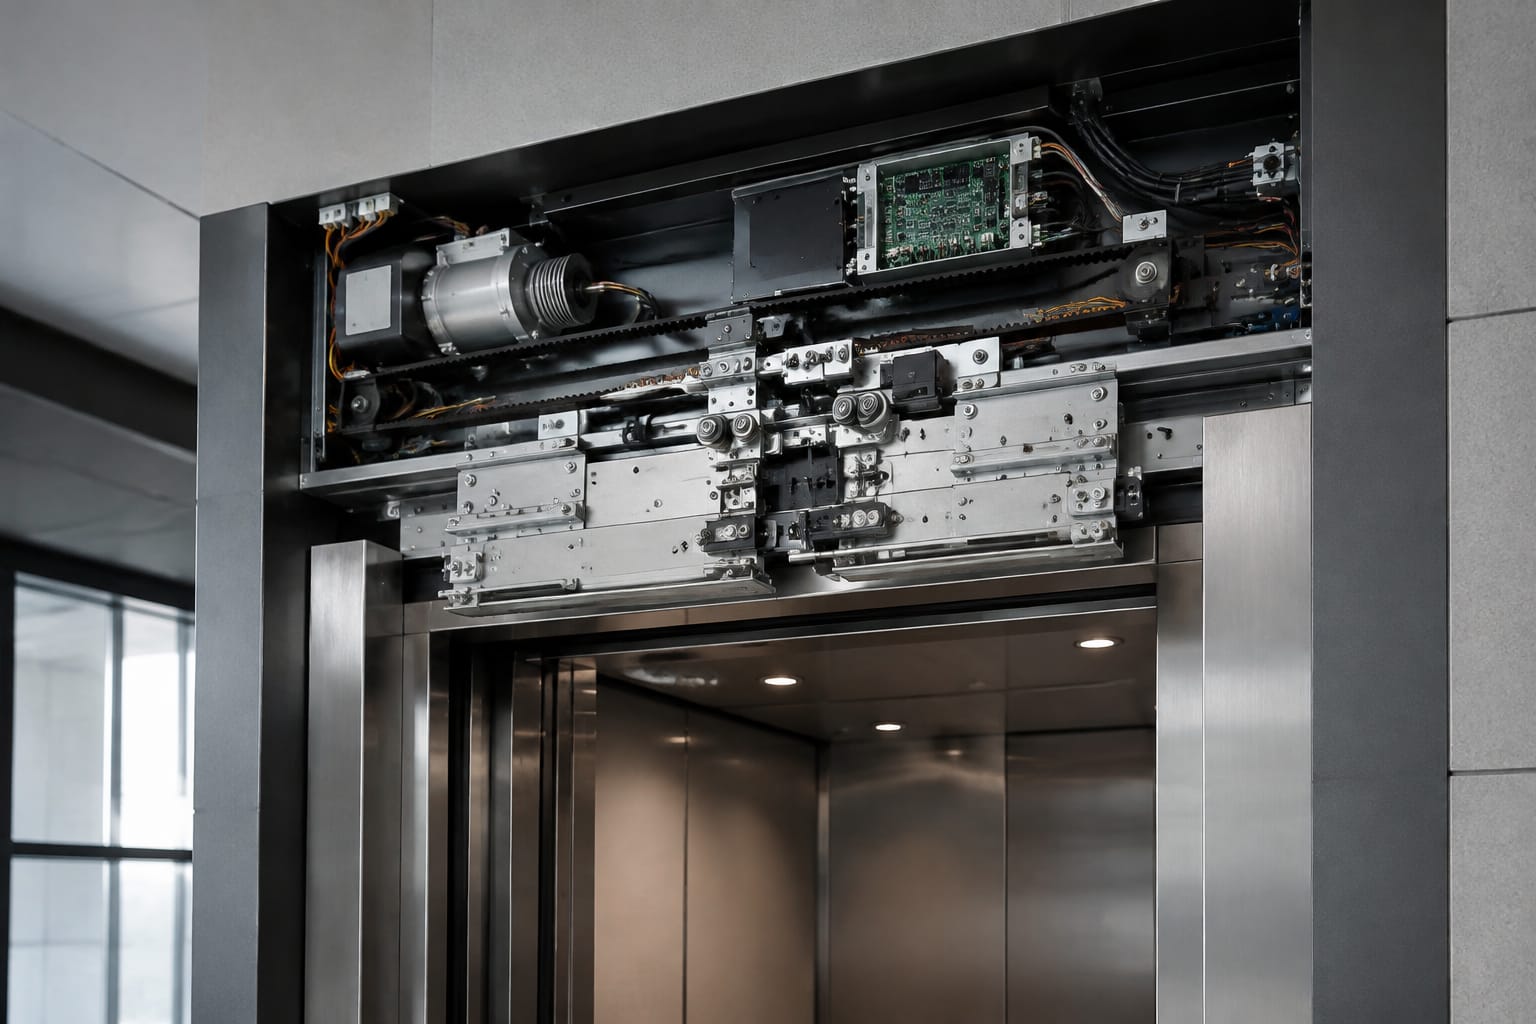
A KONE elevator door part should be matched to the specific door-operator system, not selected by appearance alone. A lock, motor, car-door knife, controller, or safety contact may fit physically while still having the wrong electrical rating, connector, travel geometry, firmware revision, or safety function.
For maintenance and replacement work, start with the operator and landing-door identification data, then verify the failed component against its installed markings, wiring, mounting arrangement, and related mechanical parts. This approach reduces repeat callbacks, damaged equipment, and door safety faults.
How the KONE door system works
An elevator door system has two coordinated assemblies: the car door and the landing door. The car-door operator opens and closes the car door. As the car reaches a floor, the car-door mechanism engages the landing-door equipment so both doors move together.
Although configurations vary by building, equipment generation, and modernization history, the operating sequence generally works as follows:
- The controller confirms that the car is level and permitted to open.
- The door operator drives the car doors through a motor, belt, linkage, or other transmission arrangement.
- A car-door knife engages the landing-door lock or clutch arrangement.
- The car door pulls the landing door open; closing reverses the sequence.
- Door contacts and lock contacts report whether the doors are closed and locked.
- The elevator is allowed to run only when the required safety circuit conditions are satisfied.
This is why a reported “KONE elevator door” failure is not always a failed motor or lock. A worn roller, bent knife, loose vane, poor door alignment, damaged harness, or incorrect controller setting can create similar symptoms.
For purchasing purposes, distinguish the part’s functional group before looking for an equivalent:
| Part group | Main function | Typical fault symptom | Key compatibility concern |
|---|---|---|---|
| Landing-door lock | Secures a landing door and proves locking status | Door-lock fault, unlocked landing door, intermittent safety circuit | Lock type, handing, mounting, contact arrangement |
| Car-door knife or vane | Couples car and landing doors | Landing door does not move, scraping, failed engagement | Profile, offset, height, engagement geometry |
| Door motor | Powers door movement | Slow, stalled, noisy, or erratic door travel | Motor type, voltage, feedback device, shaft and mounting |
| Door controller | Commands and monitors the operator | Repeated reversals, no response, diagnostic fault | Operator family, software/revision, I/O and connector layout |
| Safety contact or switch | Confirms closed, locked, or protected state | Intermittent faults, door reopens, elevator will not run | Contact logic, wiring, actuation position, safety role |
Door locks and safety contacts
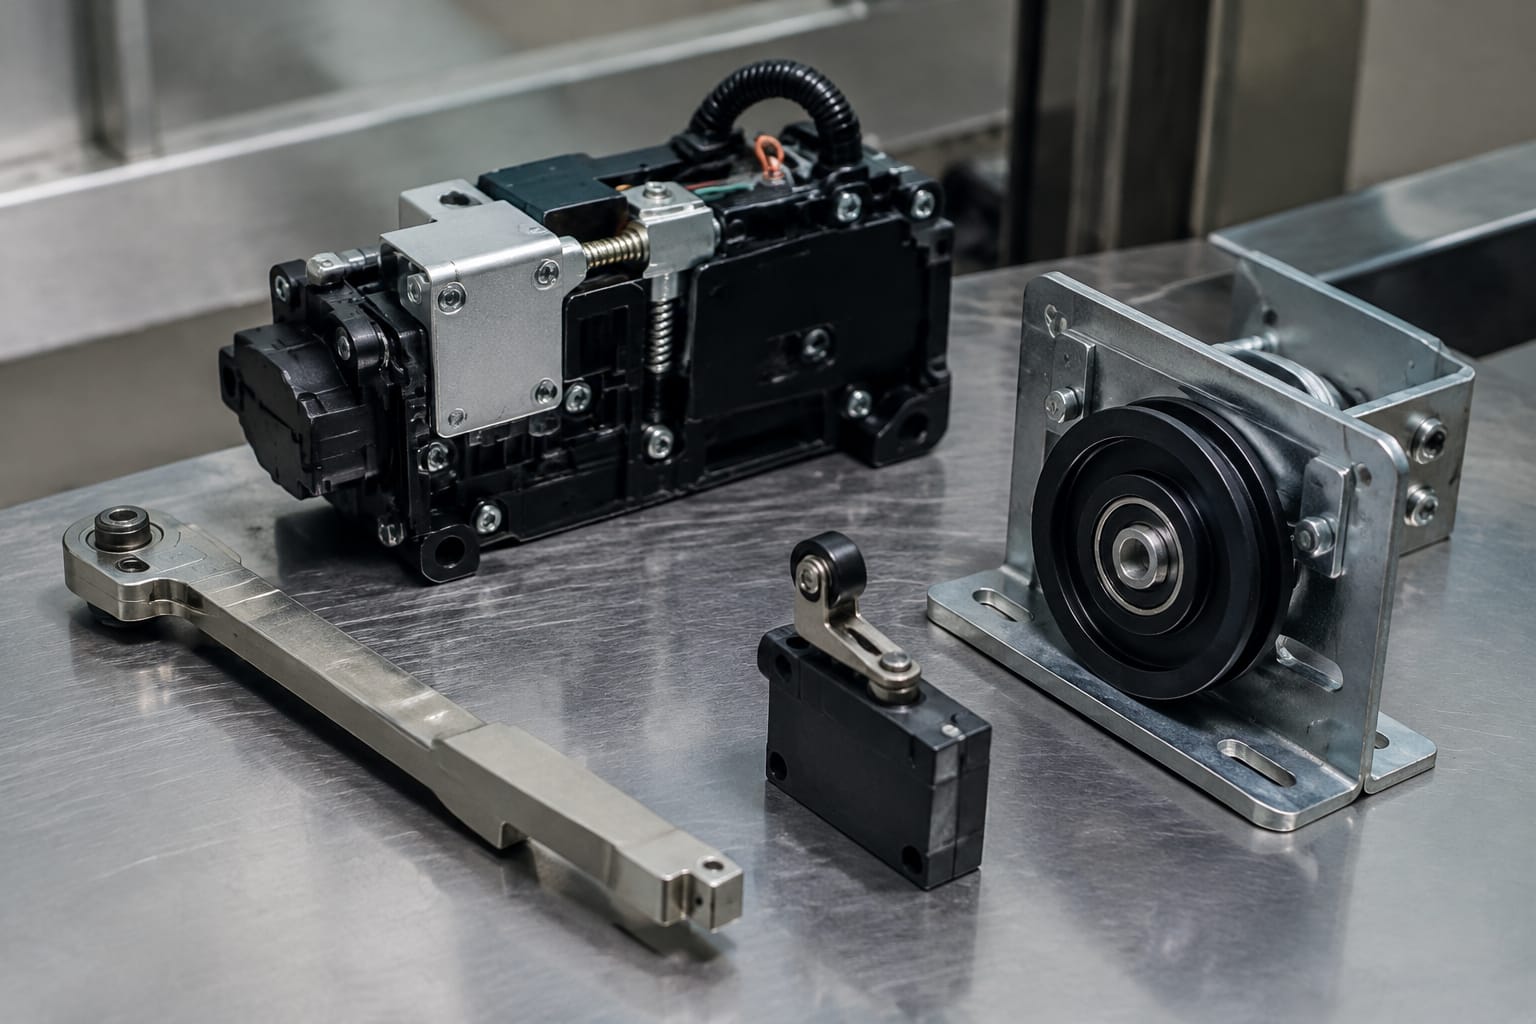
Landing-door locks are safety-critical devices. Their job is mechanical as well as electrical: the door must remain locked when the elevator car is not correctly positioned at that landing, while the electrical contacts help prove the required condition to the elevator control system.
What to verify on a replacement lock
A replacement must match more than the housing shape. Record and compare:
- The complete manufacturer and part number on the installed lock
- The landing-door type and lock mounting position
- Left-hand or right-hand configuration, where applicable
- Mechanical release arrangement and access orientation
- Contact quantity, terminal arrangement, and contact state
- Actuator, hook, roller, or cam geometry
- Applicable voltage and current markings for the contacts
- Door panel thickness, header arrangement, and mating hardware
- Whether the original lock was changed during a prior modernization
Do not assume that locks from similar-looking KONE entrances are interchangeable. The electrical contacts may have different roles, and a lock that does not correctly mate with the car-door unlocking device can cause unreliable operation or prevent the door from locking.
For related lock hardware, compare the complete mechanical interface rather than ordering a single piece based on a broad description. The available range of KONE door lock wheels, switches, and brackets is relevant when the fault is in an associated wheel, switch, or mounting component rather than the lock body itself.
Safety contacts need a circuit-level check
A contact that changes state during a continuity check is not automatically serviceable. It may still fail under vibration, have excessive contact resistance, or actuate at the wrong point in the closing cycle. Before replacing it, inspect:
- Wire terminations for loose screws, broken conductors, or heat damage
- Contact block movement and actuator wear
- Door and lock alignment at full closure
- Evidence of moisture, contamination, or arcing
- Whether the contact fault occurs at one landing or across multiple floors
- Controller fault history, if available
Never bypass, jumper, alter, or defeat a door lock or safety contact to keep an elevator in service. Those devices participate in a safety function, and a temporary bypass can conceal the actual fault while creating an unsafe condition.
Door knives and mechanical linkages
The car-door knife, sometimes called a vane or clutch component depending on its design, transfers motion from the car door to the landing door. It must enter and engage the landing-door unlocking and coupling equipment at the correct elevation and lateral position.
A damaged or incorrectly adjusted knife can produce a range of symptoms:
- The car door opens but the landing door remains closed
- The landing door opens inconsistently at certain floors
- Metal-to-metal scraping occurs near the unlock zone
- Door motion becomes noisy or jerky
- The landing door fails to relock after a cycle
- The door operator detects excess force and reopens
Matching the mechanical geometry
Mechanical door components should be matched by measurements and interfaces, not by a photo alone. Verify the knife profile, length, thickness, mounting-hole pattern, offset from the car-door panel, and relationship to the landing lock. Note whether the part is fixed, adjustable, spring-loaded, or paired with a separate coupler.
The receiving hardware matters too. A new car-door knife will not correct a worn landing-door roller, distorted lock bracket, or loose sill guide. Inspect both sides of the engagement before choosing the repair scope.
When sourcing a car-door coupling part, use an image as a preliminary reference only. Confirm the installed part number and dimensions against KONE car-door knives and door-lock devices before placing an order.
Linkages, rollers, and door-panel condition
Door problems that appear to be electrical often begin with mechanical resistance. Check rollers, hangers, belt condition, panel guides, eccentric adjustments, gibs, and linkage pivots. Look for:
- Flat spots or bearing play in rollers
- Loose fasteners and worn pivot points
- Belt tracking issues, contamination, or frayed edges
- Misaligned panels rubbing the sill, header, or adjacent panel
- Excessive door-panel force needed to move the door by hand during a controlled inspection
- A changed door gap following building work, impact damage, or replacement panels
Correct the mechanical condition before tuning door speeds or replacing electronics. Otherwise, the new part may be exposed to the same overload condition that contributed to the original failure.
Door motors and controllers
The door motor produces movement; the door controller determines how that movement is commanded, monitored, and protected. On modern operators, the controller may use position feedback and current monitoring to regulate acceleration, speed, force, reversals, nudging, and door-open timing.
Because these components operate as a system, a motor replacement should include a controller-side assessment, and a controller replacement should include a mechanical assessment.
Motor selection criteria
Door motors vary by construction and interface. Before ordering a KONE door motor, compare:
- Motor part number and operator model
- Rated voltage, phase arrangement, and frequency where marked
- Rated current and power data, when available
- Motor technology and feedback type
- Encoder, tachometer, Hall sensor, or other feedback connector
- Shaft diameter, shaft length, keyway, gear, pulley, or belt interface
- Mounting face, bolt pattern, and orientation
- Harness length, connector keying, and pin count
- Brake components, if the motor assembly includes them
A motor with the same overall dimensions may not be compatible if its feedback signal or shaft arrangement differs. Conversely, a motor fault may originate from a failed cable, connector, controller output stage, binding mechanism, or setup parameter.
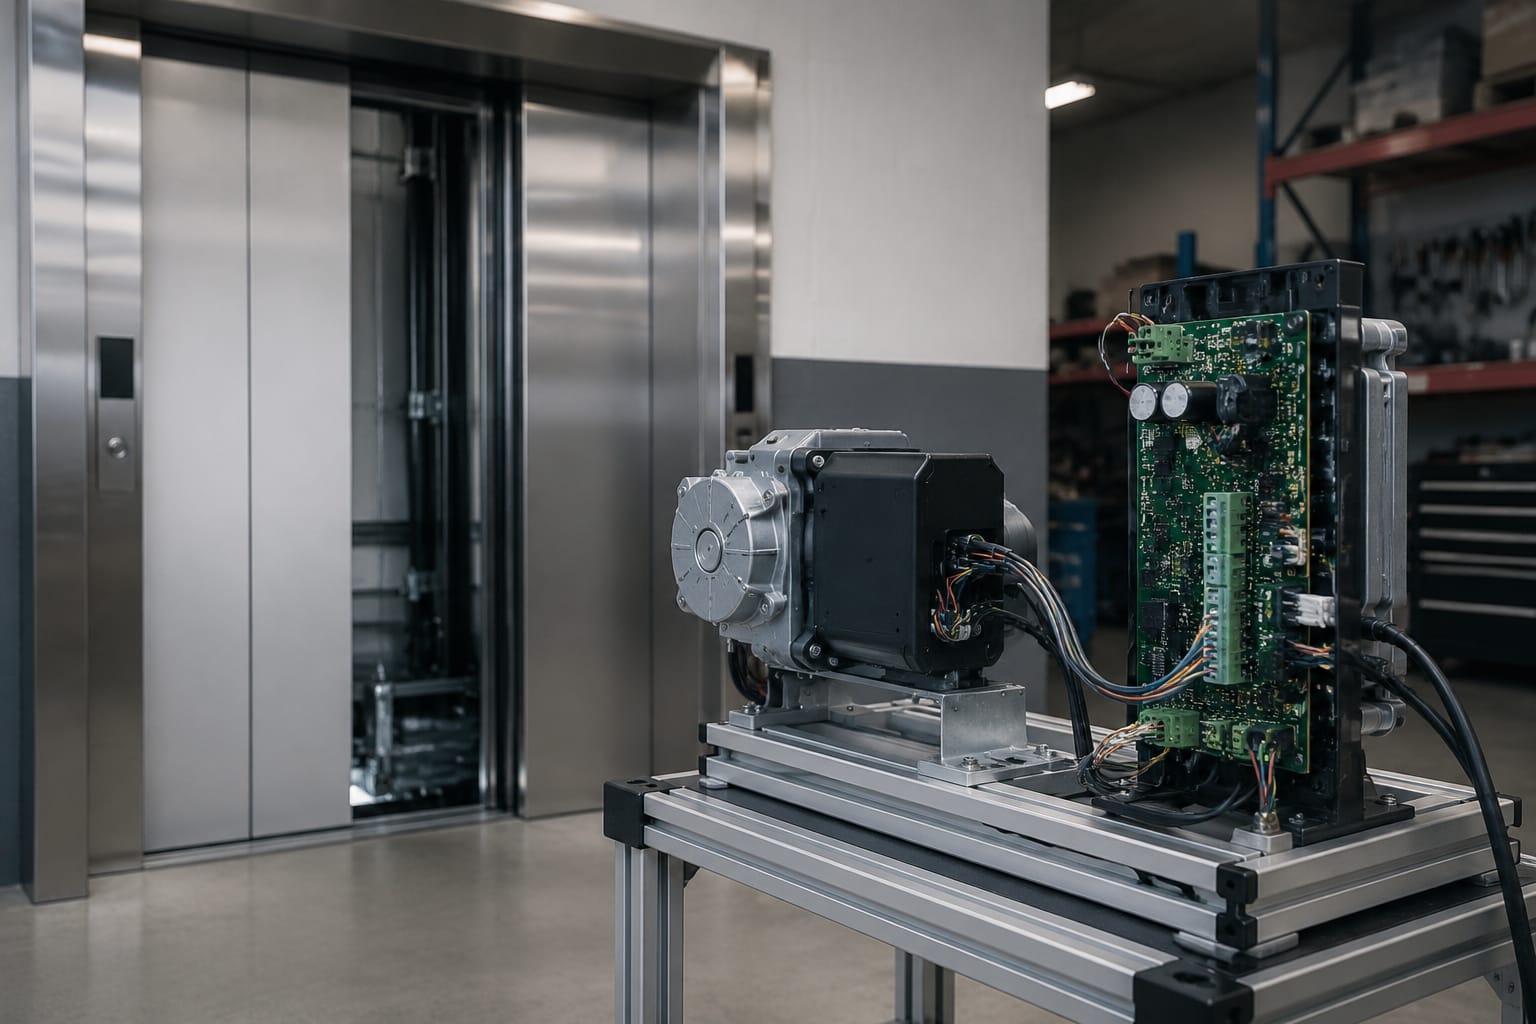
For procurement teams reviewing motor and control assemblies, the KONE door motor and controller selection page can serve as a starting point. Final compatibility still depends on the identification details from the installed operator.
Controller replacement considerations
Door controllers commonly contain configurable settings and may be tied to a particular operator generation or software revision. Treat the controller label, software level, terminal layout, and wiring diagram as required matching information.
Confirm these points before replacing a controller:
- Exact controller and operator identification
- Supply voltage and protective-device requirements
- Motor and feedback connections
- Inputs for door-open, door-close, safety edge, light curtain, and position signals
- Outputs or communication connections to the elevator controller
- Parameter retention, setup procedure, and commissioning access
- Compatible firmware or hardware revision
- Whether a programmed configuration, memory device, or external service tool is required
Do not transfer settings from one door system to another without confirming they apply to the same operator configuration. Door width, panel mass, transmission arrangement, sensor type, and opening direction can all affect the correct settings.
Identify the door-operator model
The door-operator model is the most important starting point for a KONE elevator door parts search. Parts are often identifiable only when the operator data is considered alongside the individual component label.
Capture identification before removing the failed part. Useful sources include:
- The nameplate on the car-door operator
- Labels on the door controller and motor
- Markings on the landing lock and car-door coupling assembly
- Equipment records and previous service reports
- Wiring diagrams inside the operator enclosure or controller compartment
- Clear photographs of labels, connectors, mounting locations, and the complete assembly
Take photos before disconnecting wiring or changing adjustments. Include a wider photo that shows where the part sits in the operator, then close images of labels and connections. A label photo that is sharp enough to read often resolves uncertainty that a general equipment photo cannot.
Separate original equipment from modernization additions
Many elevators have mixed equipment. A building may retain original entrances and landing locks while receiving a newer controller, operator, motor, or sensor package. It is therefore risky to identify a replacement solely from the elevator’s installation year or main controller model.
Match the component to the assembly it actually serves. For example, an entrance lock should be identified from the landing-door equipment, while a motor and controller should be identified from the car-door operator.
Match ratings, connectors, and revisions
Part numbers are the strongest identifier, but confirmation should continue through electrical and physical interfaces. The following checks help prevent an otherwise plausible but incorrect replacement.
| Check | What to compare | Why it matters |
|---|---|---|
| Electrical rating | Voltage, current, supply type, and marked ratings | Incorrect ratings can damage equipment or prevent normal operation |
| Connector | Pin count, keying, gender, locking method, and wire order | Similar plugs can carry different signals or pin assignments |
| Feedback | Encoder or sensor type, connector, and signal compatibility | The controller may not control motor position correctly without matching feedback |
| Mounting | Bolt pattern, shaft interface, orientation, and clearance | A part must mount without stressing cables or interfering with travel |
| Contact logic | Normally open/closed state and terminal arrangement | Incorrect logic can create persistent faults or unsafe status reporting |
| Revision | Hardware version, software level, or supersession details | A newer revision may require a different harness, setting, or companion component |
| Handing and geometry | Left/right orientation, door opening, knife and lock positions | Incorrect geometry can prevent engagement or damage hardware |
Do not rely on connector color alone. Colors vary across harnesses, field repairs, and production revisions. Use terminal markings and verified documentation whenever available.
A superseding part can be appropriate, but it is not automatically plug-and-play. Confirm whether the supersession changes wiring, mounting, firmware, parameter settings, or companion components. When those details cannot be verified, treat the part as unconfirmed rather than forcing an installation.
Diagnose before replacing a part
A disciplined diagnosis avoids replacing good components. Start by identifying the symptom, then isolate whether the problem is mechanical, electrical, control-related, or caused by an external signal.
A practical diagnostic sequence
- Make the equipment safe. Follow the site’s lockout, access, and qualified-person procedures before inspecting a door system.
- Read the fault condition. Record controller indicators, diagnostic messages, recurring error codes, and when the failure occurs.
- Inspect for obvious mechanical issues. Check panel alignment, rollers, guides, belt condition, linkage movement, knife engagement, and signs of impact.
- Check the power path. Confirm the correct supply reaches the door controller and motor circuit, using appropriate test procedures.
- Inspect wiring and connectors. Look for pinched cables, broken conductors at flex points, corroded terminals, loose plugs, and incorrect prior repairs.
- Test the relevant signals. Verify contacts, sensors, and feedback signals according to the equipment documentation and safe test method.
- Assess the motor and controller together. A stalled motor may reflect mechanical binding; a nonresponsive motor may reflect a controller, signal, or harness fault.
- Document the evidence. Preserve readings, fault codes, label information, and photos so the replacement can be matched accurately.
Common mistakes to avoid
Replacing the motor because the door is slow is a common mistake. Slow travel can result from binding panels, worn rollers, poor belt condition, low supply voltage, incorrect parameter values, or obstruction detection.
Another mistake is treating an intermittent door-lock fault as a failed contact without checking alignment. A lock can be electrically sound but fail to reach its proper mechanical position because the landing door, lock bracket, or unlocking mechanism has shifted.
Avoid repeated parameter changes to compensate for unresolved mechanical resistance. Raising force, speed, or timing settings may hide the symptom temporarily but can increase wear and reduce predictable operation.
Commission and test the repaired door
A replacement is not complete when the new component powers up. The repaired door must be commissioned and tested according to the applicable equipment documentation, site procedures, and safety requirements.
At minimum, a qualified elevator technician should verify:
- Correct mechanical installation, fastening, and cable routing
- Full open and closed travel without rubbing, binding, or abnormal noise
- Proper car-door knife engagement with landing-door equipment
- Landing-door locking and unlocking at each relevant floor
- Correct closed and locked status signals
- Door reopening response for the installed protective devices
- Controlled opening, closing, reversal, nudging, and dwell behavior as applicable
- Consistent operation across repeated cycles
- No new diagnostic faults after testing
Test the conditions that originally produced the failure. If a door fault occurred only at a particular landing, include that landing. If it occurred during closing after a reversal, test that sequence rather than limiting the check to a single normal cycle.
Document the installed part number, revision, adjustments, fault history, and final test results in the maintenance record. That information improves future troubleshooting and helps distinguish recurring system issues from an isolated component failure.
For a practical replacement decision, gather the operator and component labels, photos of the installed part and connector, the fault symptom, and any controller code. Kelevator supplies multi-brand elevator spare parts for B2B buyers; those details provide the basis for confirming a suitable KONE elevator door part before procurement.