
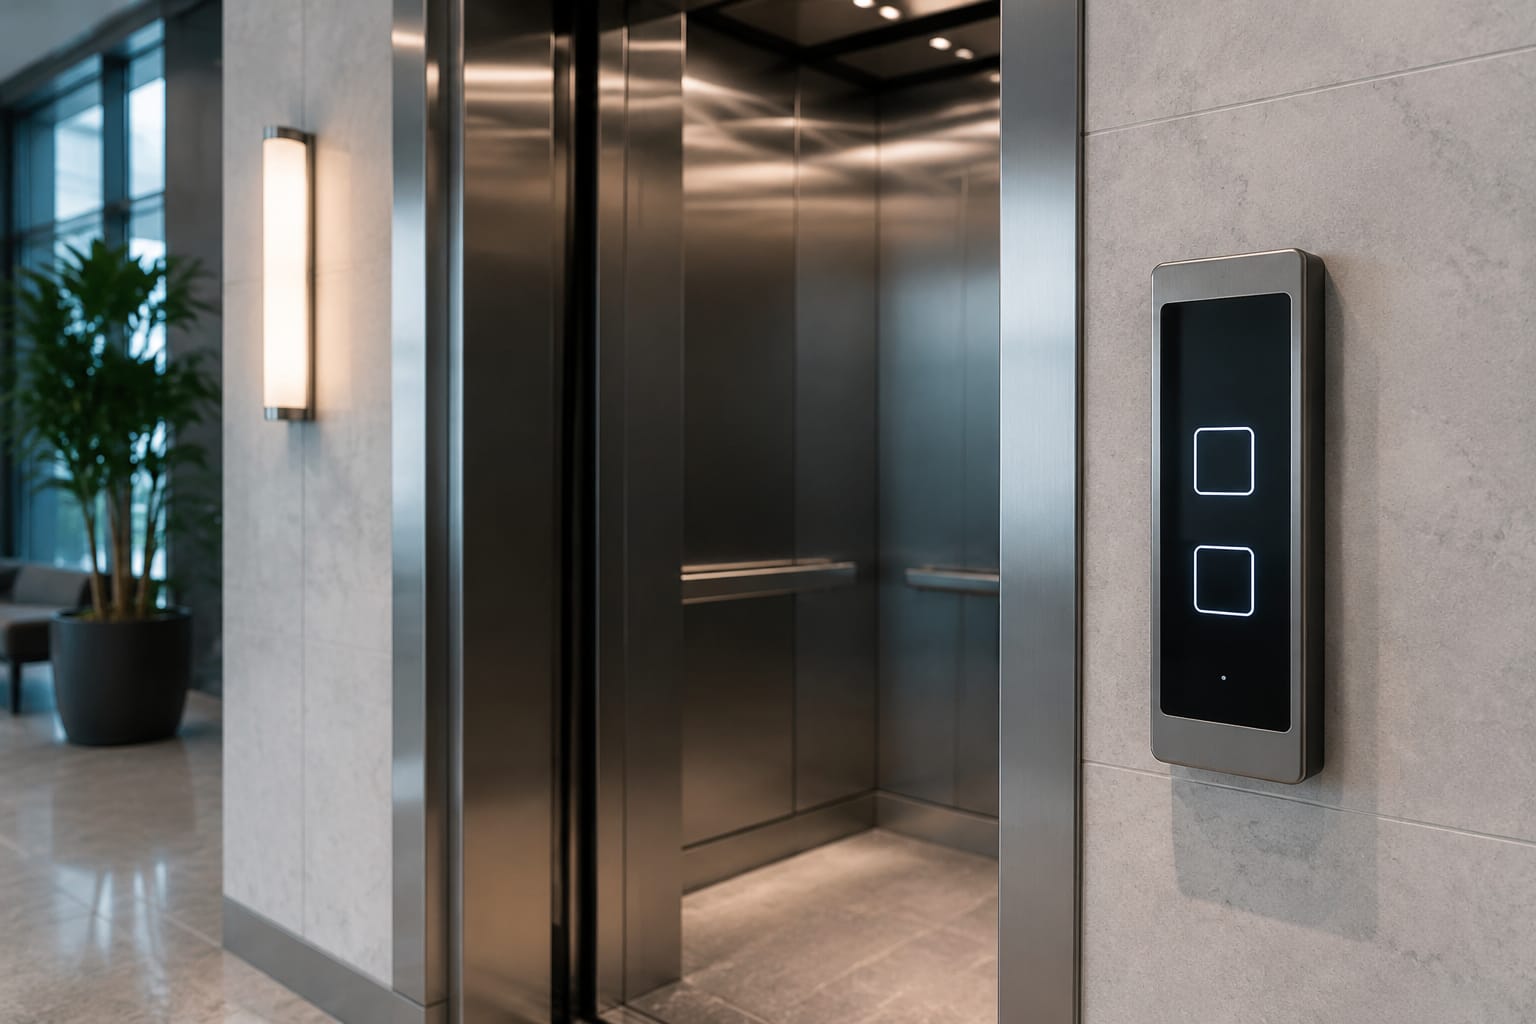
An elevator touch panel can improve the appearance, cleanability, and information capacity of a car operating panel, but it is not a drop-in replacement for every conventional push-button fixture. A successful upgrade depends on the panel’s input technology, tactile and visual accessibility features, controller interface, mounting arrangement, and emergency-operation design.
Before purchasing a replacement or planning a modernization, identify the existing controller, communication method, power requirements, panel cutout, button layout, and applicable code requirements. A panel that looks correct but cannot communicate reliably with the controller, or that does not provide required accessible operation, creates avoidable rework.
How elevator touch panels work
An elevator touch panel replaces some or all physical floor-selection buttons with an electronic sensing surface. When a passenger touches an assigned area, the panel detects the input and sends a call request to the elevator controller. The controller, rather than the touch panel itself, decides whether to register the call, illuminate feedback, close doors, or dispatch the car.
The operating sequence generally includes four parts:
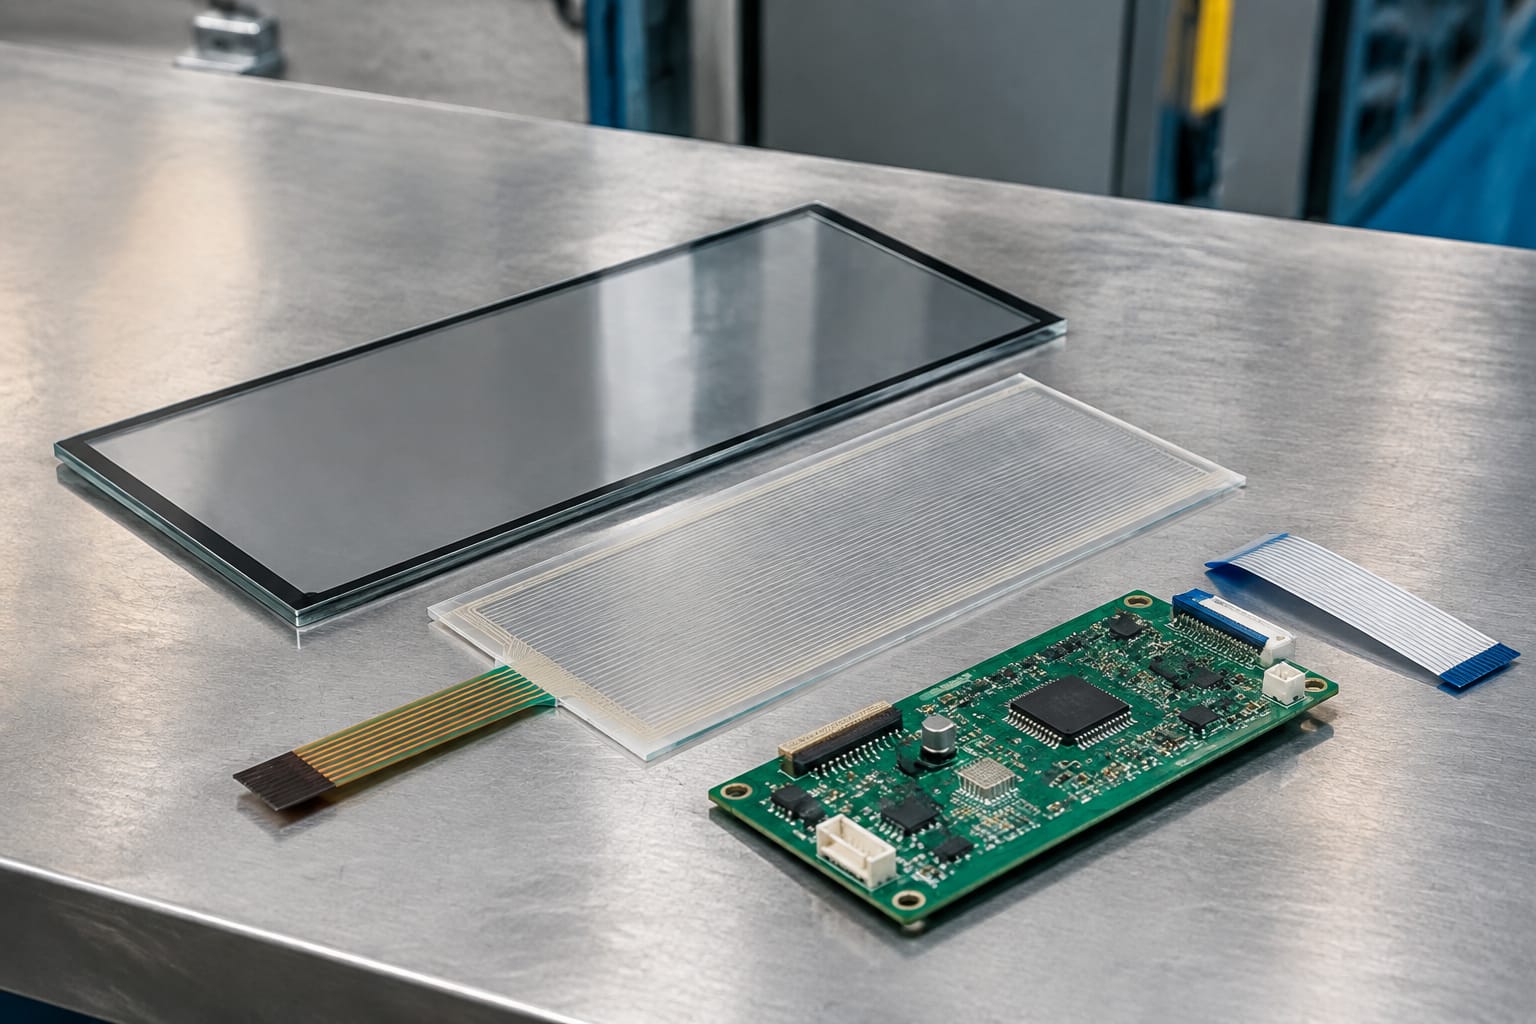
- Input detection: A capacitive, resistive, infrared, optical, or pressure-sensitive layer detects a finger touch or press.
- Local processing: The panel electronics interpret the touch location, reject unintended inputs where possible, and trigger visual or audible feedback.
- Controller communication: The panel sends the call through discrete inputs, serial communications, CAN-based networks, or a proprietary controller interface.
- Status feedback: The controller and panel exchange floor availability, registered-call status, alarm state, out-of-service status, and sometimes directional or destination information.
Touch panels may be installed as a full car operating panel (COP), a touchscreen within a conventional fixture, a destination-dispatch terminal, or a hybrid arrangement with touch floor selection and physical emergency controls.
The distinction matters because not all panels have the same electrical role. A simple touch-button board may emulate individual dry-contact button inputs. A display-driven panel can be a networked device that depends on specific controller messages and software configuration. Confirm the architecture before treating one type as an equivalent replacement for another.
Touch buttons versus mechanical buttons
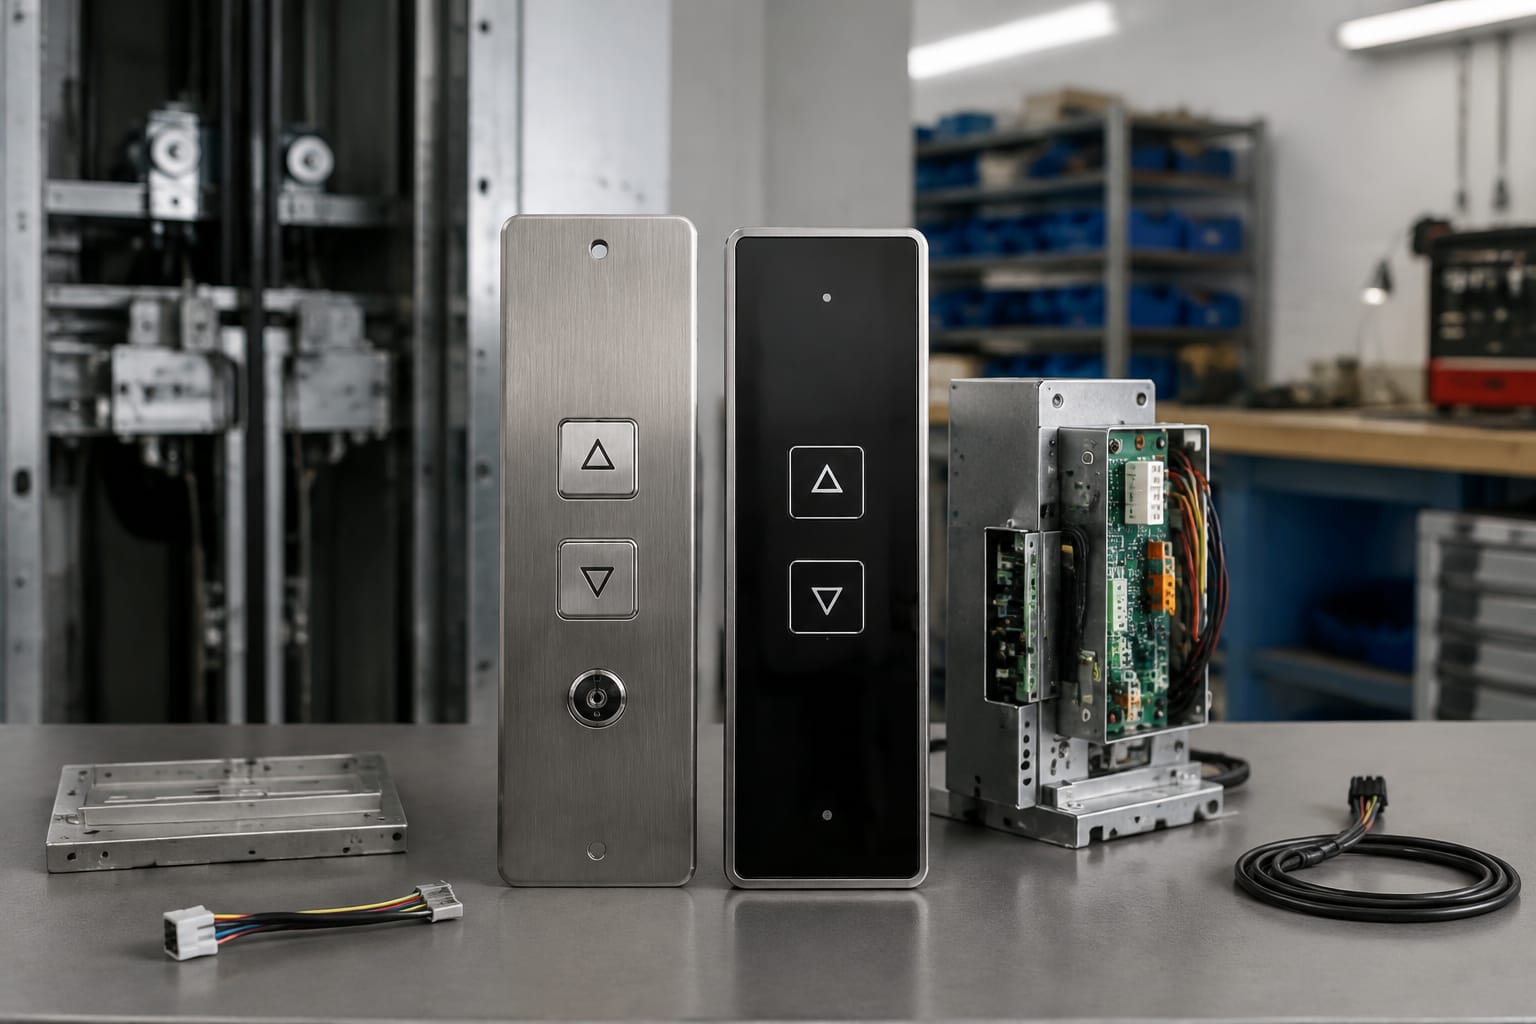
Mechanical push buttons remain common because they provide a clear physical press, tactile location, predictable feedback, and a familiar service model. Touch controls can offer flexible graphics and fewer moving parts, but they add electronic and environmental dependencies.
| Selection factor | Touch panel or touch button | Mechanical elevator button |
|---|---|---|
| User feedback | Usually visual, audible, haptic, or a combination | Physical travel plus illumination or sound |
| Layout flexibility | Graphics and labels may be configurable on some systems | Layout changes normally require fixture changes |
| Cleaning | Flat surfaces can be easier to wipe | Gaps and button edges require more detailed cleaning |
| Wear points | Sensor surface, overlay, display, controller interface | Switch mechanism, lamp or LED, bezel, wiring |
| Glove or moisture response | Can vary substantially by sensing technology | Usually remains operable with physical actuation |
| Accessibility | Must be evaluated carefully for tactile and operable-part requirements | Tactile markings and physical location are more straightforward |
| Failure behavior | May affect several selections or the entire interface | Often limited to an individual button or lamp |
| Retrofit complexity | Can require software, communications, and fixture changes | Often easier when matching existing button inputs and cutouts |
A mechanical button is often the more conservative choice for a like-for-like repair, especially where the existing controller expects individual button contacts and the fixture already meets the building’s accessibility needs. It may also be preferred in harsh environments where wet fingers, gloves, vandalism, or frequent impact are expected.
A touch interface is more compelling when the project needs dynamic language options, building messages, destination dispatch, flexible floor naming, an updated appearance, or coordinated display functions. The benefits are strongest when the panel is specified as part of a compatible system rather than adapted to an unknown legacy interface.
Do not assume that a glass-front panel automatically improves usability. Flat, unmarked touch zones can be difficult for riders with low vision to locate, and a screen-only design may not be appropriate for all passenger functions. Evaluate the whole operating experience, not only the appearance of the fixture.
Display and user-interface options
Touch-panel designs range from discrete illuminated touch areas to full LCD or OLED displays. The best choice depends on whether the elevator needs basic floor selection, building messaging, destination control, or rich status information.
Discrete touch-button layouts
These panels use fixed, labeled touch areas for each floor and common commands. They can resemble a traditional COP while removing button travel. Their advantages include a familiar arrangement and simpler user training. Their limitations include fixed capacity and the need to verify whether labels, Braille, raised characters, and call registration indicators are provided separately or integrated.
For systems based on compatible touch-button boards, review products such as this ID elevator touch button board against the original part number, connector arrangement, voltage, dimensions, and controller family. Similar-looking boards can have different pinouts or signal logic.
Integrated display panels
An integrated display can show floor position, travel direction, service messages, media, building announcements, and elevator status. Some designs also use on-screen floor selection. A display should remain readable under the car’s actual lighting conditions, including glare from overhead fixtures and reflections from stainless steel.
When evaluating a display panel, confirm:
- Active display area and overall fixture dimensions
- Resolution, brightness control, and viewing angle
- Floor naming and language configuration options
- Call-registration indication and audible confirmation
- Whether the display is only informational or also accepts ride commands
- Operating temperature, cleaning-agent restrictions, and surface durability
- Service access for replacing the display or overlay
- Behavior during controller restart, communication loss, and power interruption
For example, a Monarch system LCD display panel should be assessed as a system-specific component, not selected on screen size alone. Its controller compatibility, wiring, firmware expectations, and mounting details determine whether it is suitable for a particular project.
Destination-dispatch interfaces
Destination dispatch moves floor selection from inside the car to a hall terminal. Riders select their destination before entering, then receive a car assignment. This can improve traffic handling in suitable high-traffic applications, but it changes passenger behavior and requires coordinated configuration across hall stations, controllers, displays, and signage.
A destination interface is a modernization system decision, not merely a COP upgrade. It should include a plan for accessible use, visitors, emergency operation, tenant access credentials, and service procedures during a system outage.
Common touch-panel fault symptoms
Touch-panel problems may originate in the panel itself, the wiring, the power supply, the controller, or configuration. Replacing the front panel without testing the signal path can leave the original fault unresolved.
| Symptom | Likely causes to investigate | First checks |
|---|---|---|
| One floor will not register | Damaged sensor area, failed input channel, overlay damage, loose connector, controller input issue | Compare local touch indication with controller input status |
| Entire panel is unresponsive | Lost power, failed panel electronics, disconnected harness, communication loss, controller fault | Verify supply voltage, ground, connectors, and system status indicators |
| False or repeated selections | Contamination, moisture, cracked overlay, incorrect sensitivity, grounding issue, electrical noise | Clean and dry the surface; inspect for damage and verify grounding |
| Touch location is offset | Calibration loss, incorrect display resolution setting, damaged digitizer, software issue | Restart according to procedure and check calibration/configuration |
| Display is blank but calls work | Backlight failure, display power issue, cable fault, display module failure | Verify display supply and signal cable before replacing the panel |
| Calls appear locally but car does not respond | Communication mismatch, wrong address, controller configuration issue, bus wiring fault | Check panel address, protocol, bus continuity, and controller logs |
| Intermittent operation | Connector strain, vibration damage, temperature issue, moisture intrusion, marginal power supply | Inspect harness routing and test during the condition that produces the fault |
Separate surface faults from control faults
A cracked cover lens or worn printed overlay may be cosmetic, but it can also allow moisture or cleaning fluid to reach the sensing layer. Likewise, a healthy-looking panel may fail because the controller does not receive its message.
Use a structured fault process:
- Record the symptom, affected floors, timing, and environmental conditions.
- Confirm whether local feedback occurs when the touch area is activated.
- Inspect the fixture, wiring harness, connectors, shield termination, and grounding.
- Measure the specified supply at the panel under operating conditions.
- Check controller inputs or network diagnostics.
- Verify configuration, addressing, and software compatibility.
- Replace or substitute components only after the fault is isolated.
Avoid using aggressive solvents, abrasives, or excess liquid when cleaning touch surfaces. Cleaning guidance must follow the panel manufacturer’s documentation because coatings, adhesives, and anti-glare treatments vary.
Controller and communication compatibility
Controller compatibility is the most important buying criterion for an elevator touch panel. Physical fit, screen size, and a matching connector style do not establish electrical or software compatibility.
Start with the original part number and controller documentation. Then compare the replacement against the details below.
Electrical and signal checks
Confirm the specified:
- Supply voltage range, current demand, polarity, and grounding method
- Input/output type, such as dry contact, voltage signal, matrix input, or network message
- Connector family, pinout, wire count, shielding, and cable length limits
- Communication protocol, baud rate where relevant, bus topology, and termination requirements
- Device address, floor mapping, and call registration logic
- Firmware or software version dependencies
- Fire service, independent service, attendant service, and security-interface behavior
A panel that emulates individual buttons may be compatible with a wider range of systems than a proprietary serial display, but that still must be proven. Matrix-scanned inputs and multiplexed panels can be particularly sensitive to wiring order and controller expectations.
When sourcing a board described for a particular controller range, such as this 3300/3600 elevator touch-button board, match the exact controller version and original component details before ordering. “For” a controller family is not enough evidence when revisions, firmware, or fixture assemblies differ.
Common compatibility mistakes
The most frequent retrofit errors are ordering by photograph, treating all touch panels as generic HID devices, reusing a harness without pinout verification, and overlooking controller programming. Other mistakes include mixing display and button boards from different revisions or assuming a power supply can support a brighter replacement display.
Request and retain the following project records:
- Photos of the existing fixture front and rear
- Original labels and part numbers
- Measured cutout, screw locations, and panel depth
- Connector photos and wire identification
- Controller make, model, and software information when available
- Wiring diagrams and I/O or communication descriptions
- Required floor labels, security states, and service functions
These records reduce incorrect purchases and make future service easier.
Accessibility and emergency operation
A touch interface must be evaluated for accessible operation as part of the complete elevator system. In the United States, project requirements can involve the ADA Standards, adopted building codes, and elevator safety code requirements such as ASME A17.1/CSA B44, along with state and local enforcement requirements. The applicable edition and jurisdiction should be confirmed for each project.
In practical terms, verify whether required controls can be identified and operated by passengers with visual, mobility, or dexterity limitations. Consider the mounting height and reach range, clear floor identifiers, tactile markings, visual contrast, feedback that confirms a registered call, and audible information where applicable.
A flat touchscreen alone may not provide adequate tactile orientation. Depending on the design and governing requirements, the fixture may need physical buttons, raised markings, Braille, tactile symbols, or separate accessible controls. Do not assume that visual floor labels on a display replace tactile information.
Emergency functions deserve separate review. Alarm, door open, door close, stop or emergency-stop functions where provided, fire service controls, communication equipment, and other required controls must remain available and function as required by the governing code and equipment design. A panel reboot, frozen screen, or communications failure must not create an unsafe or noncompliant loss of required emergency operation.
For modernization work, involve the authority having jurisdiction and qualified elevator professionals early when the interface changes how riders access emergency or required controls. Accessibility is a design and acceptance issue, not a final-labeling task.
Retrofit and modernization planning
A touch-panel retrofit should begin with scope definition: repair an existing interface, refresh a fixture, add display capability, or modernize the controller and user interface together. Each scope has different technical and commercial risks.
Choose the right modernization level
Component replacement is appropriate when the current system architecture, accessibility arrangement, and panel format remain suitable. The replacement must be electrically and physically equivalent.
Fixture retrofit updates the COP faceplate, indicators, and control layout while retaining the controller. This may require adapters, new harnesses, revised wiring diagrams, and validation that existing controller inputs support the new interface.
System modernization changes the controller, displays, hall stations, or dispatch logic. It offers more design flexibility but requires coordinated engineering, software configuration, field commissioning, and code review.
Build a field survey before sourcing
A complete survey should document:
- Car number, floor count, and floor naming
- Existing COP dimensions, cutout, wall construction, and available behind-panel depth
- Controller manufacturer, model, interface cards, and documented software version
- Existing wiring route, harness condition, and spare conductors
- Power supply capacity and grounding arrangement
- Hall fixtures and indicators that must coordinate with the car panel
- Access-control, card-reader, intercom, camera, or building-management interfaces
- Accessibility and jurisdictional requirements
- Fire service and other operational modes
- Finish, vandal resistance, cleaning, and environmental expectations
Plan for long lead items in the work sequence only after compatibility is established. Kelevator supplies multi-brand elevator spare parts for B2B buyers, including maintenance contractors, distributors, importers, modernization companies, and OEM sourcing teams. For these buyers, an accurate part-identification package is generally more useful than a request based only on a panel photograph.
Installation limitations to anticipate
Touch panels can require more depth than a conventional button station because of display modules, circuit boards, cable bend radius, or cooling clearance. Stainless-steel fixture work can also expose differences in mounting studs, screw spacing, and rear-box dimensions.
Do not force a panel into a fixture opening or modify structural or electrical components without engineering review. A custom faceplate, adapter plate, revised harness, or controller interface module may be needed. Include these items in the scope rather than treating them as field improvisations.
Testing after installation
Installation is complete only after the panel, controller, accessibility features, and emergency functions have been tested together. A quick screen-power check does not confirm correct elevator operation.
Use the manufacturer’s procedures and applicable inspection requirements, then document the results. A practical commissioning checklist includes:
- Verify panel power, grounding, startup sequence, and communication status.
- Test every floor selection from the car and confirm correct floor mapping.
- Confirm registered-call feedback, including illumination, on-screen state, sound, or haptic feedback as specified.
- Test door open, door close, alarm, communication, and other installed controls.
- Verify floor position, direction, and service messages against actual elevator movement.
- Test authorized, restricted, independent, and attendant service states that apply to the building.
- Confirm behavior during a controller reboot or temporary communication interruption, following approved procedures.
- Inspect touch accuracy at the edges and center of each active area.
- Test the panel under normal car lighting and expected viewing conditions.
- Confirm accessible controls, tactile identifiers, audible signals, and mounting arrangement against project requirements.
- Check that wiring is secured, connectors are fully seated, and the panel can be serviced without damaging the harness.
Keep a record of part numbers, wiring changes, configuration settings, firmware versions, test results, and revised as-built documentation. This information shortens future troubleshooting and helps prevent incompatible substitutions.
FAQ
Can an elevator touch panel replace any standard push-button panel?
No. The replacement must fit the fixture, accept the available power, use a compatible input or communication method, and satisfy the project’s operational and accessibility requirements. A controller may require a specific board, address, software setting, or protocol.
Why does a touch panel light up but the elevator not move?
The panel may be detecting the touch locally while the controller does not receive or accept the call. Check the communication path, address, floor mapping, security status, controller configuration, and network or input diagnostics.
Are touch panels harder to maintain than mechanical buttons?
They shift maintenance from individual mechanical switches toward electronics, displays, overlays, connectors, and software compatibility. A flat surface may be easier to clean, but a single panel fault can affect multiple selections. Availability of service documentation and compatible replacement parts is important.
What information should be sent to a parts supplier?
Provide the original part number, clear front and rear photos, controller make and model, connector and label photos, measurements, wiring information, fault symptoms, and any known software or display configuration. This makes compatibility review more reliable.
For a repair or upgrade, begin by assembling the existing panel and controller details, then compare the replacement’s electrical, communication, accessibility, and mounting requirements before placing an order.