
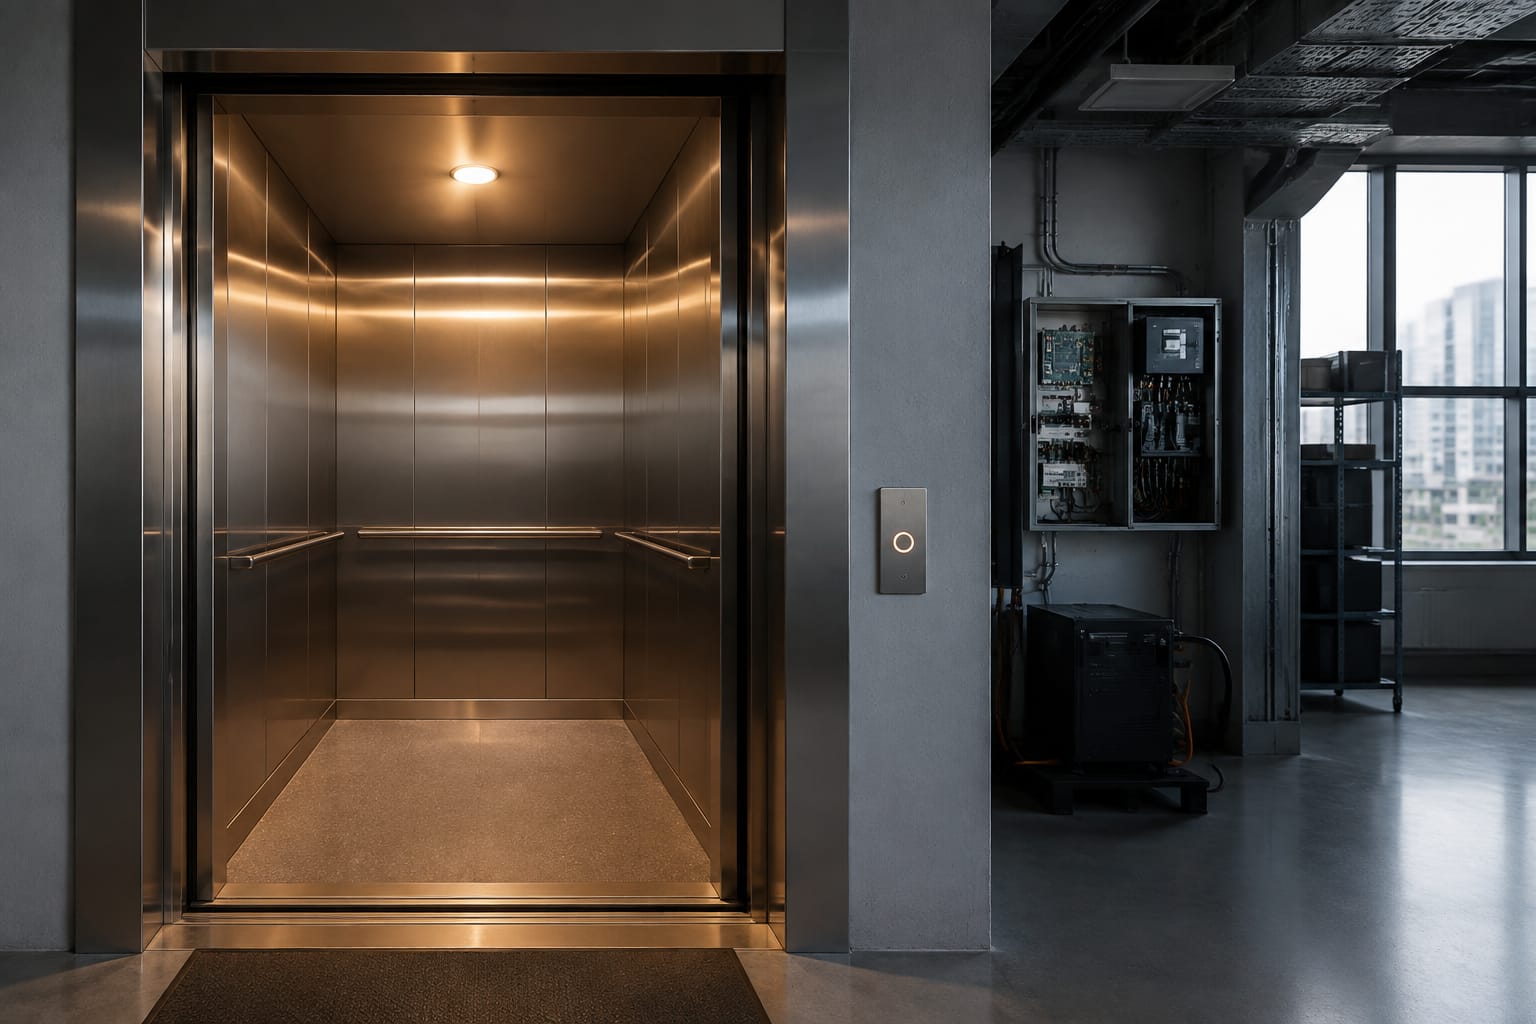
An elevator emergency light is a life-safety component that should illuminate the car when normal building power is interrupted. Its performance depends on three connected elements: the light unit, a charged backup battery or energy-storage source, and a power supply or charging circuit that transfers the system into emergency operation.
When the light fails during an outage, the issue is not always the lamp itself. A weak battery, incorrect charging voltage, damaged wiring, loose connector, failed power supply, or incompatible replacement component can all leave the car dark. A methodical inspection helps contractors identify the failed part without replacing working equipment.
Purpose of Elevator Emergency Lighting
Emergency lighting gives passengers visible illumination inside an elevator car after the normal lighting supply is lost. It supports safe movement, helps passengers locate the door and alarm controls, and assists responders if occupants are trapped during a power interruption.
The emergency light circuit is commonly designed to operate independently of the car’s normal lighting circuit for a limited period. Depending on the elevator design, it may be part of a dedicated car emergency lighting assembly, an integrated power supply module, or a broader emergency power arrangement.
For United States projects, the required arrangement, duration, testing, and documentation may be affected by the adopted elevator code, building code, electrical requirements, manufacturer instructions, and the authority having jurisdiction (AHJ). A replacement should therefore be treated as a compatibility and compliance decision, not simply as a lamp replacement.
Emergency lighting is different from these related systems:
| System | Primary purpose | What happens during a normal-power loss |
|---|---|---|
| Car emergency light | Illuminates the elevator cab | Switches to stored or alternate emergency power |
| Normal car lighting | Everyday cab illumination | Usually turns off unless supported by backup power |
| Emergency alarm/communication | Lets passengers summon assistance | May use its own battery-backed supply or shared emergency circuit |
| Building standby or generator power | Supports selected building loads | May restore elevator circuits after transfer, depending on design |
| Elevator rescue/evacuation function | Moves or manages cars during an outage | Depends on controller, building power design, and applicable requirements |
Do not assume that a building generator eliminates the need to inspect car emergency lighting. Transfer delays, battery-backed design requirements, and the specific elevator configuration can still make the car’s local emergency light assembly essential.
Light Units, Batteries, and Power Supplies
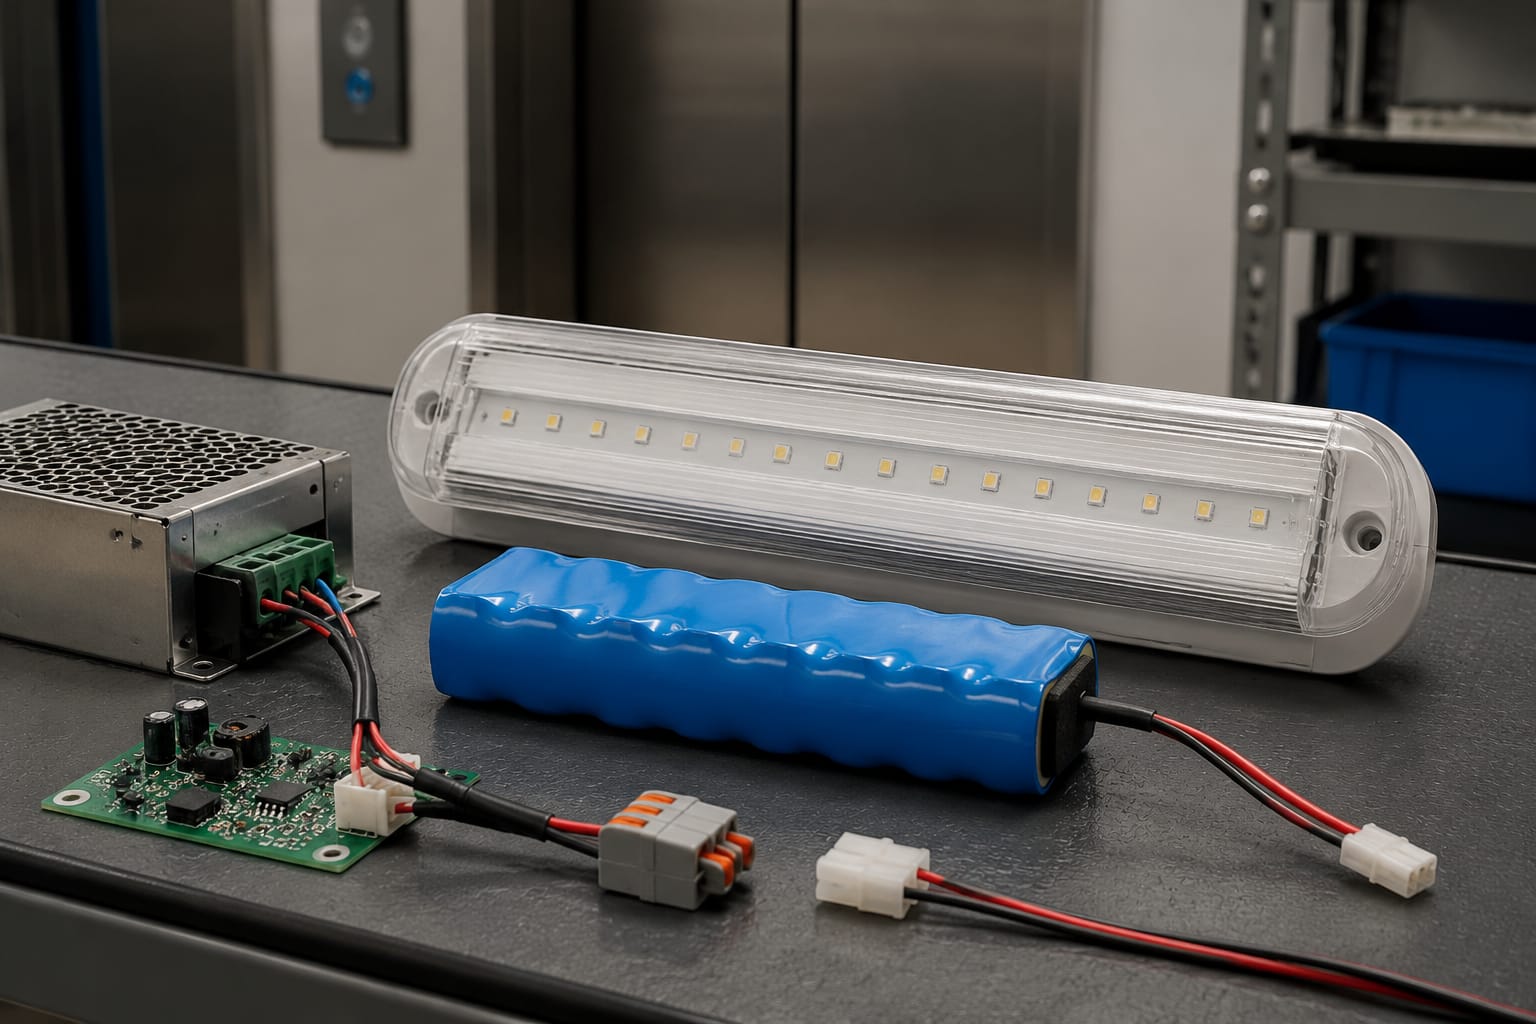
A functioning elevator emergency lighting system needs each part of the electrical chain to be suitable for the installation.
The emergency light unit
The light unit is the visible fixture or lamp assembly inside the cab. Older cars may use incandescent or fluorescent-style fixtures, while many modernization projects use LED lighting. LEDs generally draw less current, but that does not make every LED unit interchangeable with an older emergency circuit.
Before substituting a light unit, verify:
- Rated input voltage and whether it uses AC or DC
- Polarity requirements for DC-powered LED units
- Current draw or wattage
- Connector type, pin assignment, and wire colors against the drawing
- Mounting dimensions and physical clearance
- Whether the unit is intended for continuous operation, emergency-only operation, or both
- Dimming, test-button, or status-indicator functions, if present
A low-current LED replacement can sometimes change the load characteristics expected by an older charger or monitoring circuit. Conversely, a higher-load fixture can shorten battery run time or overload a supply. Match the electrical requirements, not just the fixture appearance.
For projects requiring a cab light replacement, review the voltage, connector, and installation details of a 12V DC elevator car emergency lighting unit against the existing component documentation before ordering.
The battery or backup energy source
Many emergency lighting systems use a rechargeable battery. The battery provides power after normal input is unavailable, while the charger maintains it during normal service. The assembly may use sealed lead-acid, nickel-based, lithium-based, or another battery technology depending on the equipment design.
Battery replacement requires more than matching the nominal voltage. Confirm:
- Chemistry specified by the manufacturer
- Nominal voltage and number of cells
- Capacity rating and expected load
- Terminal type and polarity
- Physical dimensions and retention method
- Charging profile required by the emergency power supply
- Date code, storage condition, and visible condition before installation
Using the wrong battery chemistry with an existing charger can cause poor charging, premature battery damage, inadequate emergency run time, or overheating risk. Never mix old and new batteries within a series or parallel pack unless the equipment manufacturer explicitly permits it.
A battery can show its nominal voltage with no load and still fail in service. Voltage is useful as an initial screen, but a controlled functional test under the actual emergency lighting load is more meaningful.
The power supply and charger
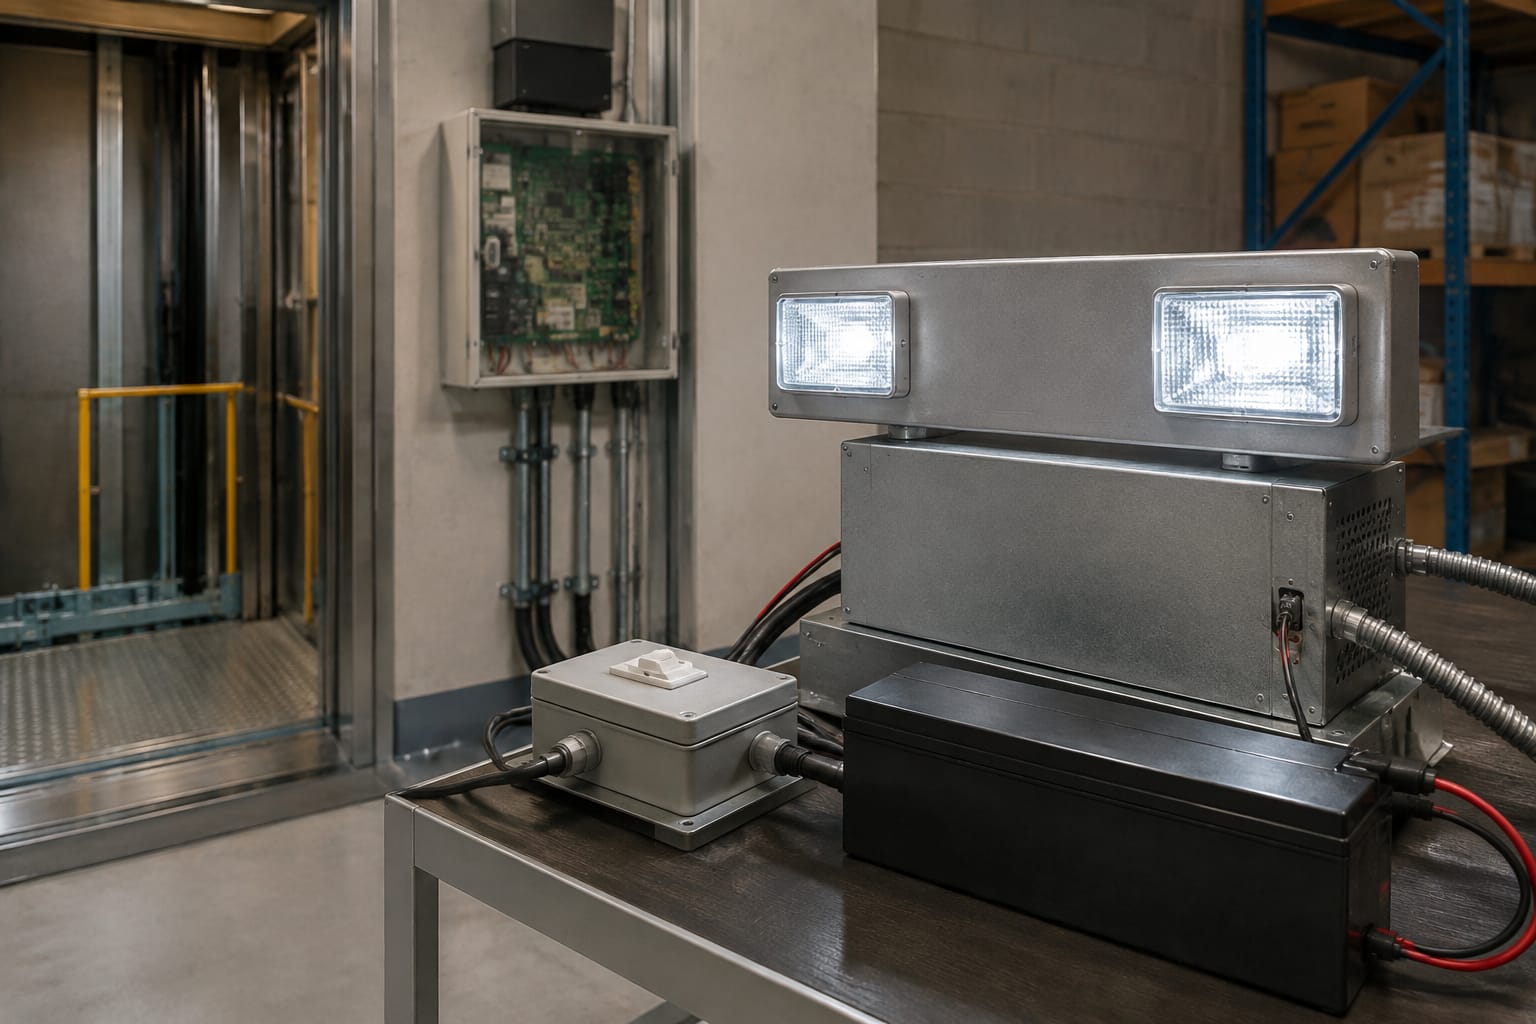
The emergency lighting power supply typically has several jobs during normal operation:
- Accept the intended incoming power.
- Supply or pass power to the normal lighting circuit, where applicable.
- Charge and maintain the backup battery.
- Detect loss of normal power.
- Transfer the emergency light to battery-backed output.
Some units also include battery protection, low-voltage disconnect, status indicators, test leads, or alarm interfaces. A replacement supply must match the application-specific input, output, charging, and connector arrangement.
When evaluating an elevator emergency lighting power supply, compare the label data and wiring diagram to the installed unit. An output marked with the same nominal voltage is not enough evidence of compatibility.
Wiring and connectors
Wiring faults are common because cab-top equipment is exposed to vibration, movement, service access, and repeated maintenance work. Inspect for:
- Loose plugs and partially seated locking tabs
- Pin corrosion, heat discoloration, or bent terminals
- Chafed insulation and pinch points
- Unsupported wiring that can pull at a connector
- Incorrect splices or unapproved wire substitutions
- Reversed polarity on DC circuits
- Missing or incorrect fuses
Do not rely only on wire color, especially after prior repairs or modernization. Trace conductors against the equipment documentation and use meter readings to confirm the circuit.
Normal and Emergency Operating Modes
Understanding the expected operating states prevents incorrect diagnosis. The light may behave differently depending on whether the cab is receiving normal power, charging the battery, operating from battery backup, or recovering after a test.
| Operating mode | Normal input present | Battery state | Expected emergency-light behavior |
|---|---|---|---|
| Normal service | Yes | Charging or maintained | Light may be off, on, or integrated with cab lighting, depending on design |
| Emergency operation | No | Discharging | Emergency fixture should illuminate from stored power |
| Recovery after outage | Restored | Recharging | System returns to normal configuration and begins battery recharge |
| Test mode | Simulated or actual input loss | Discharging under load | Emergency light should operate for the required test period |
A common fault report is: “The emergency light is on all the time.” That can indicate a normal-input sensing problem, failed transfer circuitry, damaged supply wiring, or a design in which the fixture is intended to remain illuminated. Check the original wiring diagram before classifying constant illumination as a defect.
Another common report is: “The emergency light comes on but quickly goes out.” This often points to low available battery capacity, but it may also result from excessive fixture load, loose battery terminals, a bad fuse holder, or a supply that is not charging the battery correctly.
Where a system uses a dedicated emergency source for a particular elevator platform, such as a Hitachi elevator emergency power supply, verify the exact part number, input/output ratings, connector layout, and intended function. Similar-looking modules can perform different roles within the car electrical system.
Common Emergency-Light Faults
The symptom can narrow the inspection, but it should not replace testing. Use the following patterns as a starting point.
Light does not turn on during a power-loss test
Likely causes include:
- Discharged, disconnected, failed, or incorrectly installed battery
- Blown fuse or open protection device
- Failed emergency power supply or transfer relay
- Open circuit between supply and fixture
- Reversed polarity or incompatible DC light unit
- Failed LED driver or fixture electronics
- Test procedure that does not actually interrupt the required normal input
First confirm that the test creates the condition the system is designed to detect. Turning off a cab light switch may not simulate loss of the supply feeding the emergency module.
Light is dim, flickering, or intermittent
Likely causes include:
- Battery voltage dropping under load
- High-resistance terminal, connector, or ground/return path
- Damaged LED assembly or driver
- Loose fixture mounting causing an intermittent connection
- Charger or power supply instability
- Moisture, corrosion, or heat damage
Measure voltage at the battery and then at the fixture while the emergency load is active. A significant difference indicates a wiring, connector, fuse-holder, or connection problem between those points.
Battery does not recharge
Likely causes include:
- No incoming supply voltage at the emergency power unit
- Incorrect input connection or failed upstream fuse
- Failed charger section
- Battery chemistry or capacity unsuitable for the charger
- Battery protection circuit open
- Damaged battery leads or terminals
- Battery that will not accept a charge because of age or internal failure
Do not condemn the charger solely because the battery remains low. Verify incoming power, correct battery connection, and battery condition first.
Light stays on after normal power returns
Likely causes include:
- Missing normal input at the sensing terminal
- Failed transfer circuit or relay
- Incorrect wiring after a repair
- Failed control signal or interface
- Fixture designed to operate continuously
Compare measured normal input voltage at the module with the specification and schematic. If the input is present but the system remains in emergency mode, the module may be defective, but confirm any external sensing or control connections first.
Repeated battery failures
Repeated battery replacement without diagnosis often means the underlying fault remains. Investigate:
- Charge voltage and charge current behavior
- Ambient temperature around the battery and supply
- Battery type and capacity against the specified assembly
- Fixture current draw
- Continuous emergency-mode operation caused by a sensing fault
- Long storage periods before installation
- Poor terminal contact creating charging and discharge losses
Check Voltage, Battery, and Wiring
Only qualified elevator personnel should work on elevator electrical equipment. Follow site lockout/tagout procedures, equipment instructions, and applicable electrical safety requirements. Battery circuits can deliver high current, and an elevator car may contain multiple power sources.
A practical diagnostic sequence is below. Record readings, test conditions, component labels, and any replacements made so the next technician can understand the repair history.
1. Inspect before energizing or disconnecting components
Look for obvious signs of failure:
- Swollen, leaking, cracked, or overheated batteries
- Burnt odor, discoloration, melted insulation, or damaged circuit boards
- Loose mounting hardware or damaged fixture lenses
- Disconnected plugs, blown fuses, or non-original splices
- Missing labels that make later replacement uncertain
If a battery is physically damaged, handle and dispose of it according to its chemistry, site rules, and applicable waste requirements.
2. Confirm the installed component data
Photograph or transcribe the labels before removing anything. Capture:
- Manufacturer and part number
- Input and output ratings
- Battery rating and chemistry
- Revision number, where applicable
- Connector identifiers
- Wiring diagram references
For B2B sourcing, the original part number is useful but should not be the only selection criterion. A cross-reference is acceptable only when the electrical function, physical fit, interface, and applicable requirements are confirmed.
3. Measure normal input at the power supply
With normal service conditions present and the correct meter range selected, verify that the module receives the specified input. If the input is absent, troubleshoot upstream protection, wiring, and connectors before replacing the module.
Do not probe connectors in a way that spreads terminals or bypasses guarding. Use appropriate test points or approved back-probing practices where available.
4. Check battery condition at rest and under load
Measure battery voltage with the charger connected under normal conditions, then repeat during a controlled emergency-light test. Compare results to the equipment specification rather than using a universal pass/fail voltage, because battery chemistry and pack configuration vary.
A battery voltage that collapses as soon as the light is energized indicates limited usable capacity or a high-resistance connection. Confirm terminal tightness and inspect the battery leads before replacing the pack.
5. Check output at the light fixture
During emergency operation, measure voltage at the power supply output and at the fixture input. The results help isolate the problem:
- Correct voltage at the supply but not at the fixture: inspect wiring, connectors, fuse holders, and intermediate devices.
- Low voltage at both locations: inspect the battery, charger/power supply, and actual fixture load.
- Correct voltage at the fixture but no illumination: inspect or replace the fixture or its internal driver.
- No output with a confirmed healthy battery and correct input history: investigate the power supply or transfer circuit.
6. Recheck polarity and load
DC emergency light assemblies can be polarity-sensitive. Confirm positive and negative connections against the drawing and component labels. Then verify that the fixture load is within the output capability of the power supply and within the intended battery-backed design.
Avoid installing a higher-wattage lamp because it appears brighter. It may reduce available emergency operating time and exceed the circuit’s intended load.
Match Replacement Power Supplies
Replacement emergency power supplies should be selected by function and verified specifications. The right unit is not necessarily the one with the closest exterior dimensions or the same connector shape.
Use this compatibility checklist before purchasing or installing a replacement:
| Check | Why it matters |
|---|---|
| Exact application and original part number | Helps identify intended function and approved equivalents |
| Input voltage, frequency, and AC/DC type | Prevents supply damage and incorrect operation |
| Emergency output voltage and current rating | Ensures the light load can operate correctly |
| Battery chemistry, voltage, and charging profile | Prevents battery damage and poor run time |
| Connector pinout and polarity | Avoids miswiring and damaged electronics |
| Mounting size and enclosure clearance | Ensures the component can be installed safely |
| Control, alarm, or status interfaces | Preserves functions beyond lighting |
| Applicable manufacturer instructions and project requirements | Supports a compliant, maintainable installation |
For multi-brand sourcing, provide the supplier with clear photographs of the label, connector faces, mounting arrangement, wiring diagram, and measurements. Kelevator supplies multi-brand elevator spare parts for B2B importers, distributors, maintenance contractors, modernization companies, and OEM buyers; these details help a sourcing team evaluate whether a proposed part is suitable for the installed equipment.
Common replacement mistakes
The most costly errors are usually avoidable:
- Selecting by voltage alone while ignoring charging chemistry
- Reusing a degraded battery with a new power supply
- Assuming an identical connector has an identical pinout
- Replacing the fixture before testing voltage at its terminals
- Bypassing a fuse or battery protection device to “prove” a fault
- Mixing components from different system generations without documentation
- Skipping the full emergency-operation test after installation
A component can physically fit and still be electrically or functionally unsuitable. When documentation is incomplete, retain the original unit until the replacement has been verified.
Routine Inspection and Test Intervals
Emergency lighting needs scheduled inspection because batteries deteriorate gradually and a fault may remain invisible during normal building operation. The appropriate interval and test duration should follow the elevator manufacturer instructions, adopted code requirements, building maintenance program, and AHJ direction.
A useful maintenance program commonly includes:
- Visual inspection of the fixture, battery, supply, mounting, connectors, and wiring
- Verification of status indicators or fault displays, where provided
- Functional testing that simulates the intended loss of normal power
- Observation of light output for the required duration
- Battery condition review and replacement based on test performance or manufacturer guidance
- Documentation of date, technician, test method, run time, readings, faults, and corrective work
Do not treat an indicator light as proof that the system will work. A “charging” indication may only show that input power is present; it may not demonstrate usable battery capacity or transfer performance.
Testing should be coordinated to avoid creating an unsafe condition for passengers or interfering with elevator service. Follow site procedures for taking the car out of service, communicating with building personnel, and restoring equipment after the test.
Verify Operation After Repair
A repair is complete only after the emergency lighting operates in the expected mode and normal service is restored correctly.
Use this post-repair checklist:
- Confirm the replacement fixture, battery, and power supply match the documented application.
- Inspect mounting, wire routing, connector engagement, polarity, fuses, and protective covers.
- Restore normal input and confirm expected charging or normal-mode behavior.
- Conduct a controlled test that removes or simulates loss of the correct normal supply.
- Verify that the emergency light turns on promptly and remains stable under load.
- Run the test for the duration required by the applicable equipment instructions and site requirements.
- Restore normal power and confirm the system exits emergency mode and begins recharging.
- Record component part numbers, readings, test results, and any unresolved limitations.
If the light passes a brief test but fails at the required duration, the repair is not complete. Reassess battery capacity, charge behavior, fixture load, and the transfer circuit. Likewise, a successful emergency test should be followed by confirmation that the cab’s normal lighting and related elevator functions are operating as intended.
A documented, specification-matched replacement and a completed functional test provide a stronger result than replacing parts based on appearance alone. For sourcing, start with the installed part label, electrical ratings, battery data, wiring information, and the test findings, then compare those details to a compatible emergency-lighting component.