
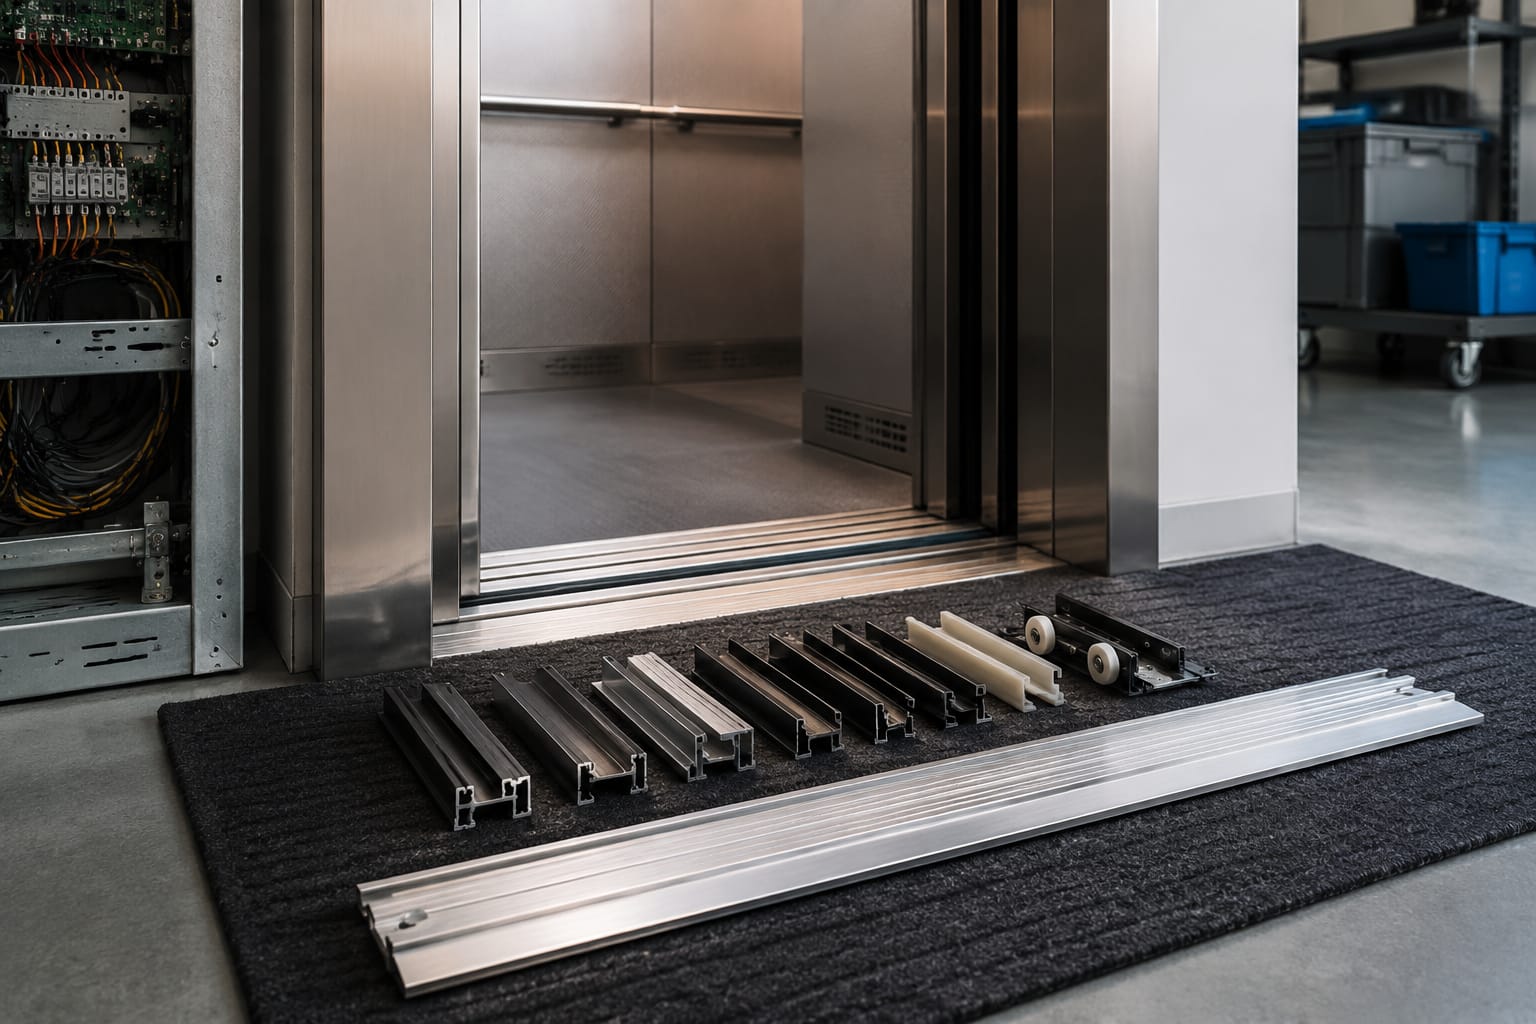
An elevator door sill is the grooved threshold at the bottom of a car or landing entrance. Its channels guide the door-panel gibs or shoes, helping the panels travel straight, maintain clearance, and close without scraping or binding.
A sill is a wear component, but it should not be treated as an isolated part. A blocked groove, worn guide channel, loose fastener, damaged door gib, or misaligned hanging panel can all produce similar symptoms. For a dependable repair, inspect the sill profile and the complete lower door-guidance system before ordering parts.
What an elevator door sill does
The elevator door sill performs two essential jobs:
- It provides a guided path for the bottom of each door panel.
- It creates a durable transition surface at the entrance where passengers, carts, and cleaning equipment pass.
Most elevator door systems use lower guide components, commonly called door gibs or shoes, that ride inside the sill grooves. The door operator controls movement from above, while the sill helps stop the lower edge of the panel from swinging, drifting, or rubbing adjacent panels.
A correctly matched elevator door sill supports smooth panel travel and consistent clearances. It also helps the door system tolerate normal vibration and traffic without allowing the panel bottom to wander.
The sill itself does not compensate for every door problem. A new sill will not correct a bent panel, worn hanger rollers, a loose header, incorrect clutch adjustment, or a door operator fault. It is one part of a coordinated door system.
Car sills versus landing sills
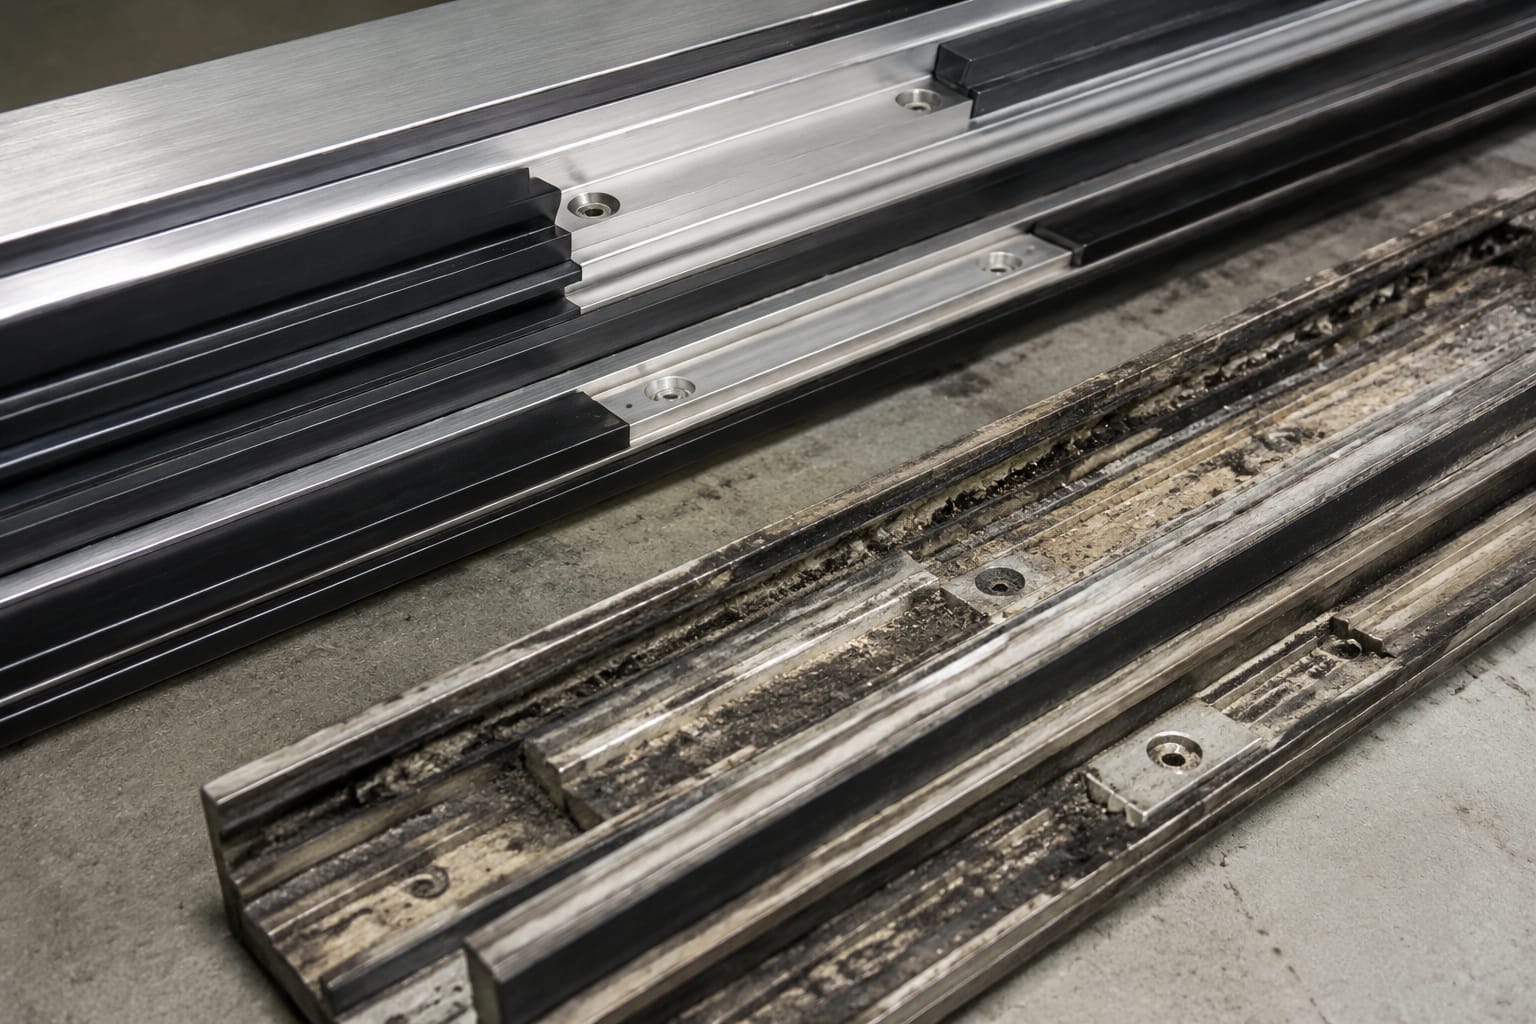
Car and landing sills are both grooved thresholds, but they serve different locations and must be identified correctly during inspection or purchasing.
| Feature | Car sill | Landing sill |
|---|---|---|
| Location | Mounted at the elevator car entrance | Mounted at each hoistway entrance |
| Moves with the elevator | Yes | No |
| Primary door panels guided | Car doors | Landing doors |
| Exposure | Car interior traffic, vibration, and movement between floors | Building-floor traffic, debris, and possible moisture at a specific opening |
| Replacement planning | Confirm car-door arrangement and car entrance construction | Confirm the individual floor entrance, frame condition, and landing-door arrangement |
Car sills
A car sill travels with the elevator. It is installed at the car entrance and guides the lower edge of car door panels. Depending on the door arrangement, it may have multiple channels for center-opening, side-opening, or telescopic panels.
Car-sill inspection should include the panel gibs, bottom retainers, and the relationship between the sill and the car platform. A sill can be worn while the door appears functional at one floor, then bind or scrape at another due to car movement, panel swing, or uneven loading.
Landing sills
A landing sill is fixed at the hoistway entrance. It guides the landing doors and sees concentrated foot traffic, dust, water, grit, and damage from carts or construction activity. Since each floor may have different traffic conditions or prior repair history, one landing sill should not automatically be assumed identical to another.
At a landing entrance, check whether debris is localized to one floor, whether the sill is loose in the floor finish, and whether the landing door gibs remain fully captured in their channels. Damage at a busy loading floor may be more severe than at typical passenger floors.
Do not interchange the two without verification
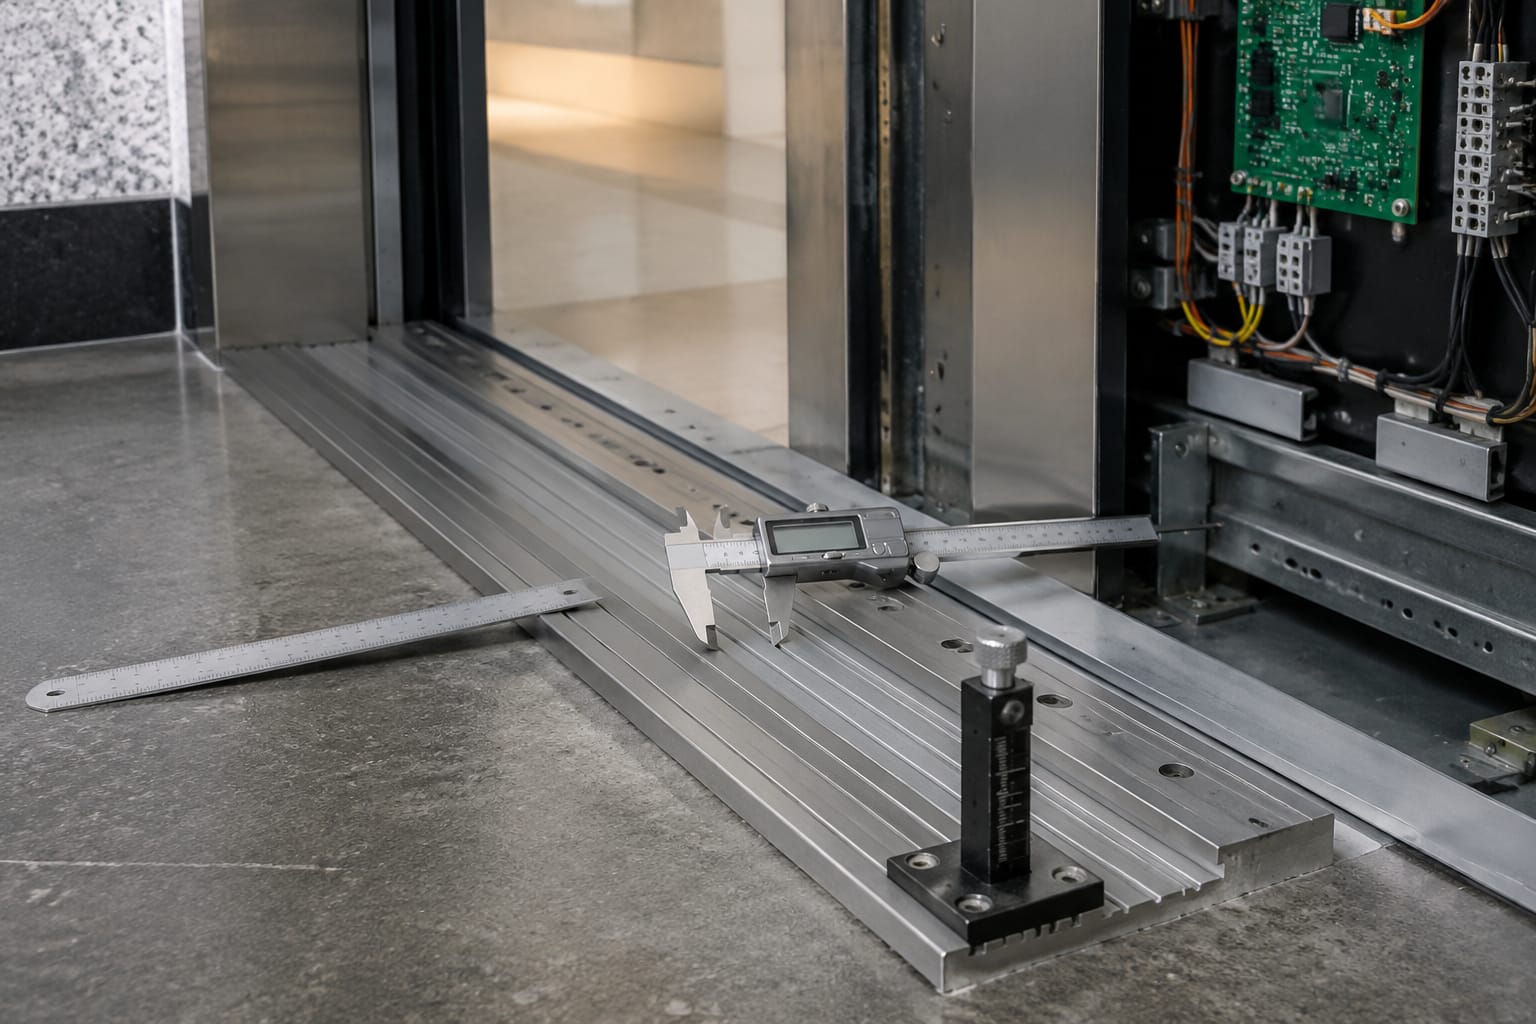
Car and landing sills can look similar, particularly in photographs or when both are aluminum extrusions. Their dimensions, groove layout, mounting details, and intended door-system interfaces can differ. Confirm the installation location, opening configuration, profile drawing, and measurements before selecting a replacement.
Common sill materials and profiles
Aluminum alloy is common for elevator door sills because it is relatively light, corrosion-resistant in ordinary interior conditions, and readily formed into precise grooved profiles. However, the correct choice is not simply “an aluminum sill.” The profile must match the door system and entrance construction.
Aluminum alloy sills
Aluminum alloy profiles are widely used in passenger and commercial elevator entrances. They can provide a practical balance of durability, machinability, and finished appearance. Their grooves must remain crisp enough to guide the door gibs without creating excessive friction.
For projects that call for a particular profile, compare the channel layout, overall width, groove depth, and mounting pattern with the existing part. A product such as an aluminum alloy 60 mm F-type elevator door sill should be evaluated against the actual entrance dimensions and profile requirements; a type label alone is not sufficient confirmation of fit.
Stainless steel and protective finishes
Some entrances use stainless steel or other protective surface treatments where appearance, frequent cleaning, heavy traffic, or local building conditions make a more damage-resistant exposed surface desirable. Material selection may also be dictated by the original entrance design.
A replacement material should not be substituted casually. Differences in profile geometry, thickness, mounting method, and interaction with the existing sill support can matter more than the visible finish.
Groove and profile arrangements
Sill profiles vary according to the door configuration. Common arrangements include:
- Single-groove profiles for a single sliding panel arrangement.
- Multi-groove profiles for center-opening entrances with two panels.
- Wider or more complex profiles for telescopic or multi-panel door sets.
- Profile families identified by a letter, number, manufacturer designation, or nominal dimension.
The number of visible grooves is only a starting point. Measure the groove spacing, individual channel width, channel depth, and the relation of every groove to the front and rear edges of the sill. Two multi-groove sills may look alike but guide panels differently.
Signs of wear, damage, and obstruction
Door problems at the sill usually become visible as noise, drag, inconsistent travel, or poor panel alignment. Some defects are obvious, while others appear only when the doors run through a complete opening and closing cycle.
Inspect the elevator door sill when you observe:
- Scraping, grinding, or repeated rubbing near the bottom of a moving panel.
- A door panel that hesitates, binds, or requires abnormal operator force.
- Door gibs riding against a groove wall instead of running centered in the channel.
- Packed dust, lint, pebbles, metal fragments, or hardened debris in the grooves.
- Grooves with rounded edges, deep scoring, dents, cracks, or deformation.
- Loose, missing, corroded, or damaged sill fasteners.
- A sill that rocks, lifts, or has separated from its support or surrounding floor finish.
- A panel that appears tilted, drags at one point, or has changed clearance at the meeting edge.
- Recurrent door reopening or failure symptoms after obvious obstructions have been removed.
Debris is more consequential than it looks
Grooves collect material because they are recessed directly below a busy opening. Fine dust may increase friction gradually. A small hard object can wedge under a door gib, chip a channel edge, or push the panel out of its normal lower guide path.
Do not assume a groove is clear after a visual glance. Inspect the full channel length, including the areas near jambs and positions normally concealed by closed panels. Use a suitable non-damaging tool and vacuum collection where appropriate. Avoid driving debris deeper into the groove.
Wear can point to a separate alignment problem
Uneven scoring on one side of a channel often indicates that a door gib is not centered. Replacing only the sill in this condition may result in rapid repeat wear. Examine the bottom guide, panel position, hanger condition, and door panel straightness before deciding the sill is the root cause.
A sharp new groove combined with a worn or damaged gib can also create poor travel. Evaluate the mating parts together.
Cleaning and inspection practices
Routine housekeeping helps prevent avoidable sill-related calls, but cleaning must be paired with inspection. A clean-looking sill can still have loose mounting, worn channels, or incorrect panel tracking.
Basic cleaning process
With the entrance secured and work performed by qualified personnel under the applicable maintenance and safety procedures:
- Open the doors as required for safe access and control the work area.
- Remove loose debris from the full length of each groove using a vacuum or appropriate extraction method.
- Loosen compacted material carefully without gouging the sill or damaging the groove edges.
- Wipe the exposed sill surface with a cleaner compatible with the sill material and adjacent finishes.
- Inspect channels, fasteners, and surrounding floor or platform support after debris is removed.
- Cycle the doors and watch the lower guides travel through the cleaned channels.
Avoid abrasive tools that can alter the profile or leave sharp edges. Also avoid applying lubricants to sill grooves unless the door-equipment manufacturer specifically calls for one. A lubricant can hold dust and grit, turning a temporary noise remedy into an abrasive contamination problem.
What to document during inspection
For recurring maintenance or a planned replacement, record more than “sill worn.” Useful job information includes:
- Car or landing location and entrance designation.
- Door opening type and number of panels.
- Photos looking down at the complete sill and close-ups of damaged areas.
- Photos of the panel gibs positioned in the channels.
- Overall sill dimensions and groove measurements.
- Fastener type, count, spacing, and location relative to each sill end.
- Visible part numbers, manufacturer markings, and prior modifications.
- The operating symptom observed before cleaning or adjustment.
Good documentation reduces the risk of selecting a profile that is close in appearance but incompatible in service.
Measure profile, width, and fixing points
Replacement planning starts with a complete physical comparison. Do not order from the visible face width alone. An elevator door sill is a profile-based component: the channel geometry and mounting details determine whether it will work with the existing doors and entrance.
Measurements to take
Use a caliper, tape measure, depth gauge, straightedge, and clear photographs as needed. Measure in the units required by the supplier, and retain the original values to avoid conversion errors.
| Measurement | Why it matters |
|---|---|
| Overall sill length | Must fit the entrance width and termination points |
| Exposed face width | Confirms the walking surface and overlap with the surrounding entrance |
| Overall profile height or thickness | Affects fit at the sill support and finished-floor transition |
| Groove count | Must correspond with the door-panel arrangement |
| Groove width and depth | Must accept and guide the existing or replacement door gibs |
| Groove center-to-center spacing | Establishes the panel travel paths |
| Front and rear edge offsets | Confirms the grooves sit in the correct relationship to the entrance |
| Fixing-hole diameter and location | Determines whether existing fastening points can be reused |
| End details and cutouts | May be needed for jamb interfaces, supports, or entrance hardware |
Measure at multiple points when damage is suspected. A profile can be straight at the center but distorted near a jamb or a high-impact area. Check the sill support and floor condition too; a correct replacement sill cannot seat properly on a bent, deteriorated, or uneven base.
Confirm the profile, not just a nominal designation
Terms such as “F-type,” a nominal width, or a door-brand reference can assist sourcing, but they are not universal fit guarantees. Different product families may use similar shorthand. Ask for a dimensioned drawing or compare a sample profile where practical.
Confirm these items before purchase:
- Exact cross-sectional profile.
- Sill material and finish requirements.
- Finished length and whether field cutting is permitted.
- Hole pattern or whether drilling is required.
- Door configuration and panel count.
- Compatible gib shape and dimensions.
- Whether the application is car side or landing side.
- Any required end caps, supports, transition pieces, or related hardware.
For B2B sourcing teams and distributors, include a marked-up drawing, measurements, and photos in the request package. Kelevator supplies multi-brand elevator spare parts for B2B buyers, so providing that information is more useful than relying on a broad product description or an assumed brand cross-reference.
Common ordering mistakes
The most common error is matching an exposed width while overlooking groove spacing. Other avoidable mistakes include ordering a landing sill for a car application, overlooking fixing-hole positions, measuring around debris, and assuming every entrance in a building uses the same profile.
Another risk is specifying the old sill only, without inspecting the door gibs. If new channels are paired with gibs that are chipped, loose, or incorrectly sized, the door may still scrape or track poorly.
Related door-panel alignment checks
A sill should guide a properly adjusted panel, not force a misaligned panel into position. Before finalizing a replacement scope, inspect the components that control door-panel position above and below the sill.
Check the lower guides and gibs
Look for worn contact faces, cracks, missing retaining hardware, excessive play, or a guide that has shifted on the panel. The gib should run in the intended channel with reasonable clearance and without striking a groove wall through normal travel.
If several panels share the entrance, check each panel separately. One damaged gib can leave a distinctive rub mark that does not match the wear pattern of the other channels.
Check hanger rollers and panel support
Door-panel hangers and rollers influence the panel’s height, plumb, and lateral position. Wear or adjustment issues above the sill may appear below as a door that rubs in the groove.
For applicable assemblies, inspect the panel-hanging hardware along with the sill. These 1000-58 car door hanging panel wheels and 1000-58 door hanging panel wheels illustrate the kind of related running components that must be identified by their actual configuration and dimensions before replacement.
Check panel condition and clearances
Examine whether the panel is bent, loose, or contacting the sill edge, jamb, adjacent panel, or strike area. Then observe:
- Bottom-guide engagement across the full door travel.
- Panel plumb and consistent bottom clearance.
- Meeting-edge alignment on center-opening doors.
- Side clearances at the jambs.
- Smooth movement without unusual lateral motion.
- Whether the panel remains guided when approaching fully open and fully closed positions.
Door clearances and final adjustments should follow the applicable manufacturer documentation, equipment design, and local code requirements. Do not use a sill replacement as a reason to alter clearances beyond the allowable settings for that specific door system.
Replacement and final door testing
Replace an elevator door sill when its grooves are damaged beyond effective cleaning or minor correction, its mounting is compromised, its profile no longer guides the door reliably, or its wear is contributing to recurring door-operation issues. The work should be planned and performed by qualified elevator personnel using the correct site safety controls.
Before installation
Confirm the replacement part against the removed sill and the recorded measurements. Dry-fit where practical before committing to drilling, cutting, or fastening. Check that the support surface is clean, sound, and level enough for the sill to seat as designed.
If holes do not align, do not immediately modify the replacement part. First verify that the incoming profile is correct and determine whether the existing entrance has been altered from the original layout. Any field modification should be compatible with the sill design, support structure, and equipment requirements.
Installation checks
During installation, verify that:
- The sill is fully supported and does not rock.
- It is straight along the entrance and properly seated at the ends.
- Fasteners are appropriate, secure, and installed as required for the application.
- Groove channels are clean before panels run through them.
- Each door gib enters its intended groove without catching.
- Adjacent floor finish, toe guard, fascia, and entrance components remain correctly positioned.
Do not cover a poor fit with sealant, shims, or improvised filler unless those measures are specifically called for by the entrance design. Such fixes can conceal a profile mismatch or leave the sill unsupported.
Final door testing
After installation and any required adjustments, test the door system through repeated full operating cycles. Observe the bottom of every panel, not only the door edges at eye level.
The final check should confirm smooth opening and closing, consistent lower-guide tracking, correct panel alignment, secure sill mounting, and no scraping or abnormal noise. Test normal door operation and the required protective and reopening functions according to the equipment’s maintenance procedures. Reinspect the grooves after cycling; fresh scoring or displaced debris can reveal a remaining alignment issue.
For an order or repair scope, use the final measurement record, sill-profile photos, fixing-point details, and related door-component findings together. That gives the maintenance team or sourcing partner the information needed to evaluate a compatible elevator door sill without relying on guesswork.