
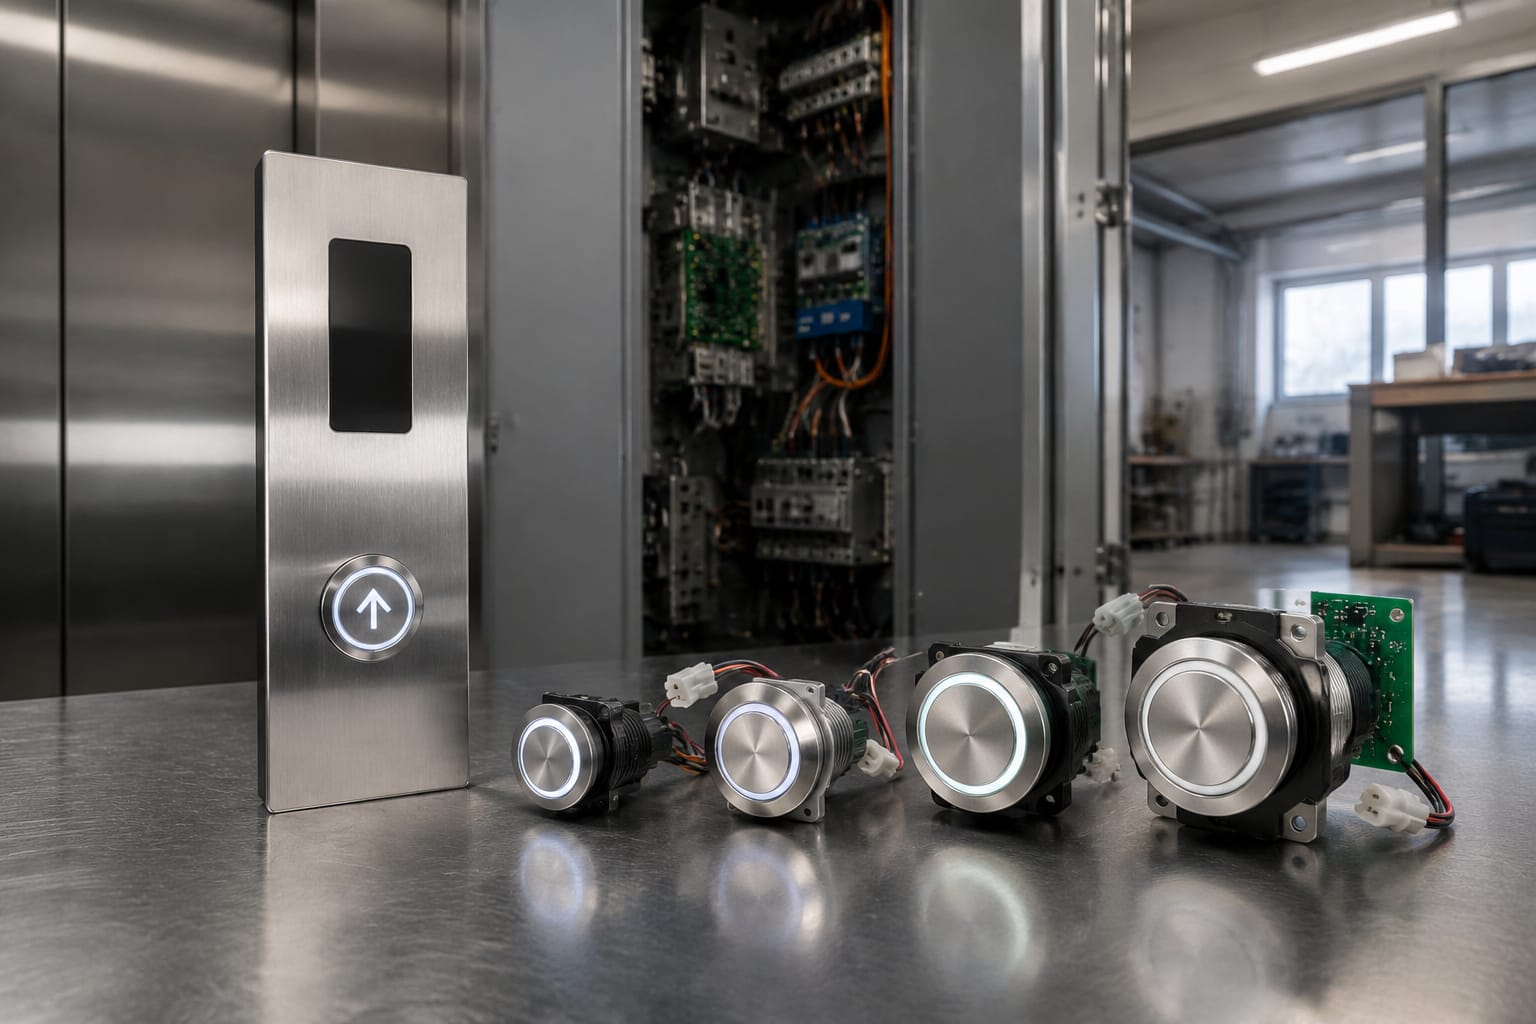
Elevator button replacement is not simply a matter of finding a button with the same face diameter. A replacement must fit the panel cutout and mounting method, work with the controller’s electrical circuit, provide the correct illumination behavior, and remain usable and compliant with the elevator’s accessibility requirements.
For a single failed car or hall button, the most efficient approach is usually to diagnose the fault first, document the existing component, then source the closest verified match. Replacing an entire fixture or panel may make more sense when parts are obsolete, multiple buttons are failing, the finish is inconsistent, or a modernization project is already planned.
When an elevator button needs replacement
A button should be evaluated when it no longer gives a reliable response, has physical damage, or creates a poor user experience. The visible pushbutton is only one part of the signal path, so a nonresponsive button does not automatically prove that the button itself has failed.
Common reasons to replace elevator buttons include:
- The button sticks, binds, cracks, or has a damaged lens or bezel.
- The button does not register a call consistently.
- The tactile marking, Braille, legend, or raised character is worn or missing.
- The illumination is out, uneven, the wrong color, or remains on when it should clear.
- The button has loosened in the faceplate or the retaining hardware is damaged.
- A panel refresh requires a consistent finish, legend format, or indicator style.
- A discontinued fixture can no longer be maintained economically.
Start with the service symptom. A button that feels mechanically normal but does not work may have a failed contact block, damaged wire, loose terminal, connector issue, or controller-input problem. Conversely, a button that lights but will not actuate may still have a mechanical or switch-contact fault.
For passenger elevators, visible damage and missing tactile information are not merely cosmetic concerns. The car operating panel and hall fixtures need to remain understandable and operable for riders. Confirm the applicable code requirements with the authority having jurisdiction and the project specifications before selecting a replacement.
Diagnose the button, board, or wiring
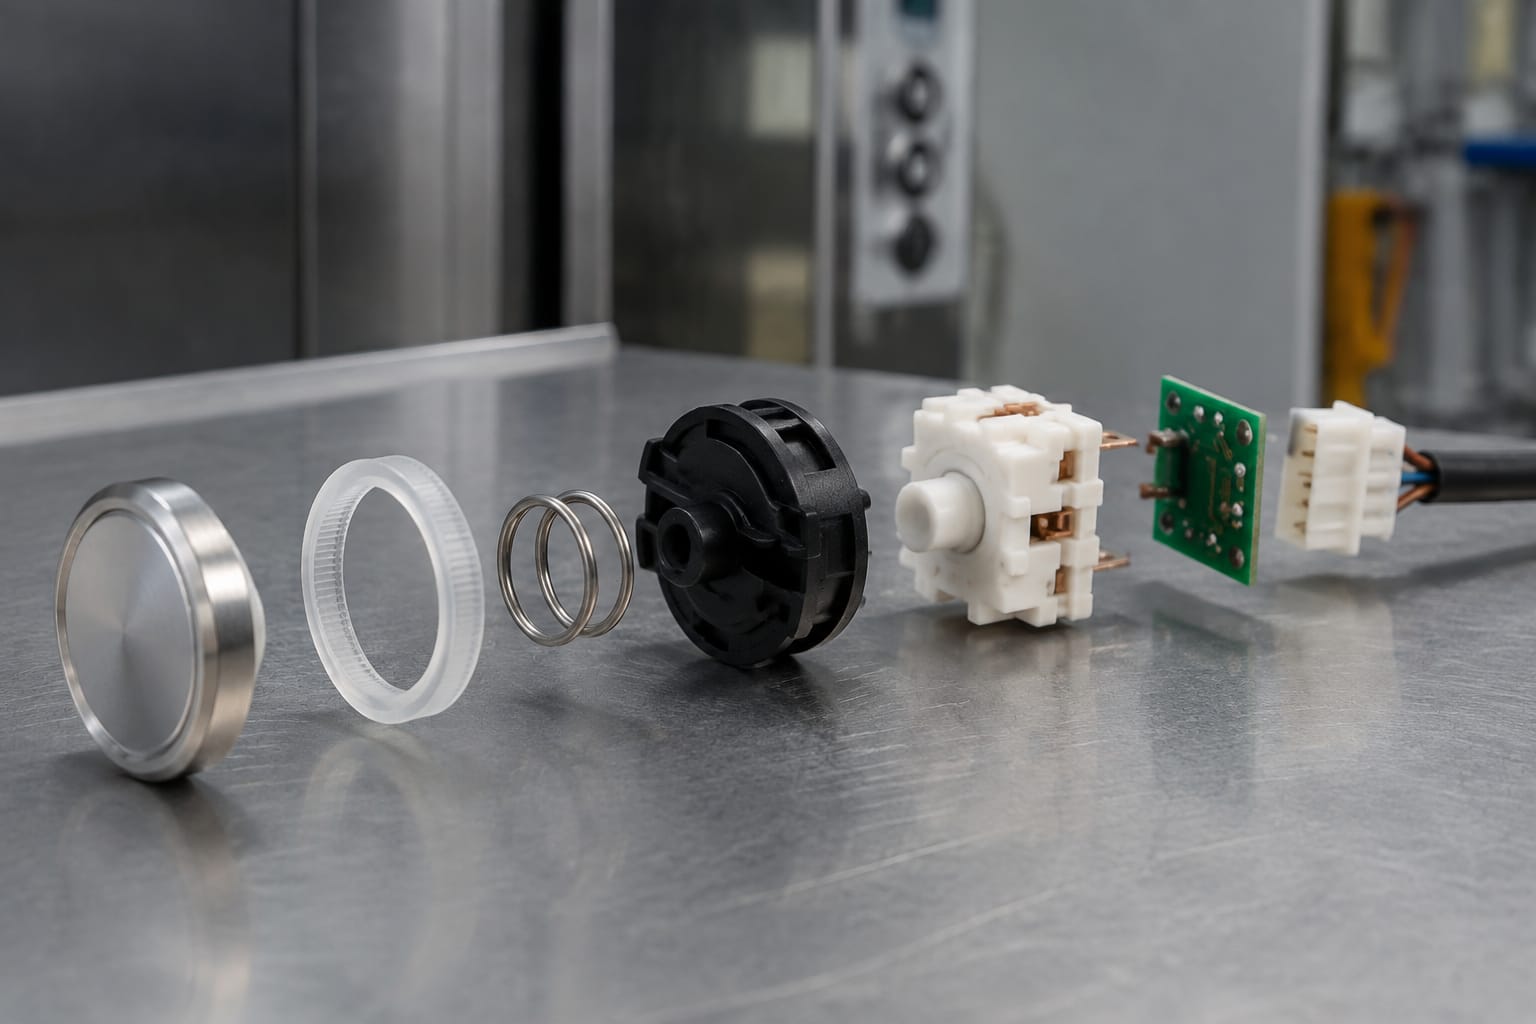
Diagnosis prevents unnecessary parts orders and helps determine whether one button, a circuit board, or the wiring harness is the true source of the problem. Follow the elevator manufacturer’s service procedures, site safety practices, and lockout requirements. Work inside elevator equipment only with qualified personnel.
Use the symptom pattern to narrow the fault
The pattern of failure is often more informative than the failed button’s appearance.
| Symptom | Likely areas to inspect | What it may indicate |
|---|---|---|
| One button is intermittent | Button mechanism, contact, individual terminals | Local pushbutton or connection issue |
| One button is dark but registers calls | Lamp, LED module, illumination lead, board output | Illumination circuit issue |
| One button lights but does not register | Contact circuit, connector pin, input channel | Switch or signal-path issue |
| Several nearby buttons fail | Common connector, harness, shared supply, board | Shared wiring or board fault |
| All buttons in one fixture fail | Fixture supply, serial connection, board, controller communication | Fixture-level or system-level issue |
| Calls register unexpectedly | Shorted conductors, moisture, damaged board, incorrect wiring | Wiring or board issue |
| Button works only when pressed hard | Worn mechanism, shifted mounting, damaged contact | Mechanical wear or contact degradation |
A visual inspection comes first. Look for bent terminals, pinched conductors, corrosion, loose retaining rings, heat damage, moisture ingress, and signs that a previous replacement changed the original wiring arrangement.
Then compare the failed position with a known-good, equivalent position where the circuit design permits it. Technicians may use continuity, voltage, or input-status testing as appropriate for the equipment design. Do not assume a common voltage or contact configuration based on the button’s appearance. Modern fixtures may communicate through boards or serial networks rather than using each pushbutton as a simple independent dry contact.
Check the board before blaming multiple buttons
When more than one button is affected, inspect the button board and its connectors before ordering several replacements. A failed input/output channel, connector, or board power supply can imitate a collection of button failures.
For fixtures using a dedicated board, document the board part number, revision, connector layout, and system family. A replacement elevator car button board may be relevant when diagnostics identify a board-level fault, but its electrical and system compatibility must be verified against the installed equipment. In a controller-specific arrangement, an expansion board for a Monarch elevator system should be treated as system-specific rather than interchangeable with a generic button board.
Replacing a board without confirming the fault can introduce new issues: mismatched pinout, incompatible communication, incorrect programming, or loss of existing fixture functions.
Record dimensions and mounting style
Accurate documentation is the foundation of elevator buttons replacement. Take photos before disconnecting anything, including the front of the fixture, the rear of the button, the connector, wire colors, labels, and surrounding components. Photos are useful, but they do not replace measurements and part-number verification.
Record these details for each replacement position:
- Manufacturer, fixture family, and any printed part number.
- Button use: car call, door open, door close, alarm, stop, hall call, or other function.
- Face or lens shape and visible diameter.
- Panel cutout diameter and cutout shape.
- Total depth behind the faceplate, including terminals or connector.
- Mounting method: threaded body and retaining ring, clips, screws, snap fit, or rear bracket.
- Bezel finish and material appearance.
- Legend, floor designation, arrow orientation, raised characters, and Braille arrangement.
- Number of terminals or pins and connector keying.
- Wire colors and terminal labels, documented before removal.
- Lamp or LED type, where separately replaceable.
Measure the actual panel hole, not only the button face. A button can appear to be the same nominal size while having a different body diameter or thread pitch. Clearance behind the panel also matters. A deeper replacement may interfere with wiring, board standoffs, or the fixture enclosure.
Mounting style is equally important. A threaded pushbutton needs the appropriate retaining hardware and clearance for tightening. A clip-mounted fixture may need a specific body profile to lock into the panel correctly. Do not enlarge a panel cutout or modify a button body as a routine compatibility solution; such changes can weaken the panel, reduce fit quality, and make future servicing harder.
As one example, a 27 mm four-pin open-hole elevator button with green illumination is relevant only when its stated form factor and electrical arrangement match the installed fixture. The nominal 27 mm dimension and four-pin format alone do not establish compatibility with every Otis installation or other elevator system.
Match voltage, illumination, and connector
Physical fit is necessary, but electrical compatibility determines whether the replacement will operate safely and correctly. Verify the installed circuit before choosing a replacement button.
Confirm the contact arrangement
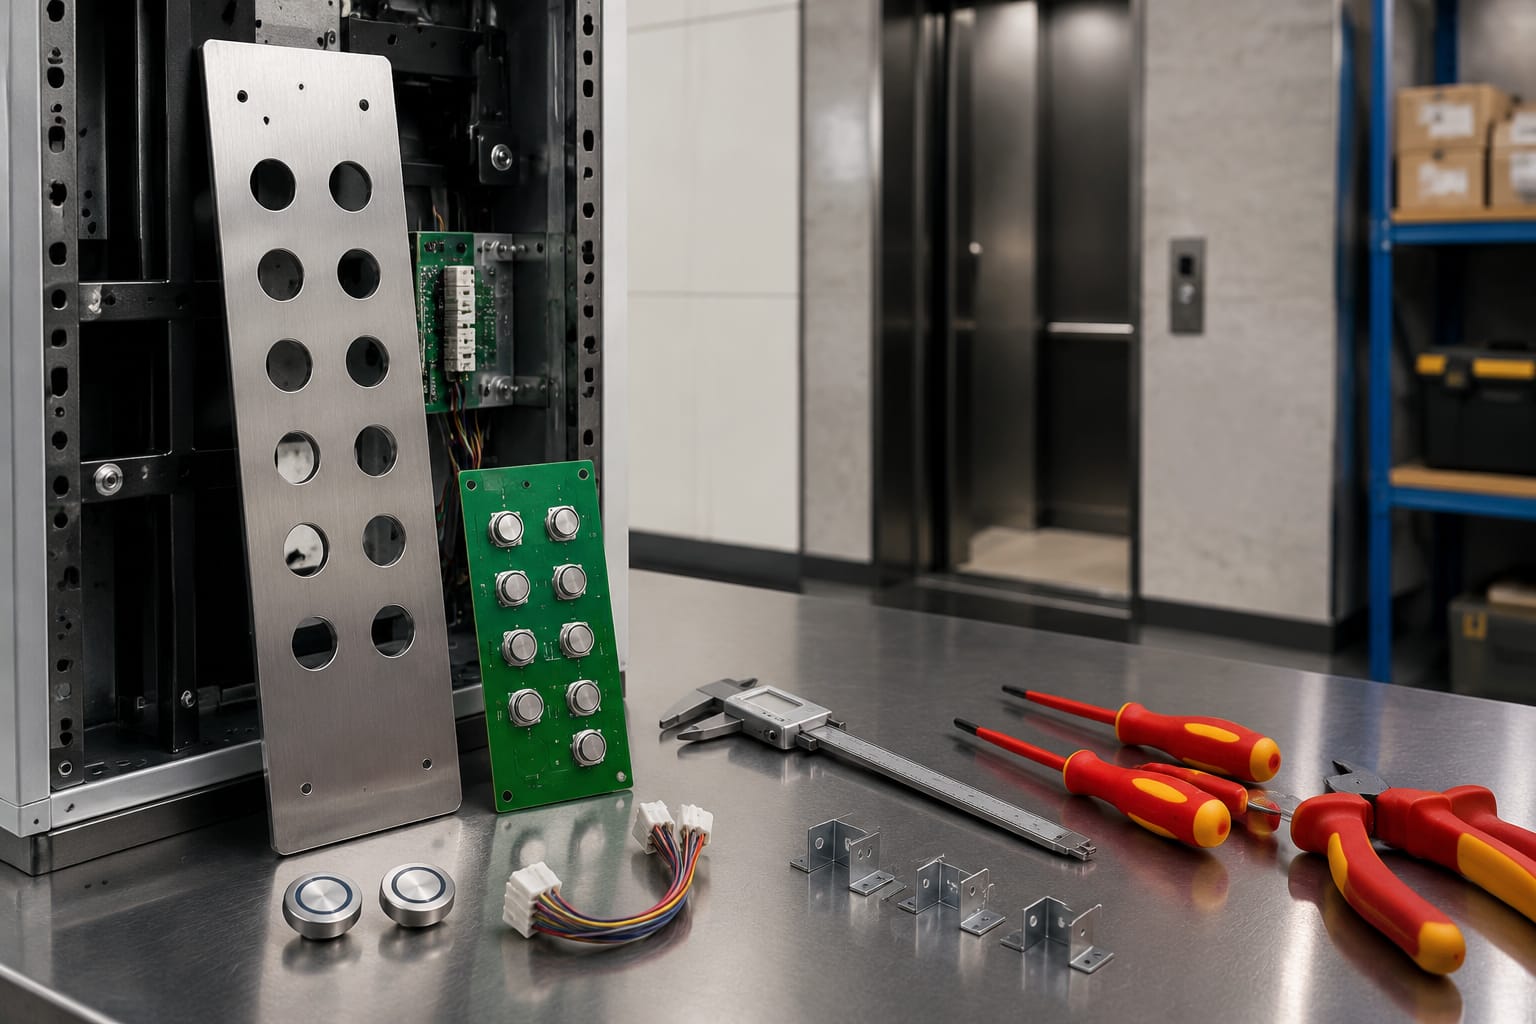
Buttons may use normally open, normally closed, momentary, maintained, or electronic switching arrangements. The correct choice depends on the original fixture and controller input design.
For a traditional discrete circuit, confirm:
- Whether the original uses normally open or normally closed contacts.
- The number of contact circuits and terminals.
- Whether the signal shares a common return.
- Terminal markings and wire termination style.
- The required contact rating for the application.
A replacement with a different internal switching arrangement can create a persistent call, no call registration, fault condition, or unintended operation. Never reassign wires by color alone; colors are not a universal elevator wiring standard and may have been altered during earlier repairs.
Match illumination behavior, not just color
Illuminated elevator buttons can use lamps, LEDs, light pipes, or integrated electronic assemblies. Their behavior may be steady, controlled by a separate signal, or governed through fixture electronics.
Confirm:
- Rated voltage and whether it is AC or DC.
- Polarity, especially for LED assemblies.
- Current requirement and whether a resistor or driver is integrated.
- Illumination color and lens color.
- Whether the button should illuminate upon call registration, at all times, or under a specific controller command.
- Whether the light source is replaceable separately from the button body.
An LED replacement may not work correctly in a circuit designed for a different lamp load or control method. A button that lights at the wrong time can be just as problematic as one that does not light, because riders depend on the visual acknowledgement of a registered call.
Verify connector and communication details
A plug-style connector must match more than the pin count. Check the connector family, keying, pitch, pin assignment, and wire-side mating connector. Two four-pin buttons can have different functions on the same pin positions.
Some fixtures use addressable buttons or boards. In those cases, verify the protocol, device address or configuration method, board revision, firmware constraints, and controller family. A mechanically identical button may be electrically unsuitable if it cannot communicate with the installed system.
When original documentation is unavailable, preserve the removed part, record all markings, and compare the complete rear-side construction. Ordering from a partial front photo is a high-risk practice.
What affects replacement cost
Elevator button replacement cost consists of more than the unit price of the button. Labor and troubleshooting can exceed the cost of a common individual component, especially when the fault is intermittent or access requires careful inspection of an older fixture.
The main cost drivers are:
| Cost factor | Why it changes the total |
|---|---|
| Part type | Standard mechanical buttons generally differ from specialty, illuminated, or electronic fixtures |
| Quantity | One-off purchasing, matching spares, and a panel-wide refresh have different unit and handling costs |
| Availability | Obsolete or uncommon components can require alternate sourcing or fixture redesign |
| Diagnosis time | Intermittent failures and board-level faults take more time to isolate |
| Fixture access | Panel removal, space constraints, and wiring condition affect labor |
| Electrical design | Discrete buttons are typically simpler to assess than networked or addressable systems |
| Cosmetic matching | Matching finish, lens color, legend, and wear condition can require broader replacement |
| Code-related scope | Changes to fixture layout, tactile markings, or panel configuration may expand the project scope |
For budgeting, separate the work into three categories:
- Component cost: Button, lamp or LED module, retaining hardware, connector, or board.
- Labor cost: Diagnosis, safe access, replacement, wiring, reassembly, and functional testing.
- Project risk allowance: Obsolescence, hidden wiring damage, panel modifications, or follow-up corrections.
Requesting an installed-part match rather than a generic “elevator push button” quote produces a more meaningful comparison. Give suppliers the part number, measured dimensions, front and rear photos, connector information, voltage, illumination details, quantity, and target application.
Avoid treating the lowest component price as the lowest installed cost. An incorrectly matched button can create repeat labor, rider complaints, inconsistent panel appearance, and additional downtime.
Replace individual buttons or the panel?
Individual button replacement is usually appropriate when the fixture is otherwise sound and a verified compatible part is available. It limits cost and preserves the installed panel.
A broader repair or panel replacement should be considered when several conditions are present:
- Multiple buttons have failed or show significant wear.
- Replacement buttons cannot match the existing finish, legends, or illumination.
- The original buttons or boards are obsolete.
- The panel has cracked cutouts, damaged mounting points, or corrosion.
- Tactile markings, Braille, or button layout require a more comprehensive correction.
- The controller or fixture is being modernized.
- Repeated repairs are becoming harder to source and document.
| Approach | Best fit | Benefits | Limitations |
|---|---|---|---|
| Replace one button | Isolated, confirmed local failure | Lower material scope; preserves existing panel | Appearance may not match aged buttons |
| Replace several matching buttons | Multiple worn or failed positions | More consistent appearance and maintenance stock | Requires confirming every function and wiring arrangement |
| Replace button board | Board-level diagnosis or multiple shared circuit failures | Addresses common fixture electronics | Must match system, connectors, and configuration |
| Replace fixture or panel | Obsolete, damaged, or comprehensive modernization scope | Consistent user interface and potential long-term serviceability | Higher project scope and possible code review |
A mixed approach can be practical. For example, replace the failed button immediately with a verified match while documenting the full panel condition for future modernization planning. This is often preferable to improvising a visually or electrically mismatched substitute.
Functional and accessibility testing
Testing is the final safeguard after an elevator button replacement. A button that fits and lights is not fully validated until it performs the correct function under normal operating conditions.
Use the equipment manufacturer’s procedures and the site’s inspection requirements. At a minimum, verify the affected fixture after reassembly:
- The button is secure, aligned, and returns freely after pressing.
- The face is flush enough for normal use and has no sharp or loose edges.
- The correct call, floor selection, or door function registers.
- Illumination provides the intended acknowledgement and clears at the correct time.
- Adjacent buttons did not become loose, obstructed, or miswired.
- Legends, arrow directions, raised characters, and Braille are correct for the function.
- The fixture panel seats correctly and no conductors are pinched.
- No fault indications, persistent calls, or unexpected signals appear at the controller.
- Hall calls and car calls operate as expected where the replaced component affects them.
For accessibility-related features, do not assume an old panel is automatically acceptable because it was previously installed. When changing button locations, labels, fixtures, or panel layout, review the current project requirements with the relevant code documents and authority having jurisdiction. Requirements can differ based on elevator type, building work scope, jurisdiction, and whether the work is a repair or part of an alteration.
Document the installed part number, date, symptom, test result, and any deviations from the original component. Clear service records make subsequent troubleshooting faster, especially for facilities with multiple elevators or recurring fixture issues.
Common ordering mistakes
The most common ordering mistakes come from relying on one visible detail, such as a face diameter, color, or brand name. A disciplined record reduces return risk and protects installation time.
Avoid these mistakes:
- Ordering by photo only. A front photo rarely shows body depth, threads, terminals, connector keying, or electrical markings.
- Using the face diameter instead of the panel cutout. The body and mounting hardware must fit the actual opening.
- Assuming the same brand means the same part. Elevator manufacturers use different fixture generations and component designs.
- Ignoring voltage and polarity. Illumination circuits must match the installed design.
- Matching pin count but not pinout. Connector position and function must be verified.
- Forgetting button function. A door-open button, floor-selection button, and hall-call button may share a physical style but use different legends or circuits.
- Replacing a board before diagnosis. Multiple failed buttons can result from wiring, power, or controller problems.
- Overlooking rear clearance. The replacement may interfere with boards, harnesses, or enclosure space.
- Mixing finishes without checking the panel. A technically compatible button may look unacceptable beside aged fixtures.
- Failing to retain the removed sample. Until testing is complete, the original part can provide valuable comparison information.
A practical purchase request should state the elevator or fixture manufacturer when known, application, quantity, part markings, measurements, photos of both sides, mounting style, voltage, illumination color and behavior, terminal or connector details, and whether the replacement must match a specific controller or board.
FAQ
Can an elevator button be replaced without replacing the whole panel?
Yes, when the failed button is separately serviceable and a compatible replacement is available. Confirm physical fit, mounting, contacts, illumination, and connector details before installation. Panel replacement becomes more reasonable when components are obsolete, several buttons are failing, or the fixture needs a coordinated accessibility or cosmetic update.
Are elevator buttons interchangeable between brands?
Usually not without verification. Even when buttons look alike, they can differ in cutout size, depth, thread, contact configuration, voltage, illumination control, terminal layout, connector pinout, and communication method. Treat a brand reference as a starting point, not proof of interchangeability.
Why does a replacement button light but not register a call?
The illumination and switch circuits may be separate. Possible causes include an incorrect contact arrangement, a loose signal wire, wrong connector pinout, failed input channel, or controller-related issue. Diagnose the complete signal path rather than replacing the illuminated button again.
What information should be sent when sourcing a replacement?
Provide clear front and rear photos, the original part number and markings, panel cutout measurement, button depth, mounting style, voltage, light color and behavior, terminal or connector details, wire documentation, button function, quantity, and the elevator or controller information where available.
Before ordering elevator buttons replacement parts, complete the diagnosis and create a record for the exact installed fixture. Kelevator supplies multi-brand elevator spare parts for B2B buyers; a complete technical record helps a sourcing team compare suitable options and avoid a costly mismatch.