
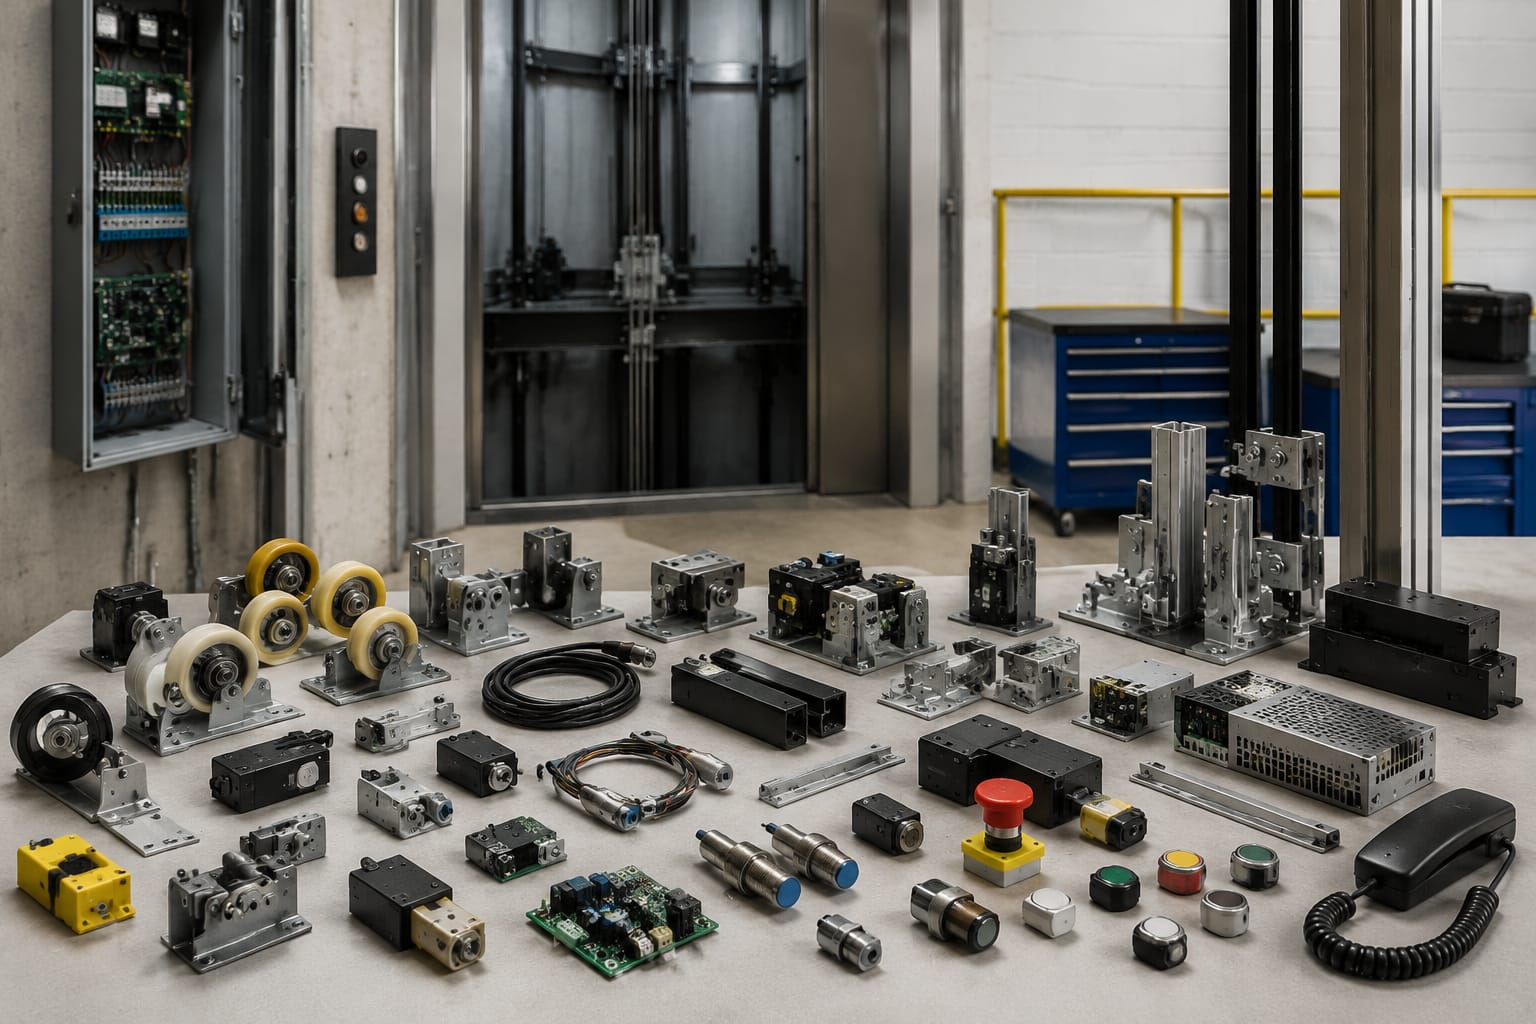
Elevator accessories are the electrical, mechanical, and service components that support an elevator’s operation, safety functions, passenger interface, door movement, cabin condition, and maintenance work. They range from small switches and indicators to guide shoes, lubrication devices, door hardware, and inspection tools.
For buyers and maintenance teams, the main challenge is rarely identifying the broad part category. It is confirming that a replacement matches the installed equipment in function, dimensions, electrical rating, mounting arrangement, and controller or OEM requirements. A part that looks similar may still be unsuitable for the application.
What qualifies as an elevator accessory?
The term elevator accessories usually covers parts that support an elevator system but are not necessarily the main traction machine, controller cabinet, or complete door operator. Depending on the supplier and equipment type, the category can include components for:
- Car and landing control
- Position sensing and leveling
- Door protection and door movement
- Passenger communication and signaling
- Cab interiors and fixtures
- Guide rail contact and lubrication
- Safety monitoring
- Inspection, maintenance, and repair
Some accessories are relatively universal, such as certain fasteners, cab lights, guide shoe inserts, and lubricants. Others are highly equipment-specific, including leveling sensors, position switches, displays, pushbutton assemblies, and door components.
A useful purchasing rule is to separate “similar function” from “verified interchangeability.” A replacement must do more than perform the same general task. It must fit the existing installation and operate within its required electrical and mechanical limits.
Electrical switches and sensors
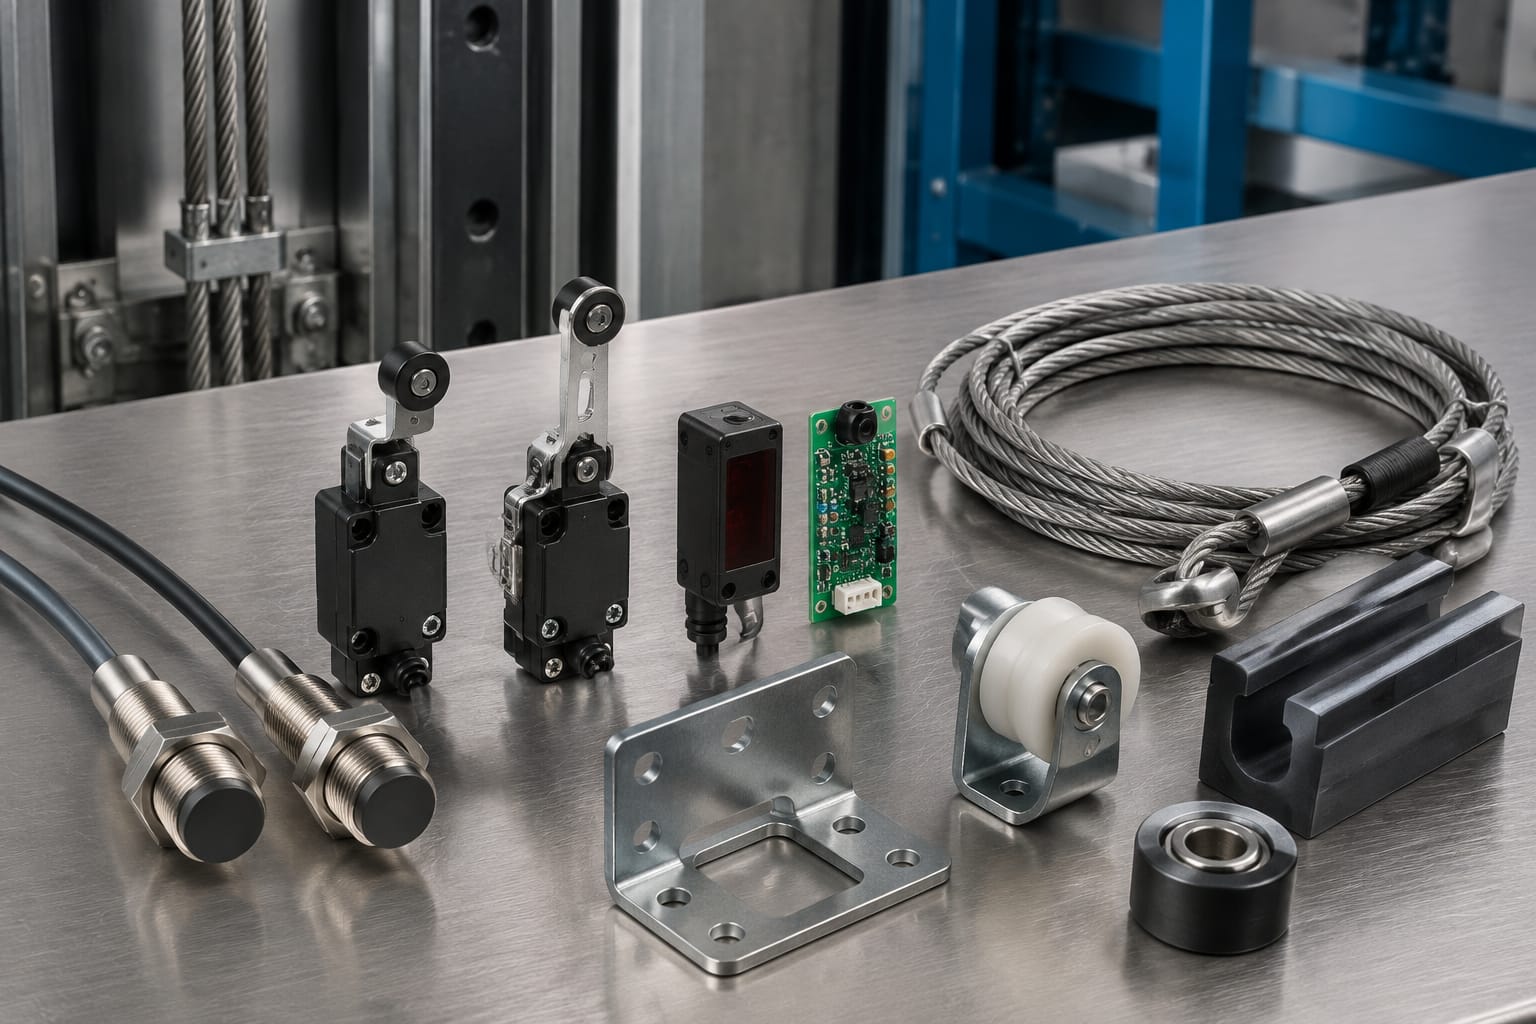
Electrical accessories give the elevator controller information about car position, door status, moving parts, and abnormal conditions. Because they may affect operation or safety logic, their identification and installation deserve careful attention.
Leveling and position sensors
Leveling sensors help the system determine when the elevator car is at, above, or below a landing zone. The specific sensing method may vary by design and can involve magnetic, inductive, photoelectric, or mechanically actuated switching arrangements.
When replacing a leveling sensor or switch, confirm:
- OEM and part number, including any suffix
- Sensor technology and operating principle
- Supply voltage and output configuration
- Normally open, normally closed, or changeover contact logic
- Connector type, cable length, and pin configuration
- Bracket geometry and mounting-hole spacing
- Required sensing distance or actuator relationship
- Applicable elevator model, controller family, or modernization configuration
For example, a cigarette rod leveling sensor switch for Otis elevator applications should be matched to the installed sensing arrangement, not selected merely because the name or appearance is similar. The physical relationship between the switch and its target is part of the operating requirement.
Turning, limit, and detection switches
Turning detection switches, limit switches, and related devices monitor travel, direction-related mechanisms, or moving assemblies. Their intended role depends on where they are installed: a car top, hoistway, door mechanism, escalator, or other equipment location.
Verify both the switch’s electrical behavior and its mechanical actuation. A correct contact form with an incorrect lever, roller, plunger, or mounting orientation can lead to unreliable operation or failure to actuate.
A Mitsubishi elevator turning detection switch is an example of a part where product identification should include the exact installed component reference, terminal arrangement, actuator style, and mounting details.
Door contacts and safety-related switches
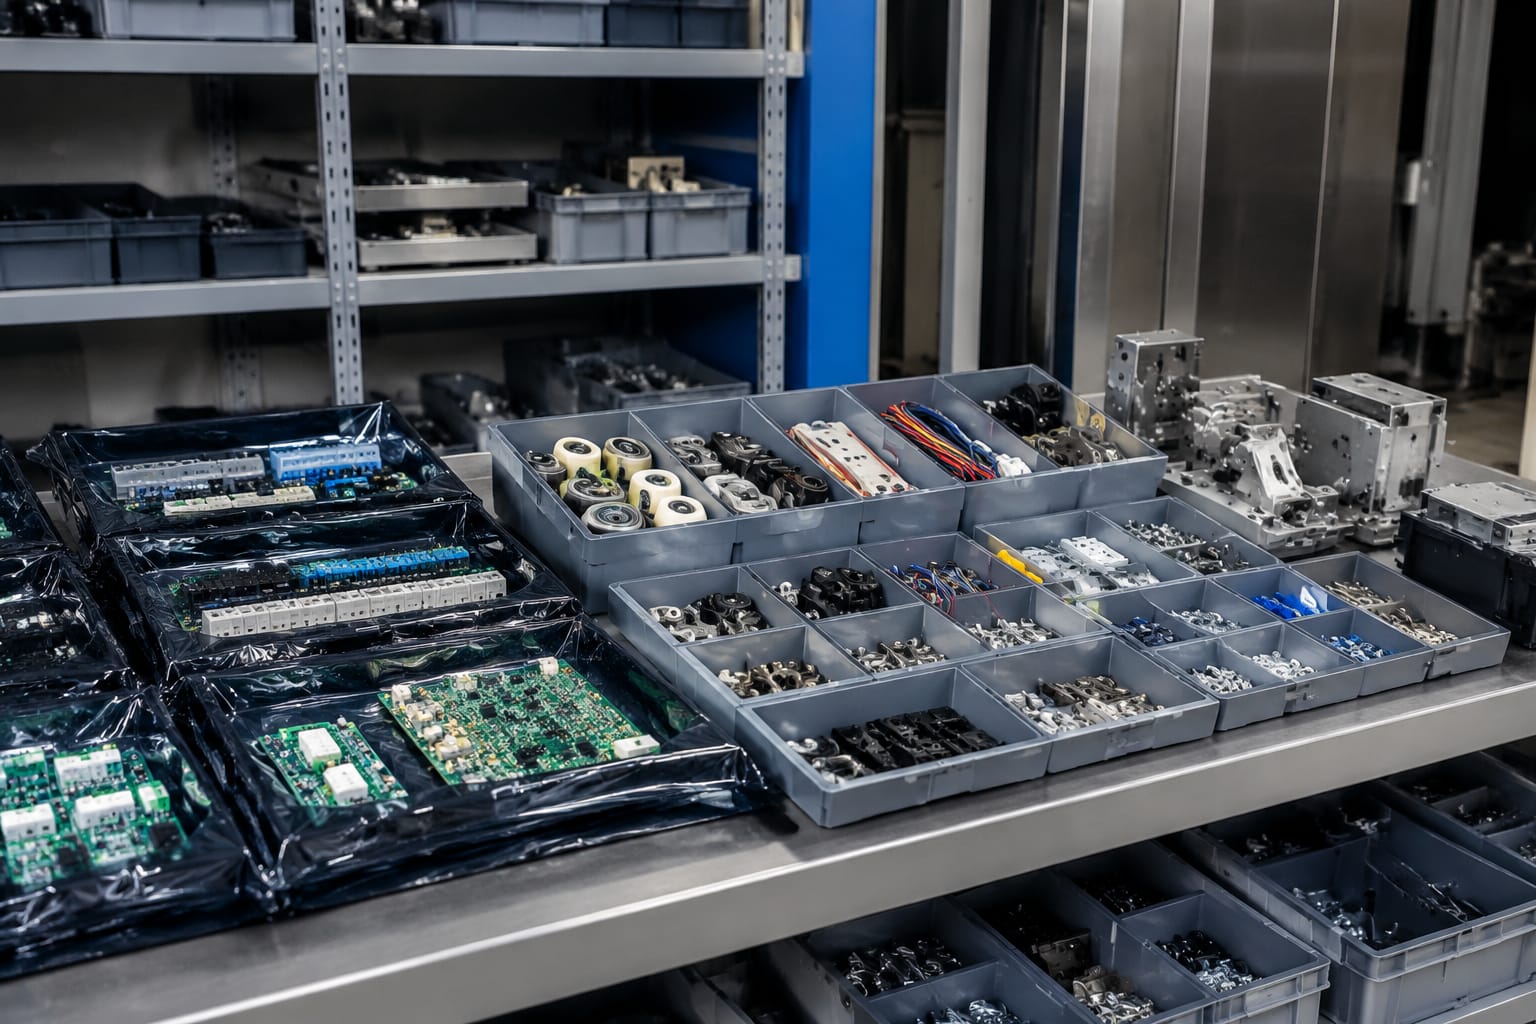
Door contacts, interlocks, gate switches, and chain-monitoring devices are often treated as routine replacements, but they can have significant operational and safety implications. The replacement must preserve the intended circuit logic and mechanical engagement.
Do not assume a generic switch is an acceptable substitute for a specified safety-related component. Confirm the equipment documentation, local code requirements, and the responsibilities of the qualified elevator personnel performing the work.
For related equipment, an Otis escalator chain break switch illustrates why the exact application matters. An escalator monitoring switch and an elevator switch may share a broad component type while serving different mechanical arrangements and circuit functions.
Buttons, displays, and communication parts
Passenger-facing accessories influence usability, accessibility, and service response. These parts are often visible upgrades during modernization projects, but their electrical interfaces must be confirmed before installation.
Pushbuttons, key switches, and stations
Car operating panel and hall station components can include:
- Floor-selection pushbuttons
- Door open and door close buttons
- Alarm buttons
- Fire service key switches
- Independent service switches
- Inspection or attendant controls
- Emergency stop switches, where applicable
- Braille or tactile identifiers
- Faceplates, legends, and mounting hardware
A replacement button should be checked for hole diameter, bezel profile, illumination type, voltage, contact blocks, wiring terminals, and panel thickness. For a modernization project, consistency across the car and landings matters: mixed button styles, colors, illumination behavior, or engraving formats can create a poor passenger experience and make future service less straightforward.
Accessibility requirements may also affect button height, tactile markings, audible feedback, visual indication, and placement. Requirements depend on the building, jurisdiction, equipment scope, and project type, so confirm them against the applicable code and project documents rather than treating a catalog description as compliance confirmation.
Position indicators and displays
Elevator displays may show car position, direction, messages, capacity information, or service status. Common options include segmented indicators, dot-matrix displays, LCD screens, and destination-control interfaces.
Display compatibility depends on more than dimensions. Check:
| Item to verify | Why it matters |
|---|---|
| Communication protocol | The display must communicate with the installed controller or interface board. |
| Input voltage | Incorrect voltage can prevent operation or damage the component. |
| Mounting cutout | A matching face size does not guarantee a matching panel opening. |
| Orientation and viewing angle | A display designed for one mounting position may be unreadable in another. |
| Color and illumination | It should match the project specification and remain legible in the installation environment. |
| Firmware or configuration | Some units require compatible settings, addressing, or programming. |
If an existing indicator has failed, record the complete label information before removing it. A photo of the rear connections, terminal labels, and controller interface can prevent ordering an outwardly identical but electrically incompatible display.
Emergency communication accessories
Communication parts can include alarm bells, emergency telephones, speakers, microphones, intercom modules, call buttons, and associated mounting hardware. In the United States, elevator emergency communication requirements can involve building code, elevator code, and monitoring arrangements.
Confirm the required functionality for the site before replacing a component. For example, a cab telephone handset, hands-free communication unit, or alarm device may need to work with an existing phone line, cellular gateway, controller interface, or monitoring system. The physical component alone does not establish a compliant emergency communication system.
Door and cabin accessories
Door and cab accessories cover a large share of routine replacement and modernization purchases. Their condition affects passenger perception, door reliability, accessibility, and the amount of service time required to correct recurring issues.
Door equipment accessories
Typical door-related accessories include:
- Door rollers and roller assemblies
- Door guides and gibs
- Hangers and hanger rollers
- Pickup rollers and clutch components
- Door shoes and sill guides
- Door restrictors
- Door-edge profiles
- Light curtain mounting parts
- Door operator belts, chains, and hardware
- Fascia, sill, and threshold components
Door parts should be identified by door operator type, door opening style, panel configuration, handing, and dimensional details. Center-opening and side-opening doors may use similar-looking parts with different travel geometry. Likewise, a roller diameter, bearing type, shaft diameter, and offset can all determine whether the item fits and tracks correctly.
Do not order a door guide based only on a photo. Measure the guide body, engagement depth, mounting holes, and relevant sill channel dimensions. Check wear patterns on the failed part and inspect the mating hardware; repeated guide or roller failure may indicate misalignment, damaged tracks, a worn sill, or an adjustment issue rather than a defective accessory alone.
Cab fixtures and protective accessories
Cabin accessories may include handrails, mirrors, ceiling panels, lighting fixtures, fan grilles, wall panels, floor protection hardware, emergency signage holders, and protective pads. These items can be selected for appearance, durability, cleaning needs, or renovation requirements.
For interior upgrades, evaluate:
- Exact cab dimensions and fastening locations
- Fire-performance and material requirements specified for the project
- Weight added to the cab
- Access to existing wiring, panels, and emergency equipment
- Edge protection and passenger contact surfaces
- Ease of replacement for future maintenance
Cab materials and decorative components should not interfere with car doors, emergency exits, inspection access, or required labels. A visually appropriate accessory that blocks service access can add unnecessary labor during later repairs.
Guide, lubrication, and mechanical items
Mechanical elevator accessories support the car’s movement along the guide rails and help manage friction, vibration, alignment, and wear. These parts are often less visible than buttons or displays, but their selection has direct maintenance consequences.
Guide shoes, inserts, and rollers
Guide shoes or roller guides keep the elevator car and counterweight aligned with the rails. The correct type depends on the equipment design and rail dimensions. Common replacement items include sliding guide shoe inserts, roller guide wheels, springs, retainers, and mounting hardware.
Confirm:
- Car or counterweight application
- Guide rail size and profile
- Shoe or roller assembly model
- Insert material and dimensions
- Wheel diameter, width, bearing type, and axle arrangement
- Adjustment range
- Temperature, contamination, and duty considerations where relevant
Replacing only the visibly worn insert may be appropriate, but inspect the complete assembly for loose hardware, damaged springs, uneven wheel wear, or rail-condition issues. Mechanical deterioration elsewhere can shorten the life of a new accessory.
Rail lubrication and oiling components
Lubrication accessories may include oilers, wick assemblies, reservoirs, brushes, pads, tubes, fittings, and mounting brackets. Their purpose is to apply lubricant in a controlled manner where the equipment design calls for it.
The key selection question is not simply which oiling device fits the bracket. Confirm the lubrication method specified for the guide system, the lubricant type, reservoir capacity, feed arrangement, and replacement consumables. Over-lubrication can attract dirt and create cleanup concerns, while insufficient lubrication can increase wear or noise.
Springs, fasteners, and small mechanical hardware
Small mechanical accessories are easy to underestimate. Springs, pins, clips, bushings, bearings, spacers, and fasteners may have critical load, travel, material, and dimensional requirements.
When the original part is unavailable, a dimensional comparison should include more than outside diameter or length. Record thread pitch, shoulder dimensions, hardness or material where known, corrosion exposure, and the function of the component within the assembly. For springs, free length alone is not enough; wire diameter, coil count, end style, and load characteristics may matter.
Maintenance and service accessories
Maintenance accessories help technicians inspect, service, protect, and restore elevator equipment. They may be consumables, replacement fixtures, or specialized components used during routine work.
Useful categories include:
- Inspection station components
- Hoistway lighting fixtures and switches
- Pit-stop and access-related hardware
- Cleaning materials intended for approved surfaces
- Lubrication accessories and refill components
- Replacement labels and identification plates
- Cab-protection attachments
- Portable test and service accessories appropriate to qualified personnel
Selection should align with the maintenance task and the equipment manufacturer’s procedures. Avoid treating a service accessory as a substitute for diagnosis. For instance, replacing a switch repeatedly without checking actuator alignment, wiring condition, and controller input history can leave the underlying fault unresolved.
For purchasing teams, keeping a controlled list of frequently used accessories can reduce delays. The list should include approved manufacturer references, dimensions, equipment application, alternative references when validated, and site-specific notes. It should not be a loose collection of generic descriptions.
Check model, dimensions, and ratings
Before ordering elevator accessories, assemble a part-identification record. The more complete the record, the less likely a replacement will be delayed, returned, or installed incorrectly.
Use this checklist:
- Record the original manufacturer name, part number, revision, and all suffixes.
- Identify the elevator, door operator, controller, or escalator model where the part is installed.
- Photograph the component in place and capture labels, terminals, plugs, and mounting features.
- Measure critical dimensions with appropriate units: length, width, hole spacing, diameter, shaft size, and offsets.
- For electrical parts, document voltage, current rating, contact arrangement, connector, and wire count.
- For sensors, document sensing method, target type, sensing gap, mounting orientation, and output behavior.
- For mechanical parts, note material, rail size, handedness, moving direction, and mating component dimensions.
- Confirm whether the part has a safety-related function or requires particular approval for the equipment.
- Check whether a controller setting, parameter, calibration, or adjustment is needed after replacement.
- Retain the removed part until the new item has been verified and accepted.
For a multi-site operator or distributor, standardize this information in a purchasing form. Clear input data makes it easier for a supplier to identify a compatible item and gives internal teams a record for future orders.
Avoid compatibility and ordering mistakes
The most expensive ordering errors are usually not caused by choosing the wrong category. They happen when a buyer overlooks a small but essential detail.
Mistake: Ordering from appearance alone
Photos are useful for initial identification but cannot reliably show electrical logic, connector pinout, rail fit, internal contact configuration, or material specification.
Better approach: Pair photos with complete markings, measurements, and installation details.
Mistake: Ignoring suffixes and revisions
A part number suffix may indicate voltage, cable length, contact arrangement, finish, handedness, firmware version, or mounting variation.
Better approach: Treat the full identifier as the part number. Ask for clarification when a label is damaged or incomplete.
Mistake: Assuming one OEM component fits every model
Large elevator brands have equipment generations, regional configurations, and modernization variations. The same broad accessory category can differ across product lines.
Better approach: Verify the installed equipment model and compare the actual removed component before committing to a replacement.
Mistake: Replacing a failed part without finding the cause
A failed door roller, guide insert, switch, or display may be a symptom of misalignment, vibration, moisture, wiring faults, incorrect adjustment, or controller issues.
Better approach: Include a basic root-cause check in the maintenance process. Replace the accessory and address the condition that caused premature failure.
Mistake: Treating generic equivalents as automatically acceptable
An equivalent may be suitable when its function, dimensions, ratings, and applicable requirements have been verified. It is not suitable merely because it has a similar description.
Better approach: Use documented cross-references and technical comparison, especially for electrical, sensing, and safety-related parts.
Mistake: Leaving installation details out of the purchase request
A request for “door roller,” “leveling switch,” or “elevator display” is usually too broad for a reliable quote or order.
Better approach: Include part number, equipment model, photos, measurements, quantity, installation location, and required delivery documentation. State whether an original OEM part is required or whether a verified compatible alternative can be considered.
Practical next step
Create a part-identification record before sourcing any elevator accessory, then compare the original component against the replacement’s model reference, dimensions, ratings, connectors, and installation role. Kelevator supplies multi-brand elevator spare parts for B2B importers, distributors, maintenance contractors, modernization companies, and OEM buyers; provide complete component details so the requested part can be evaluated against the installed equipment.